What’s that saying about being poor making you thrifty? I can’t remember. Maybe I imagined it. Either way, I think it’s true. I’ve never been more creative in anything than when forced to work with limited resources, in this case, monetary resources. Because I like to redecorate and still afford groceries, I’ve been learning how to take an idea for something I love but can’t afford.
How does that tie-in to a dresser re-finish? I’ll explain.
There’s a dresser I love at Ikea. It’s beautiful, cream colored with black hardware, 7 drawers, pretty much exactly what I wanted for my room re-model. However, the $300 price tag caught me every time. Whenever I’m going to make a big purchase, I compare what else I could get for that amount of money to decide if it’s worth it. For $300 I could go to the keys for a weekend. I could get a cheap flight somewhere. I could do months of Pilates classes. I could cook a whole bunch of fancy dinners and drink a lot of wine. Sigh. I couldn’t bring myself to do it.
So on to plan B, I headed out to the thrift shop with Amy and Adora. And at Faith Farm I found this treasure. For $60 I found a dresser whose shape I loved. The color not so much, but it was nothing some sanding, priming, and painting couldn’t fix. And of course some black spray paint for the hardware.
So I give you my monochromatic take on a French dresser. I’m excited to see this piece against my book-wall. Let me know what you think!
xo. Brie

We fit the dresser in the back of Adora’s car (barely) but that didn’t leave much room for me!
Through the glass door, sanded and primed!
I painted the white first and let it dry for a day, then taped around the top and painted the black top.
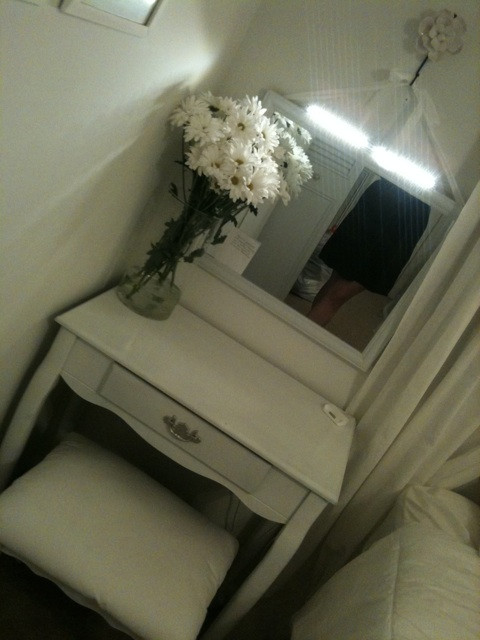
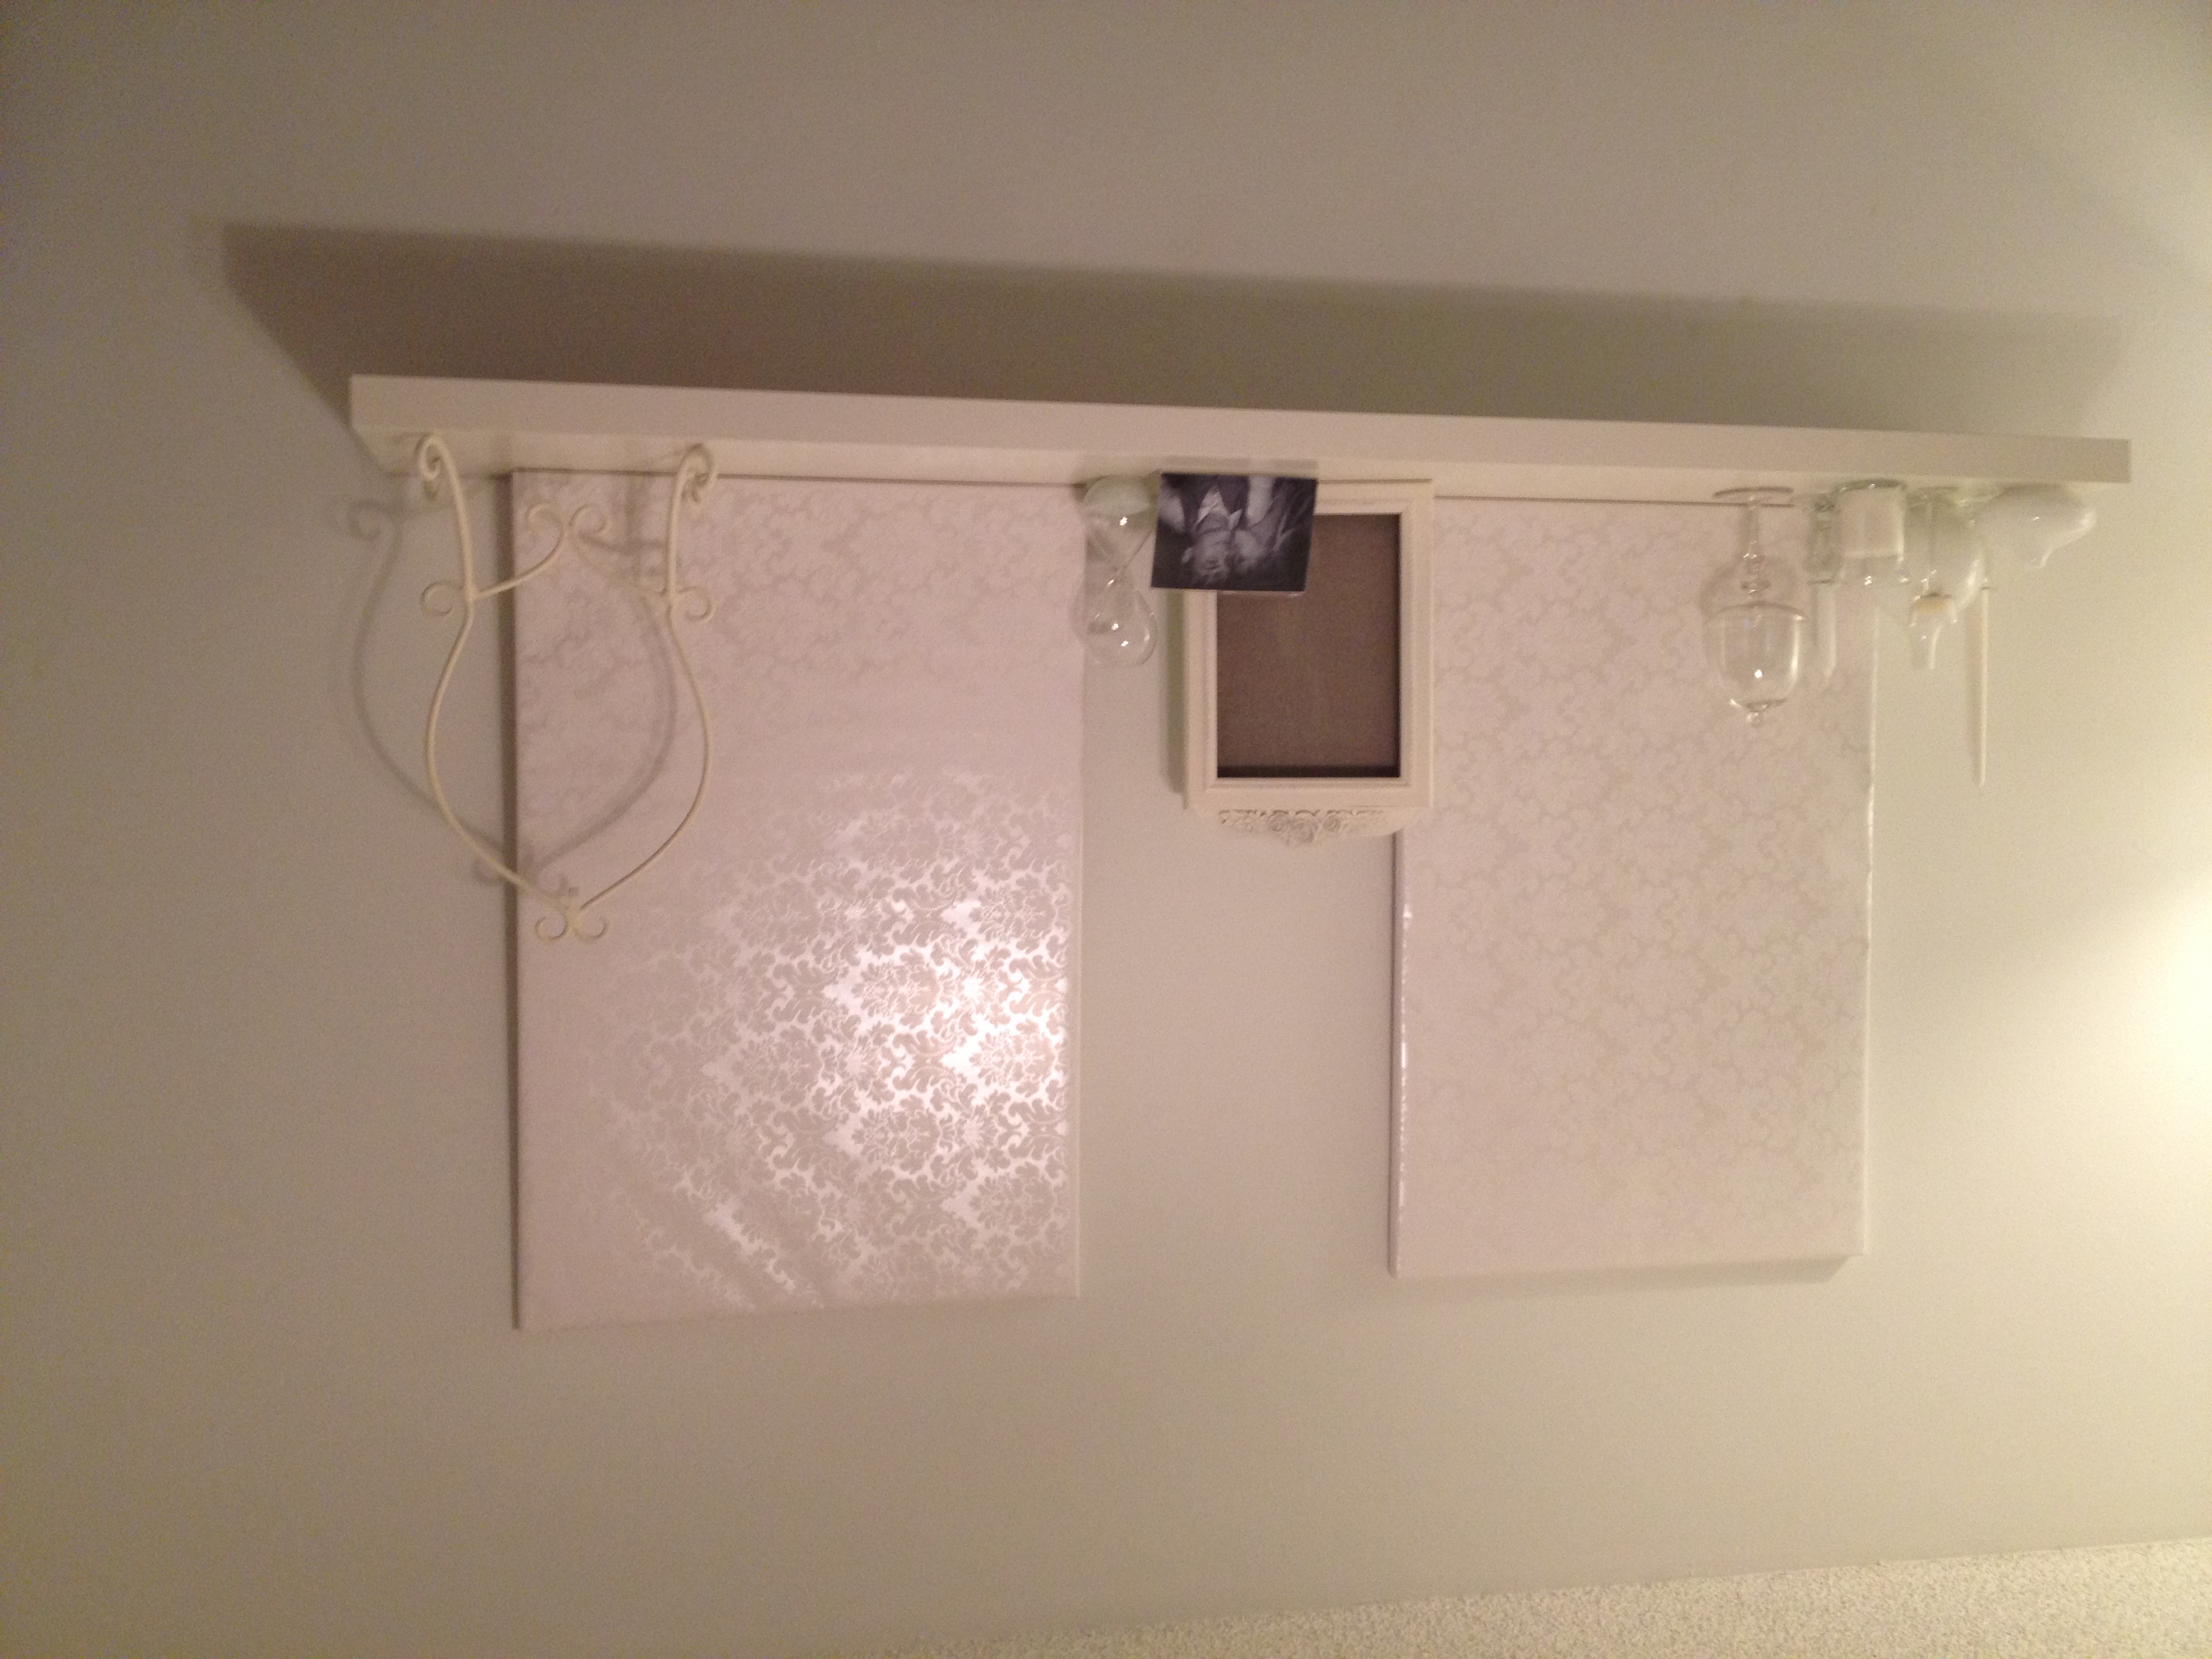
All finished! Moved into my room against the book wall.
Room is coming along! Next project will be bed coverings and curtains. Stay tuned…
Briana is a beautiful SEO/Ad genius who works with me at my day job and has an amazing blog over at accordingtobrie.com that you should check out!
xoxo,
Adora


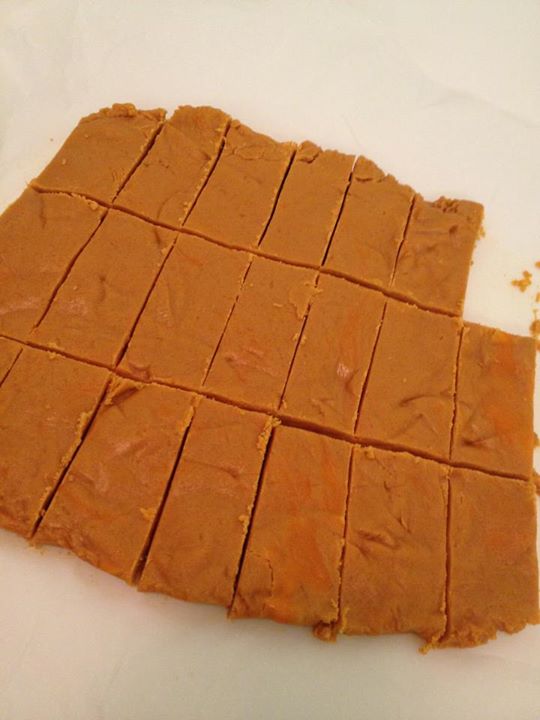
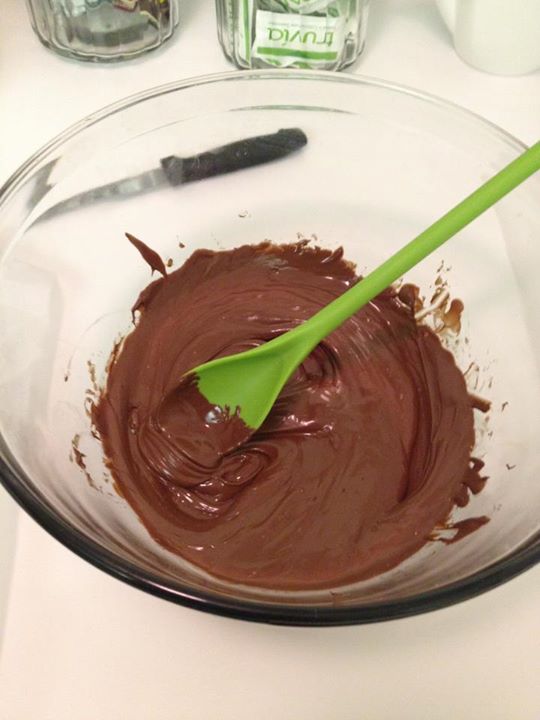
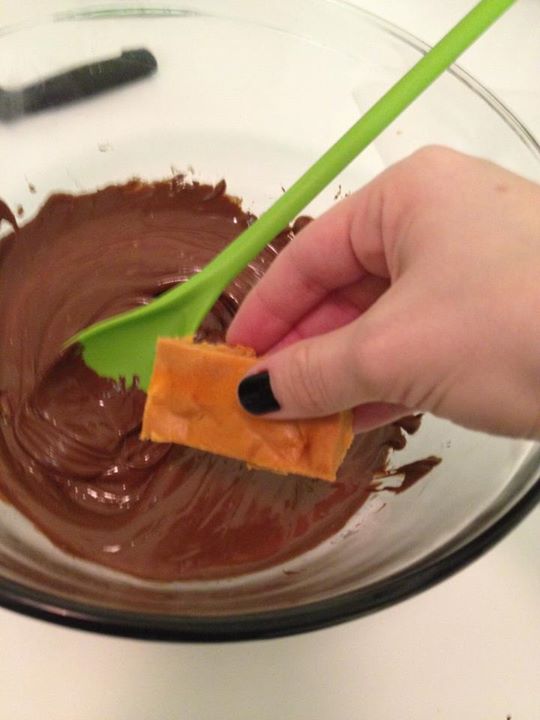
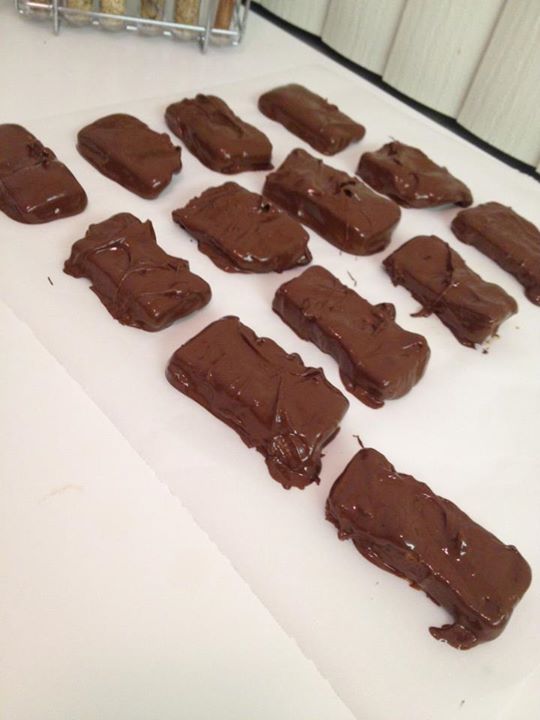
![push into a mold with parchment to harden [use the fridge for this if you like]](http://adoramae.com/wp-content/uploads/4.jpg)