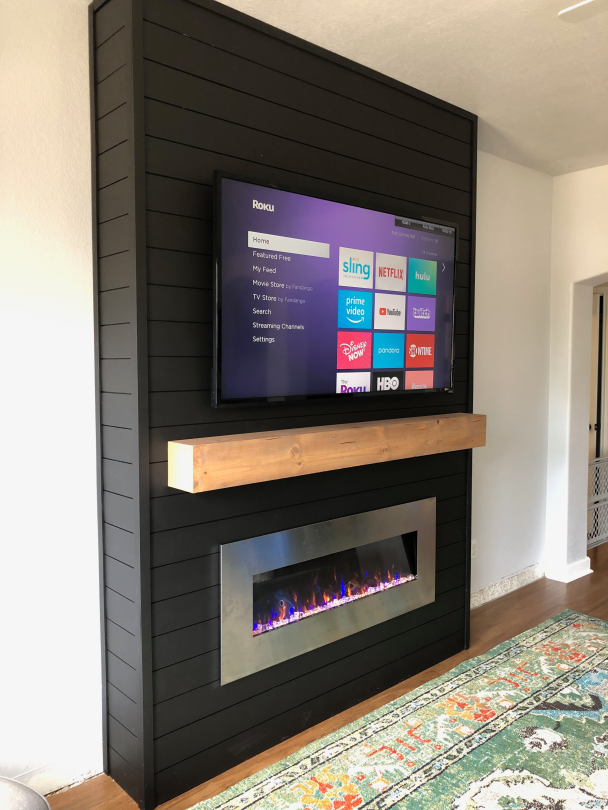


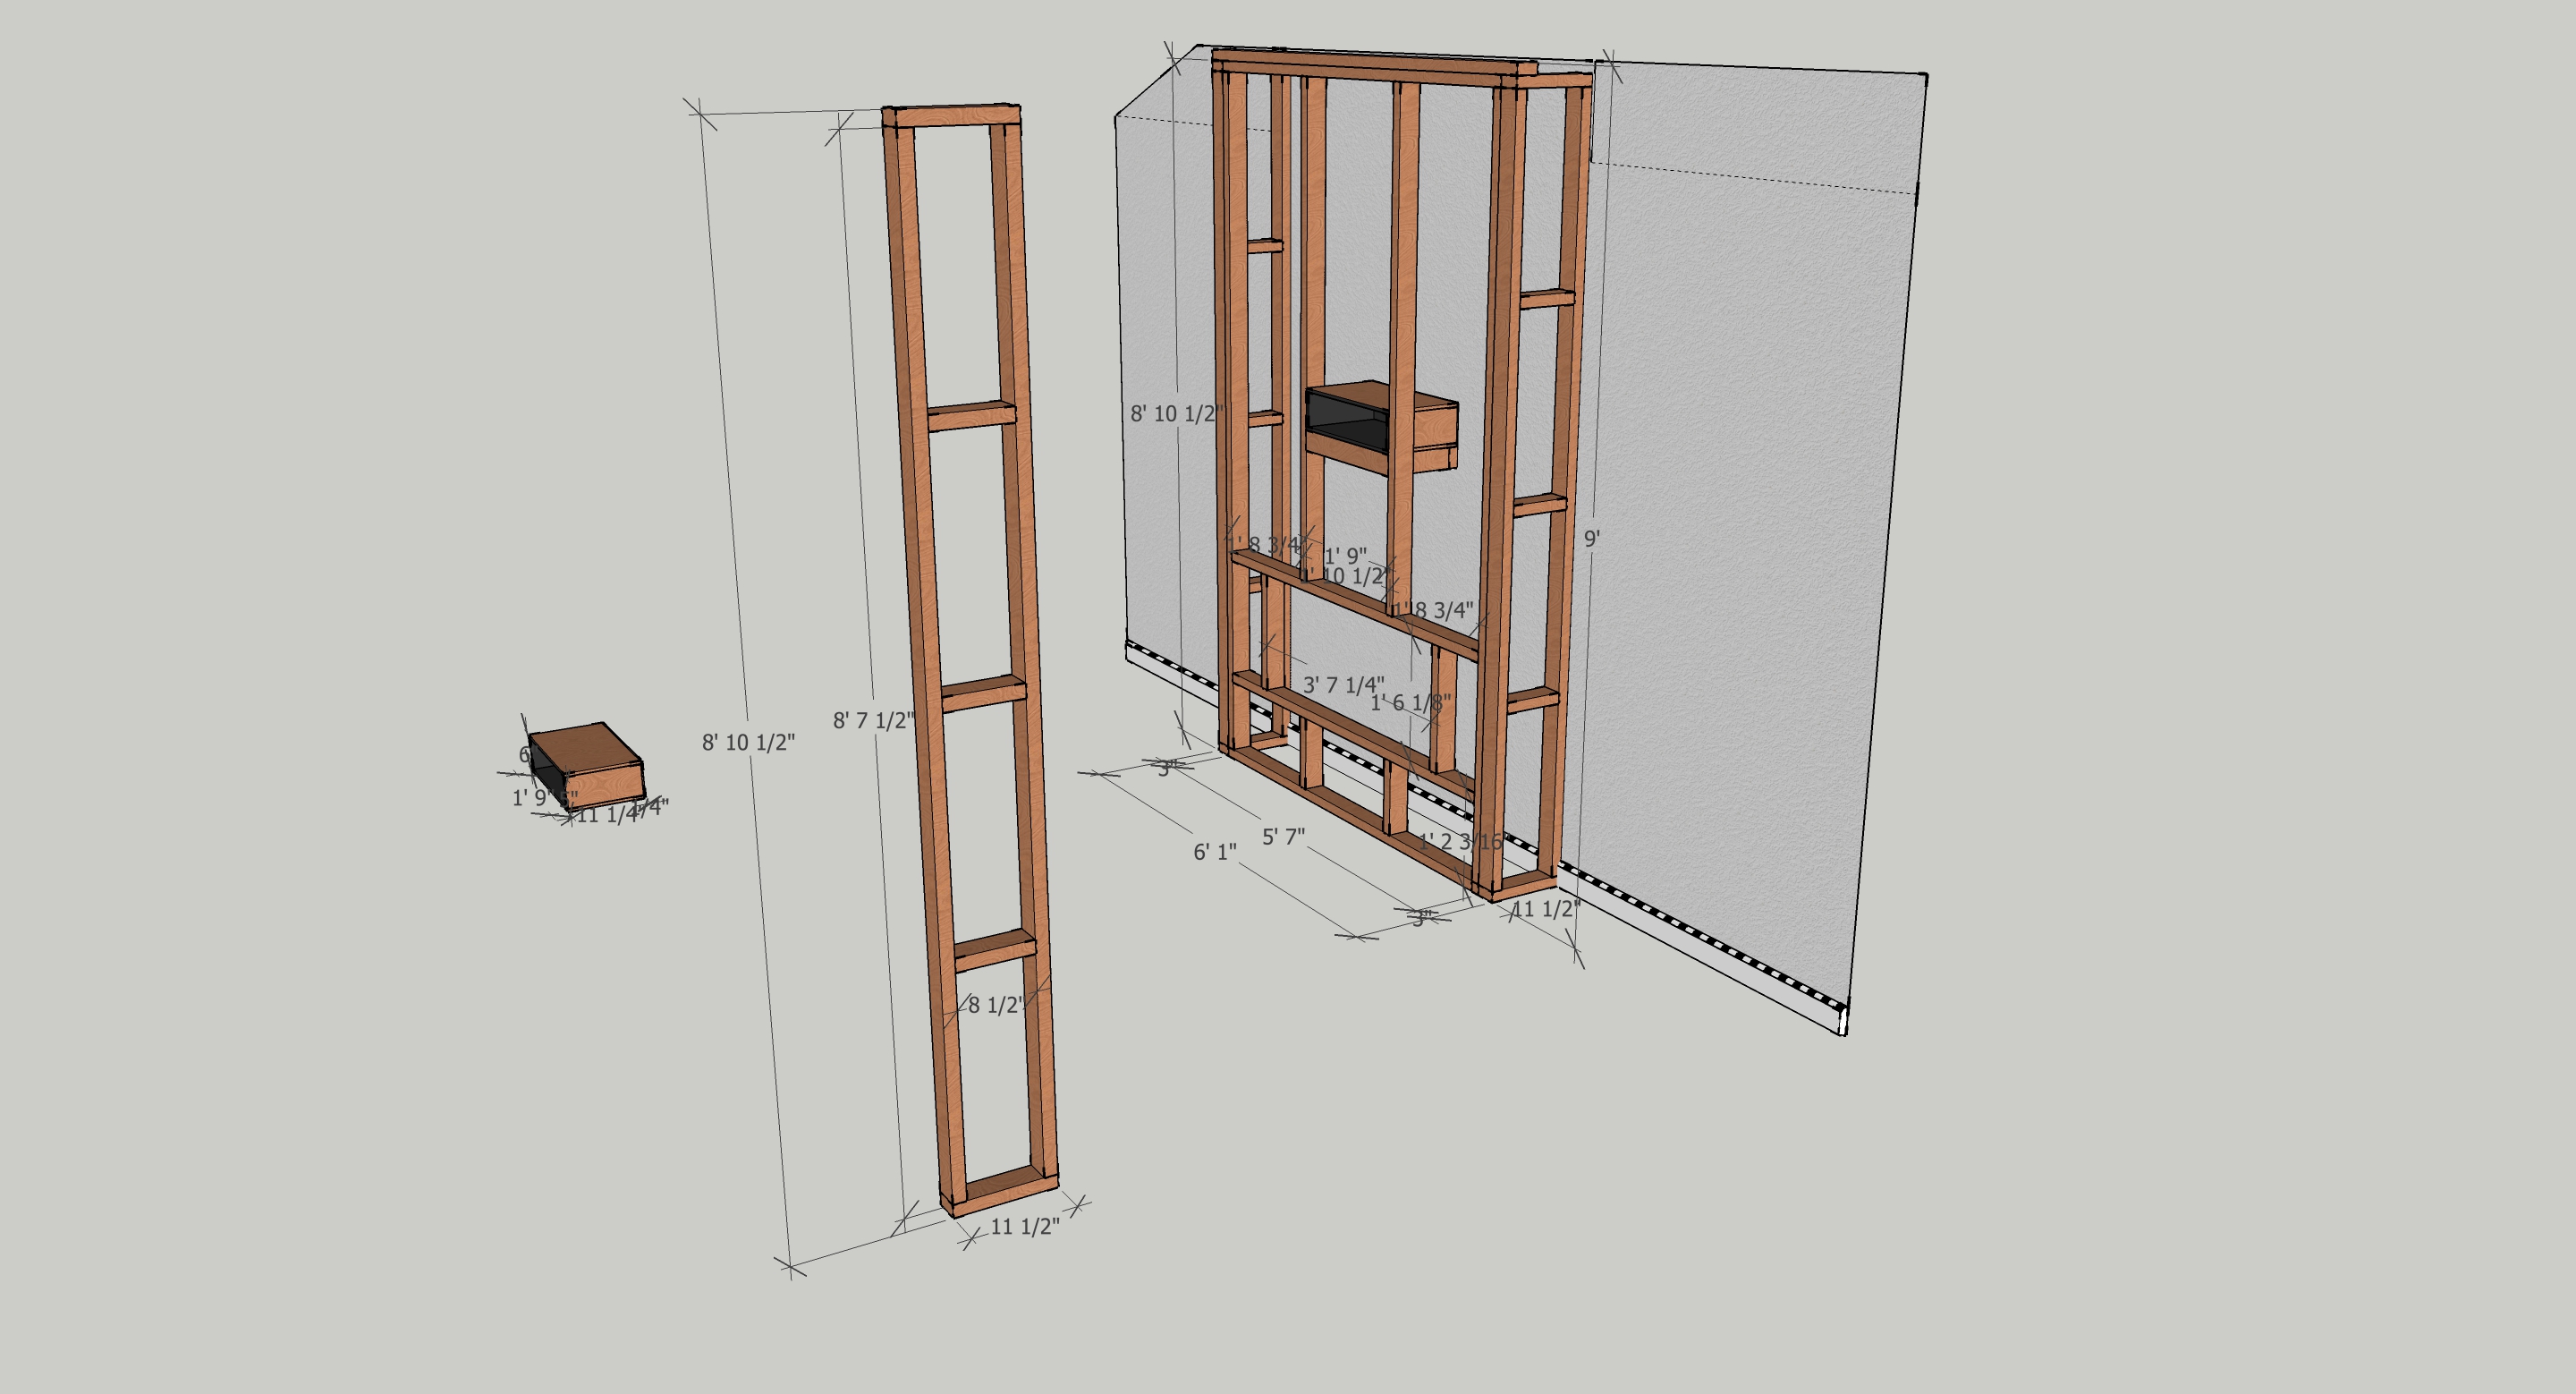
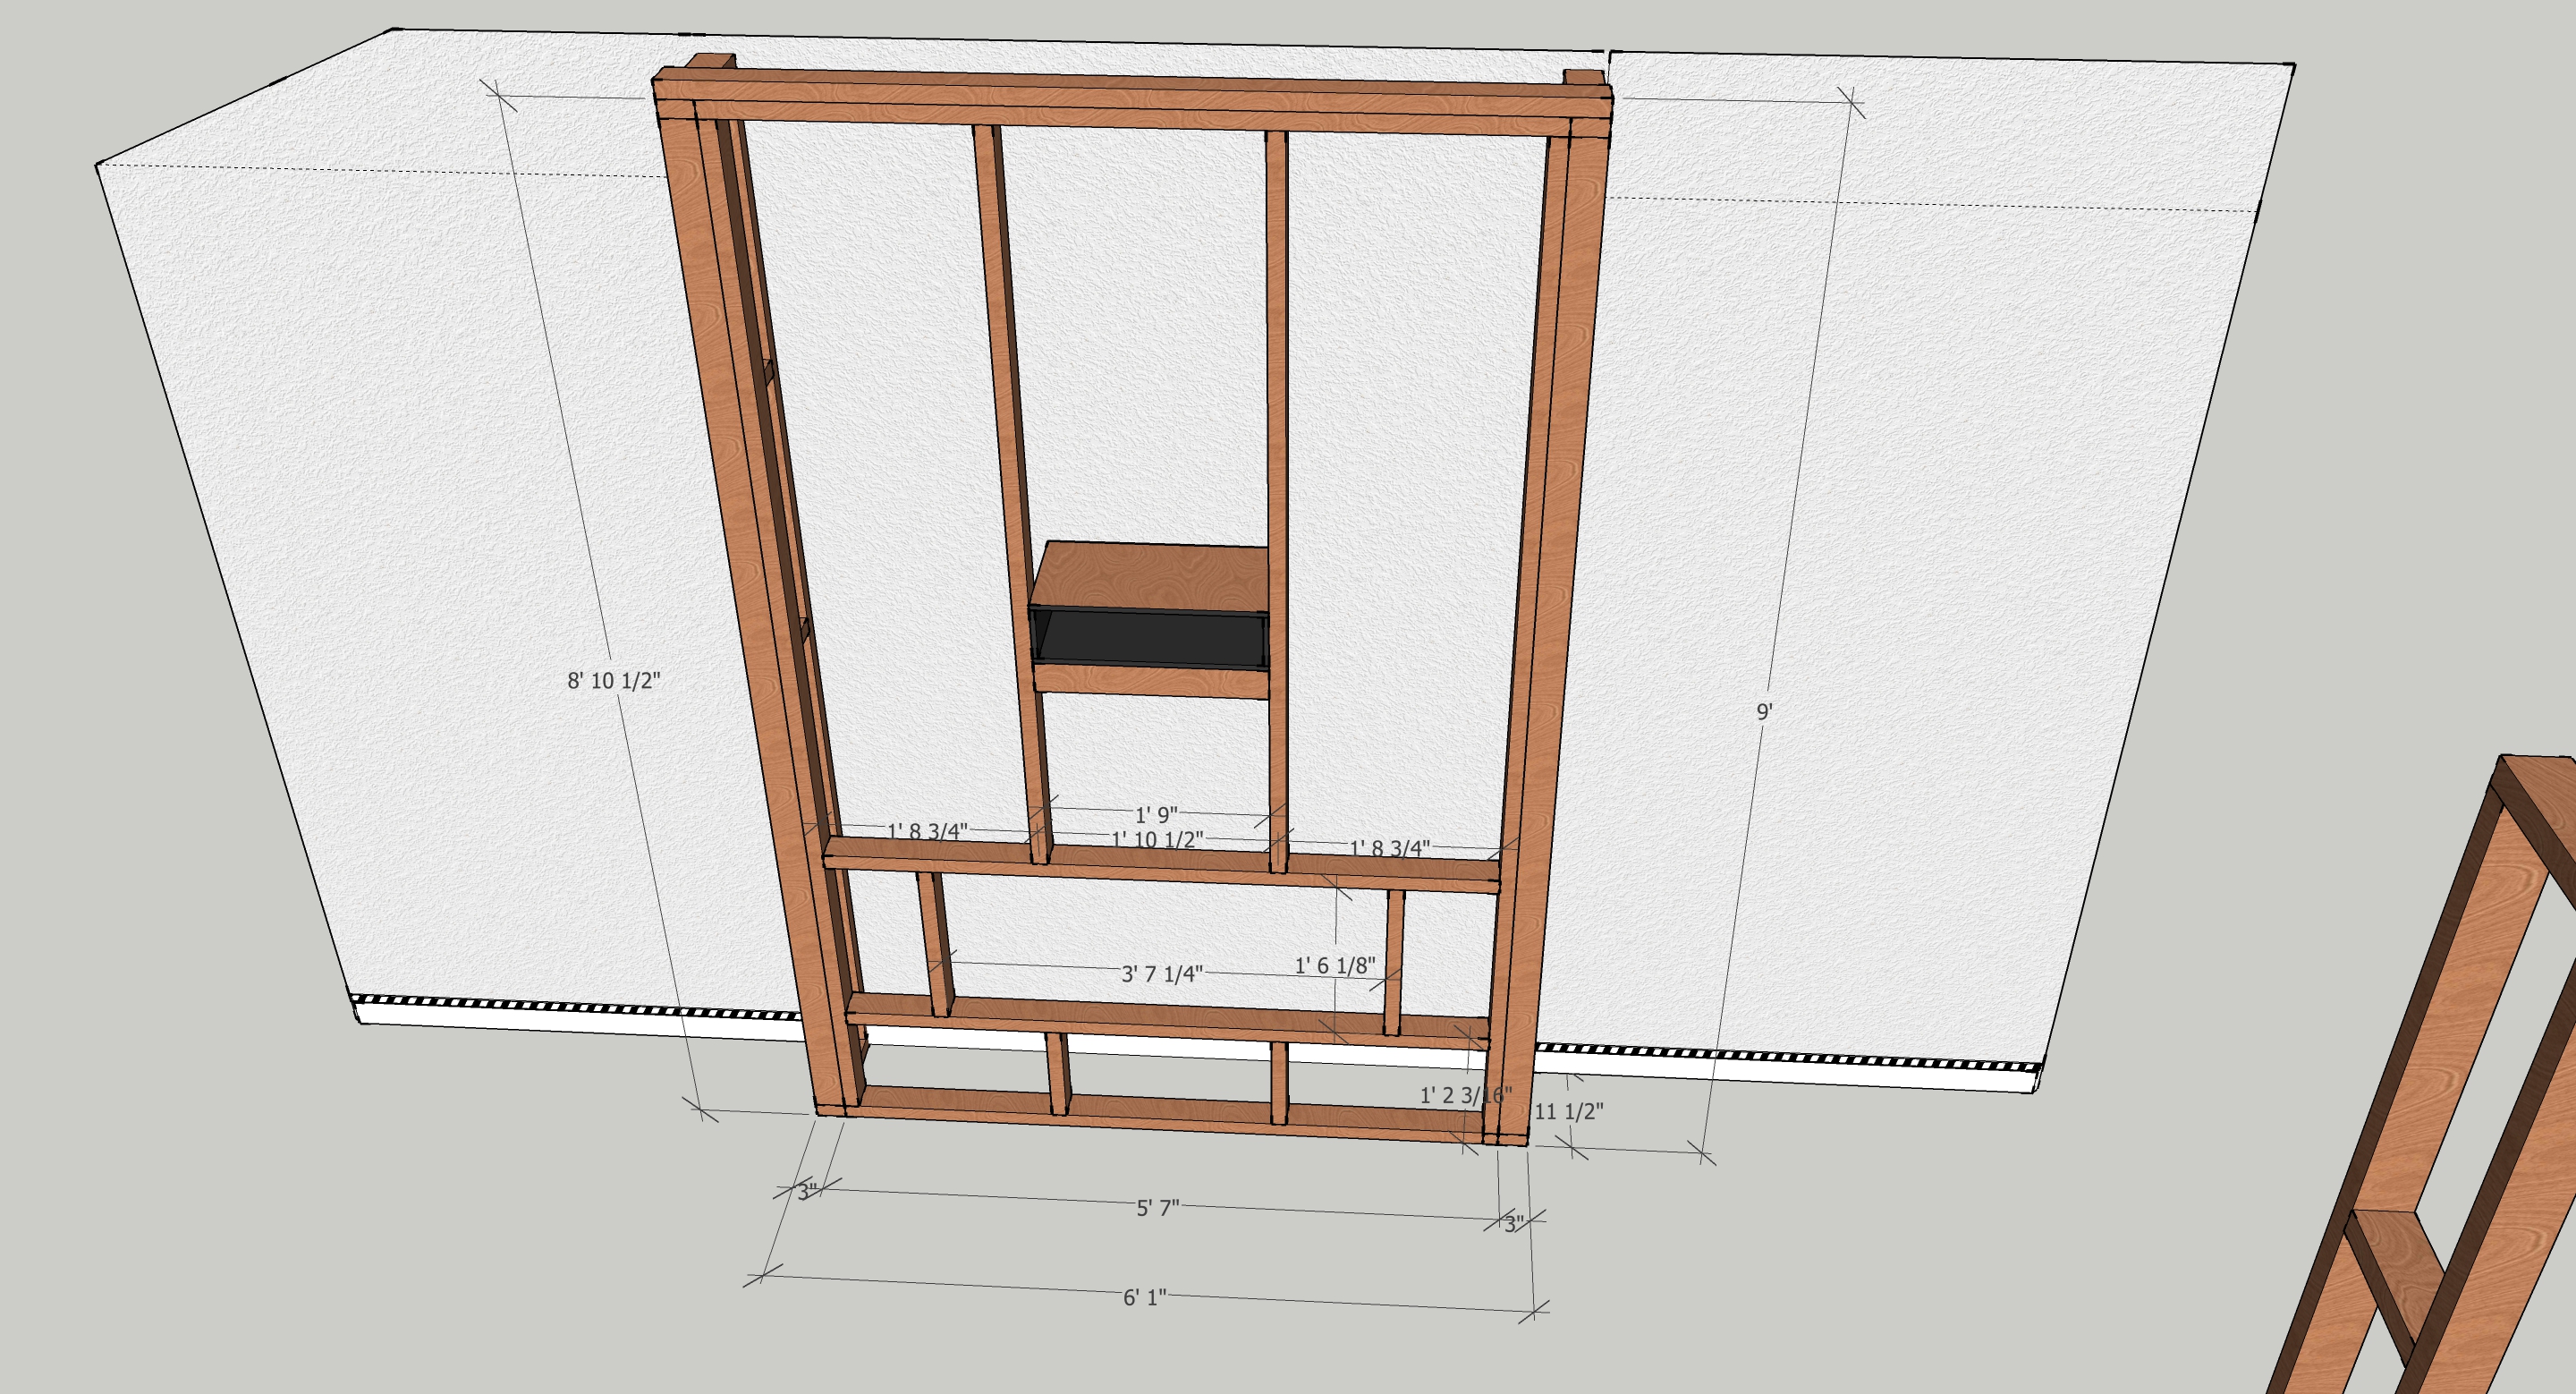
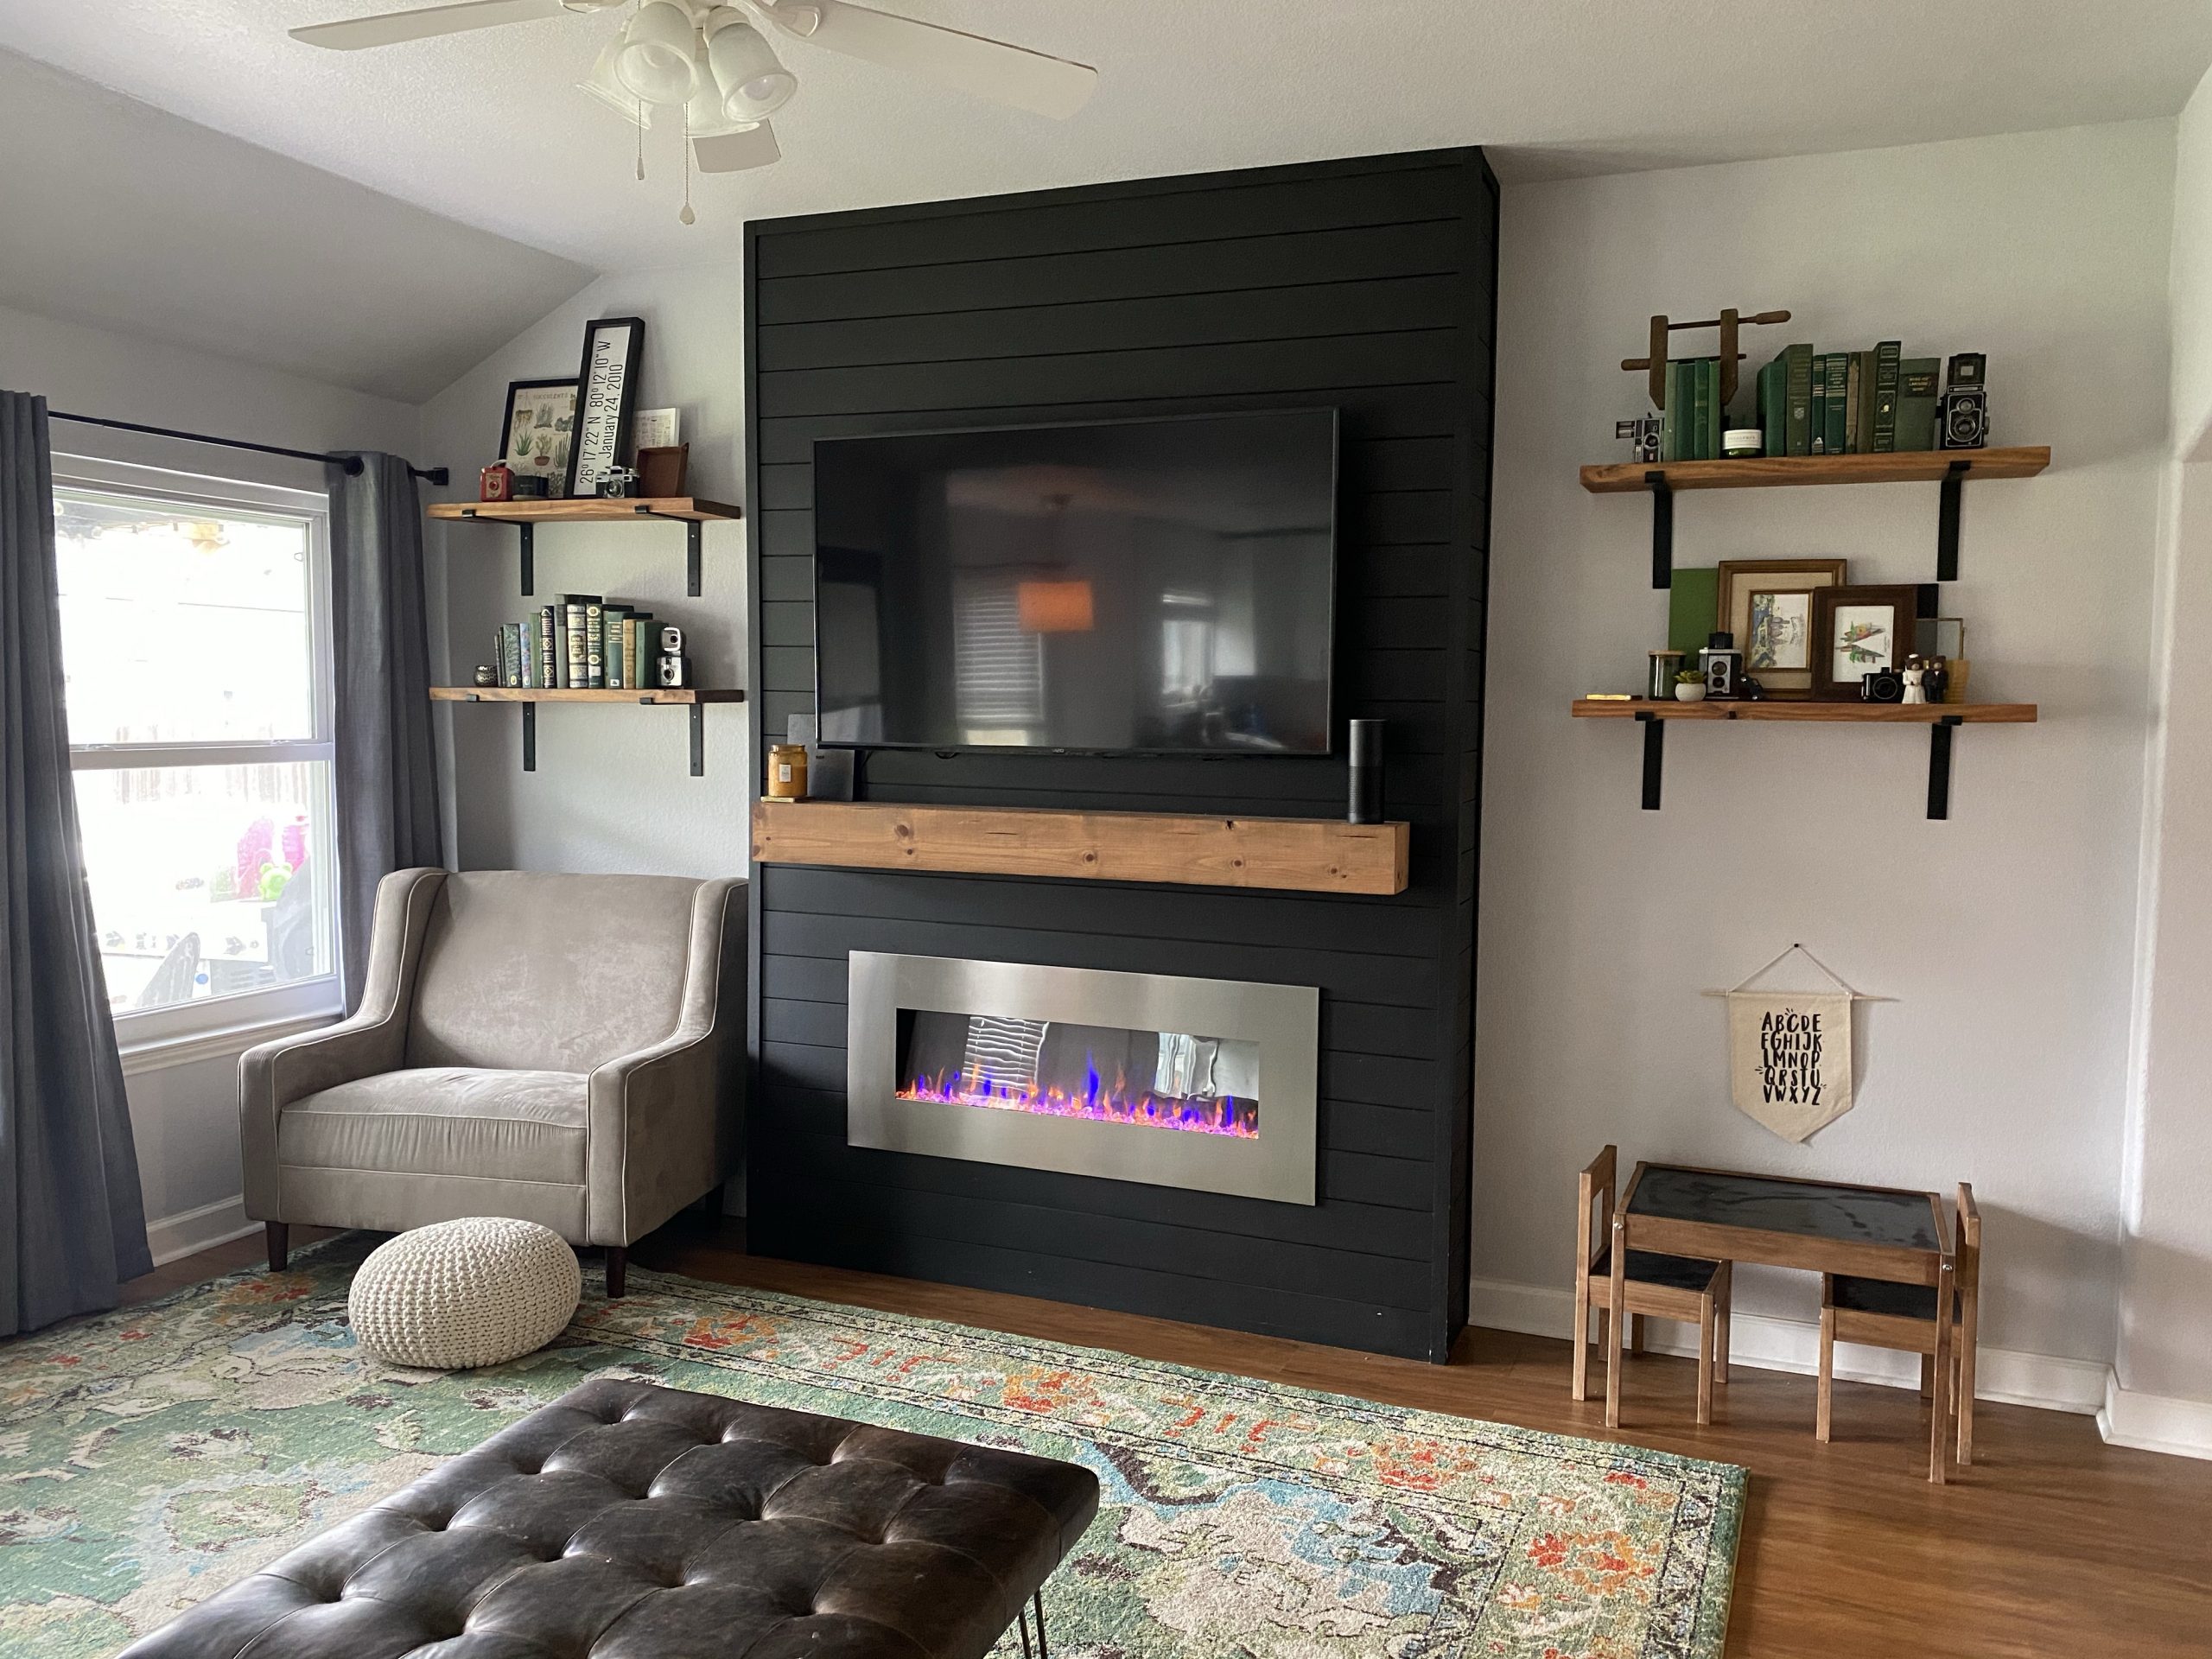
I dreamed up this project a little under a year ago when we moved into our new space. This giant blank wall needed a statement piece and since our renters requested the pipe shelf entertainment center that Josh built stay with the old house, we didn’t have anything. Back then, there was really only one tutorial on how to do something like this, but dang it was a good one. Search for the “Whitney Hansen how to build a fireplace in one weekend” series on YouTube. But it’s a big project and a lot to think through. Over our nearly 7 years of marriage, I’ve learned that the more tutorials I send Josh, the more confident he is to start a project; but there really was only that one good tutorial for a long time. Thankfully for some reason, in the last few months, it seems like EVERYONE has been building out electric fireplaces, and I was able to send him three bloggers posts detailing their builds. Chris Loves Julia, Nesting with Grace, and The Blooming Nest. All three have excellent detailed posts about how to do this, so I’m not really going into a detailed “how to” here on this blog, just sharing our journey. Six months ago Josh took several of my chicken scratch drawings into sketch up, confirmed it was something we could pull off, and then we waited to save up for this project and finish a few others. But… then Jett learned how to (and learned that he LOVED to) turn the volume all the way down and the TV off several dozen times a day; because he realized he could reach the buttons and that sort of sped up our timeline. So, our thanksgiving break was spent with bit of time at Home Depot and a lot of time in the garage, but alas, it’s done. I love it even more than I thought I would.
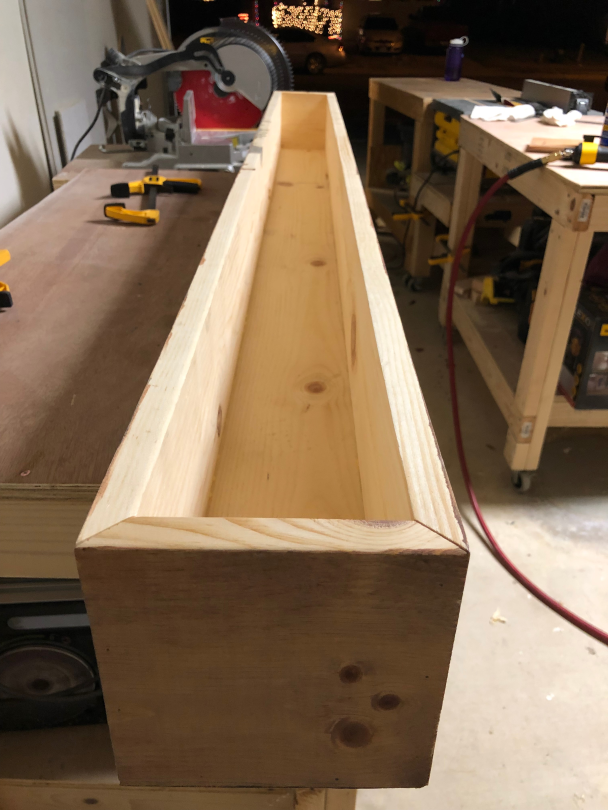
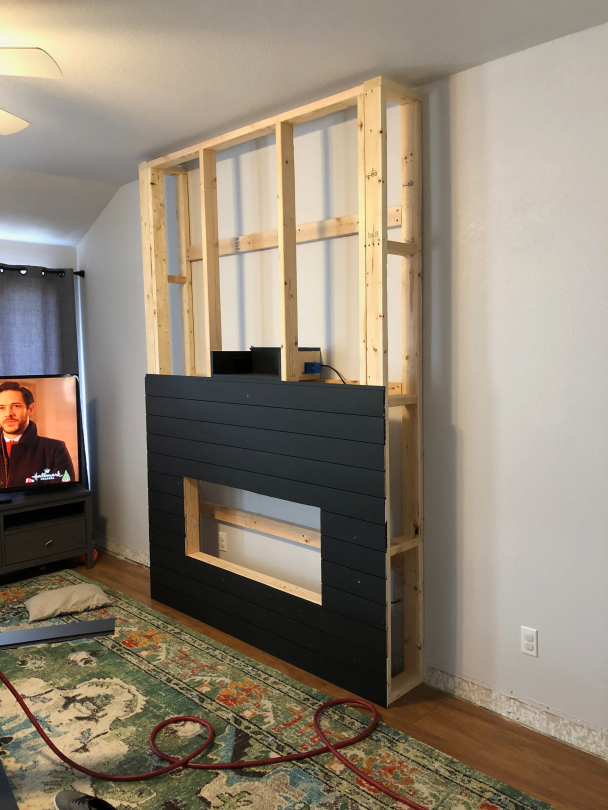
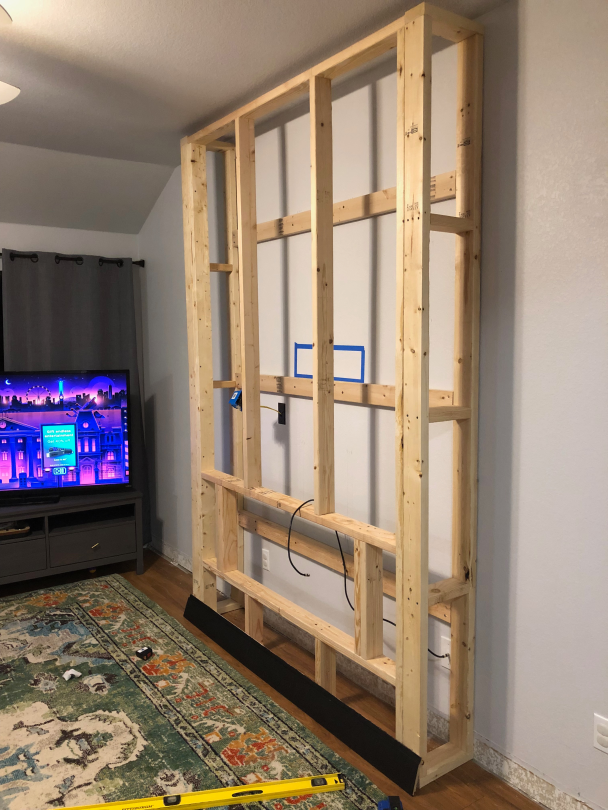
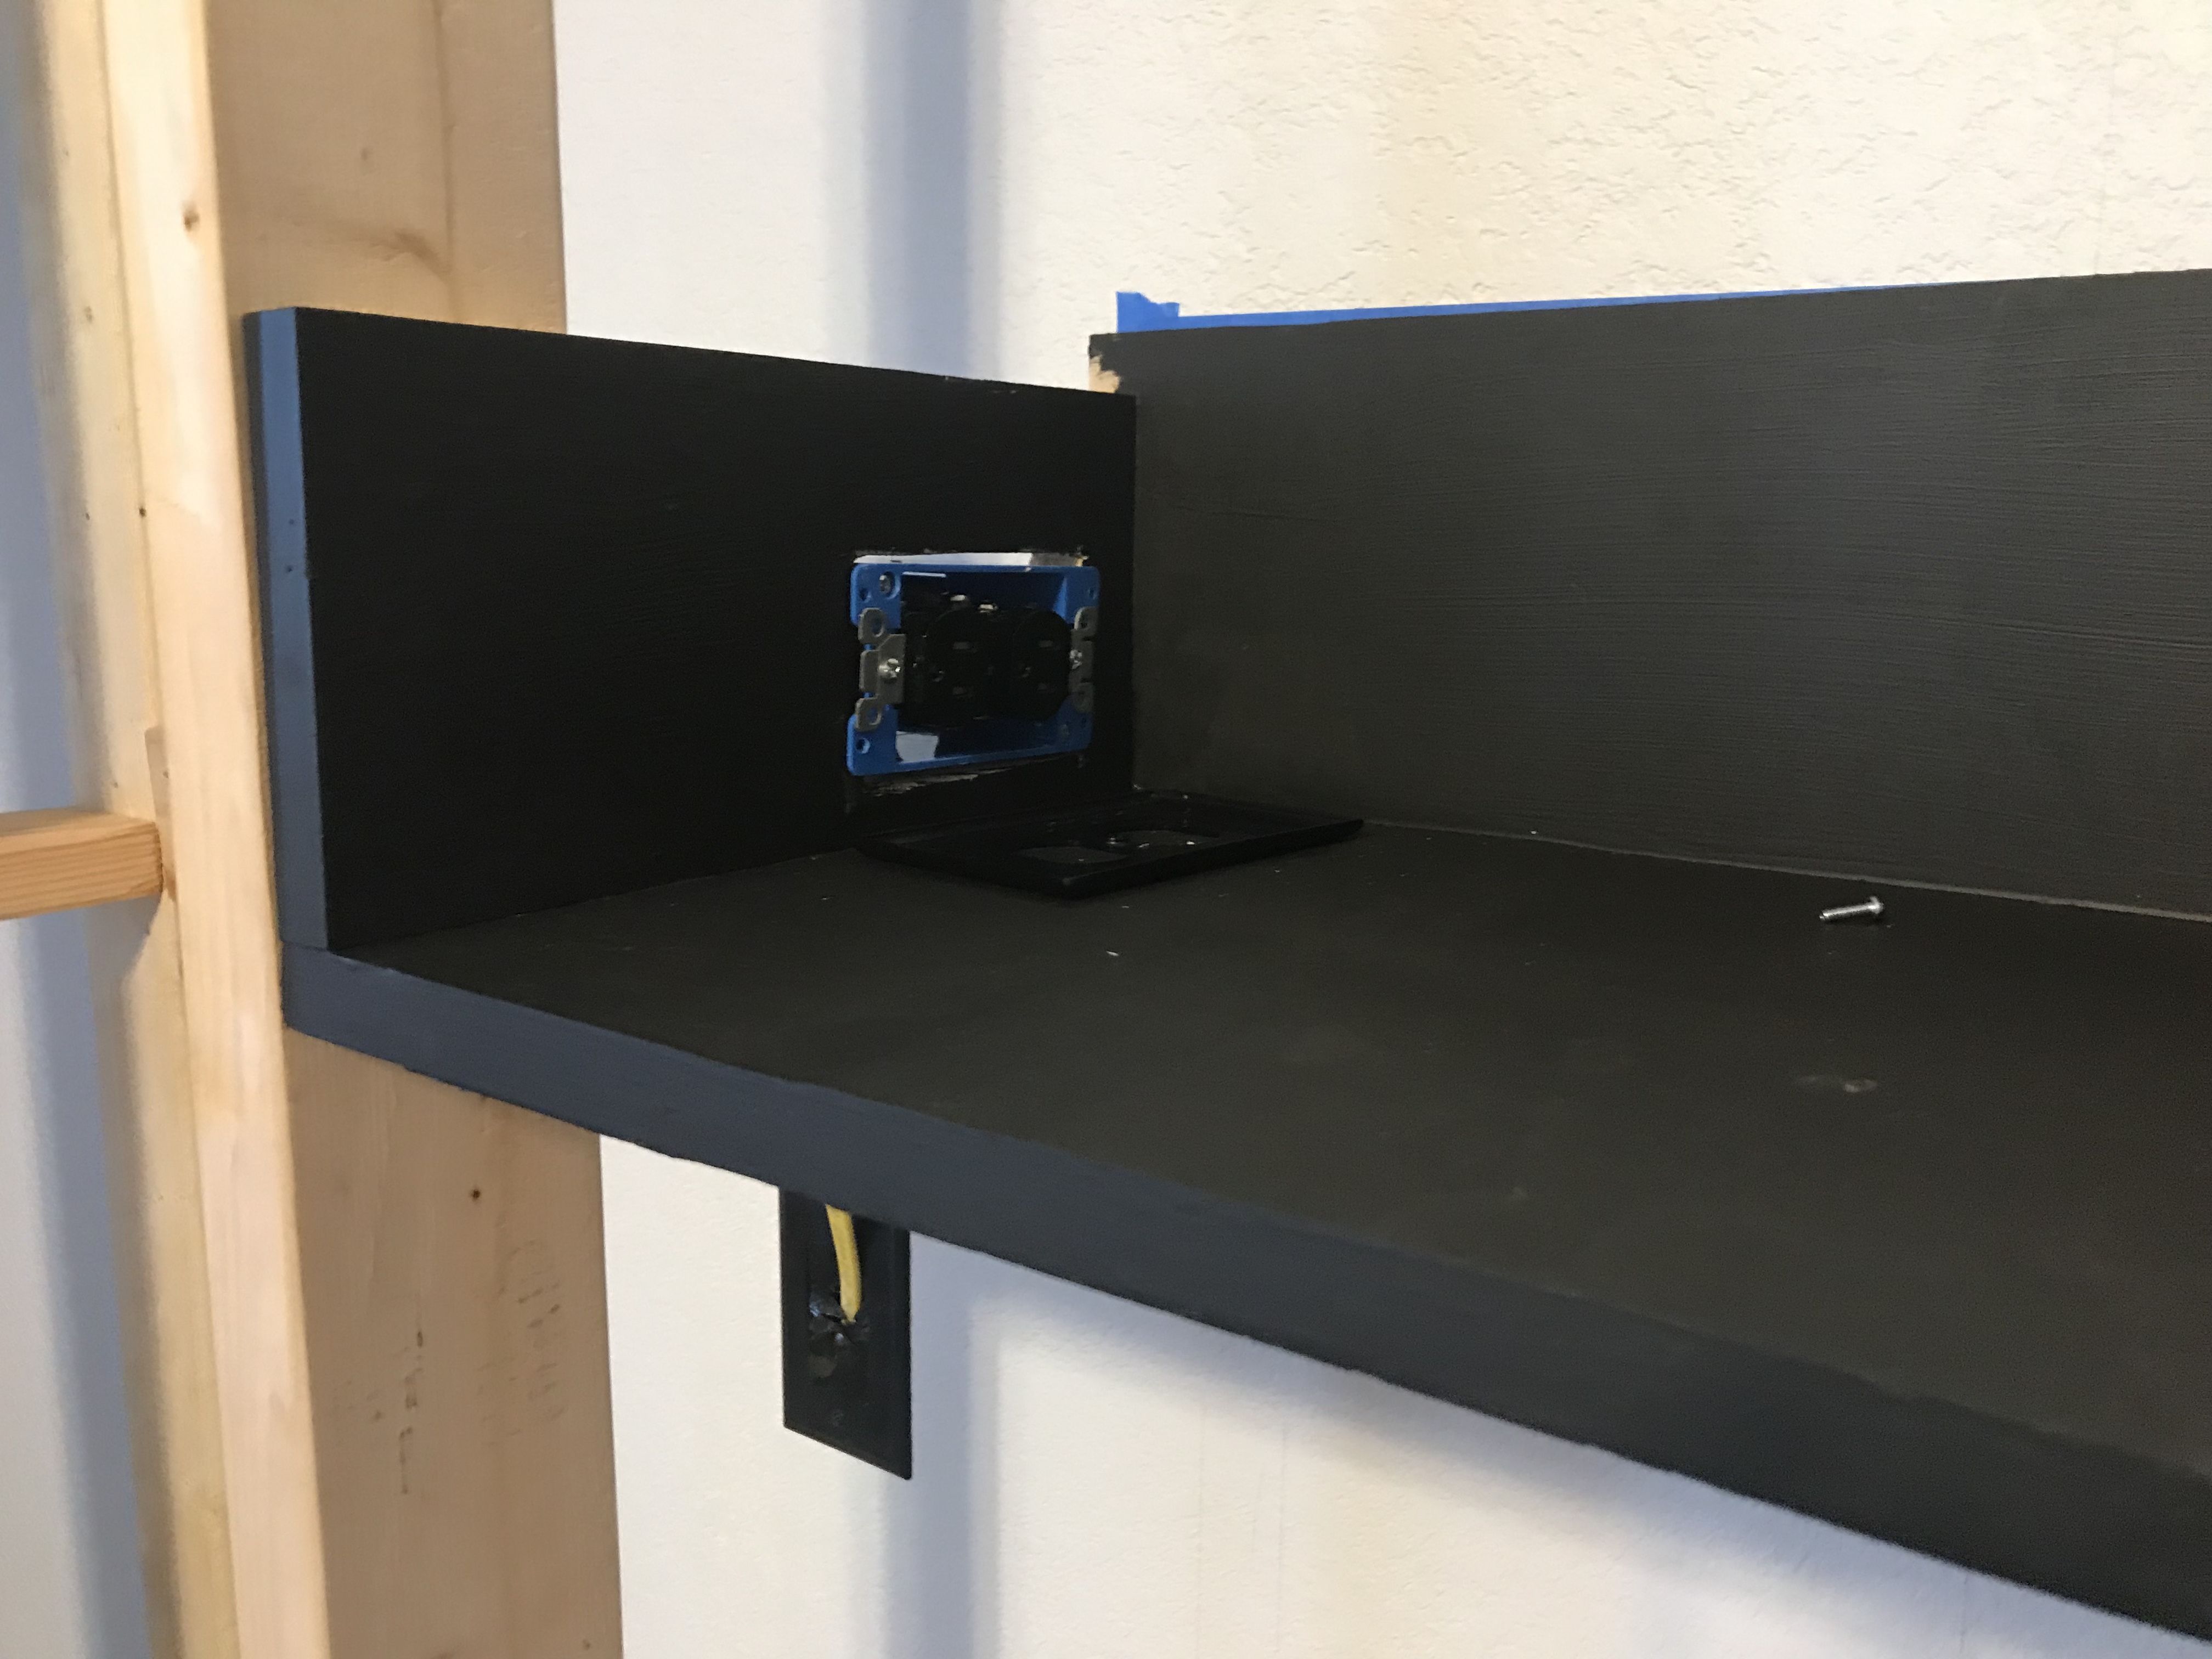
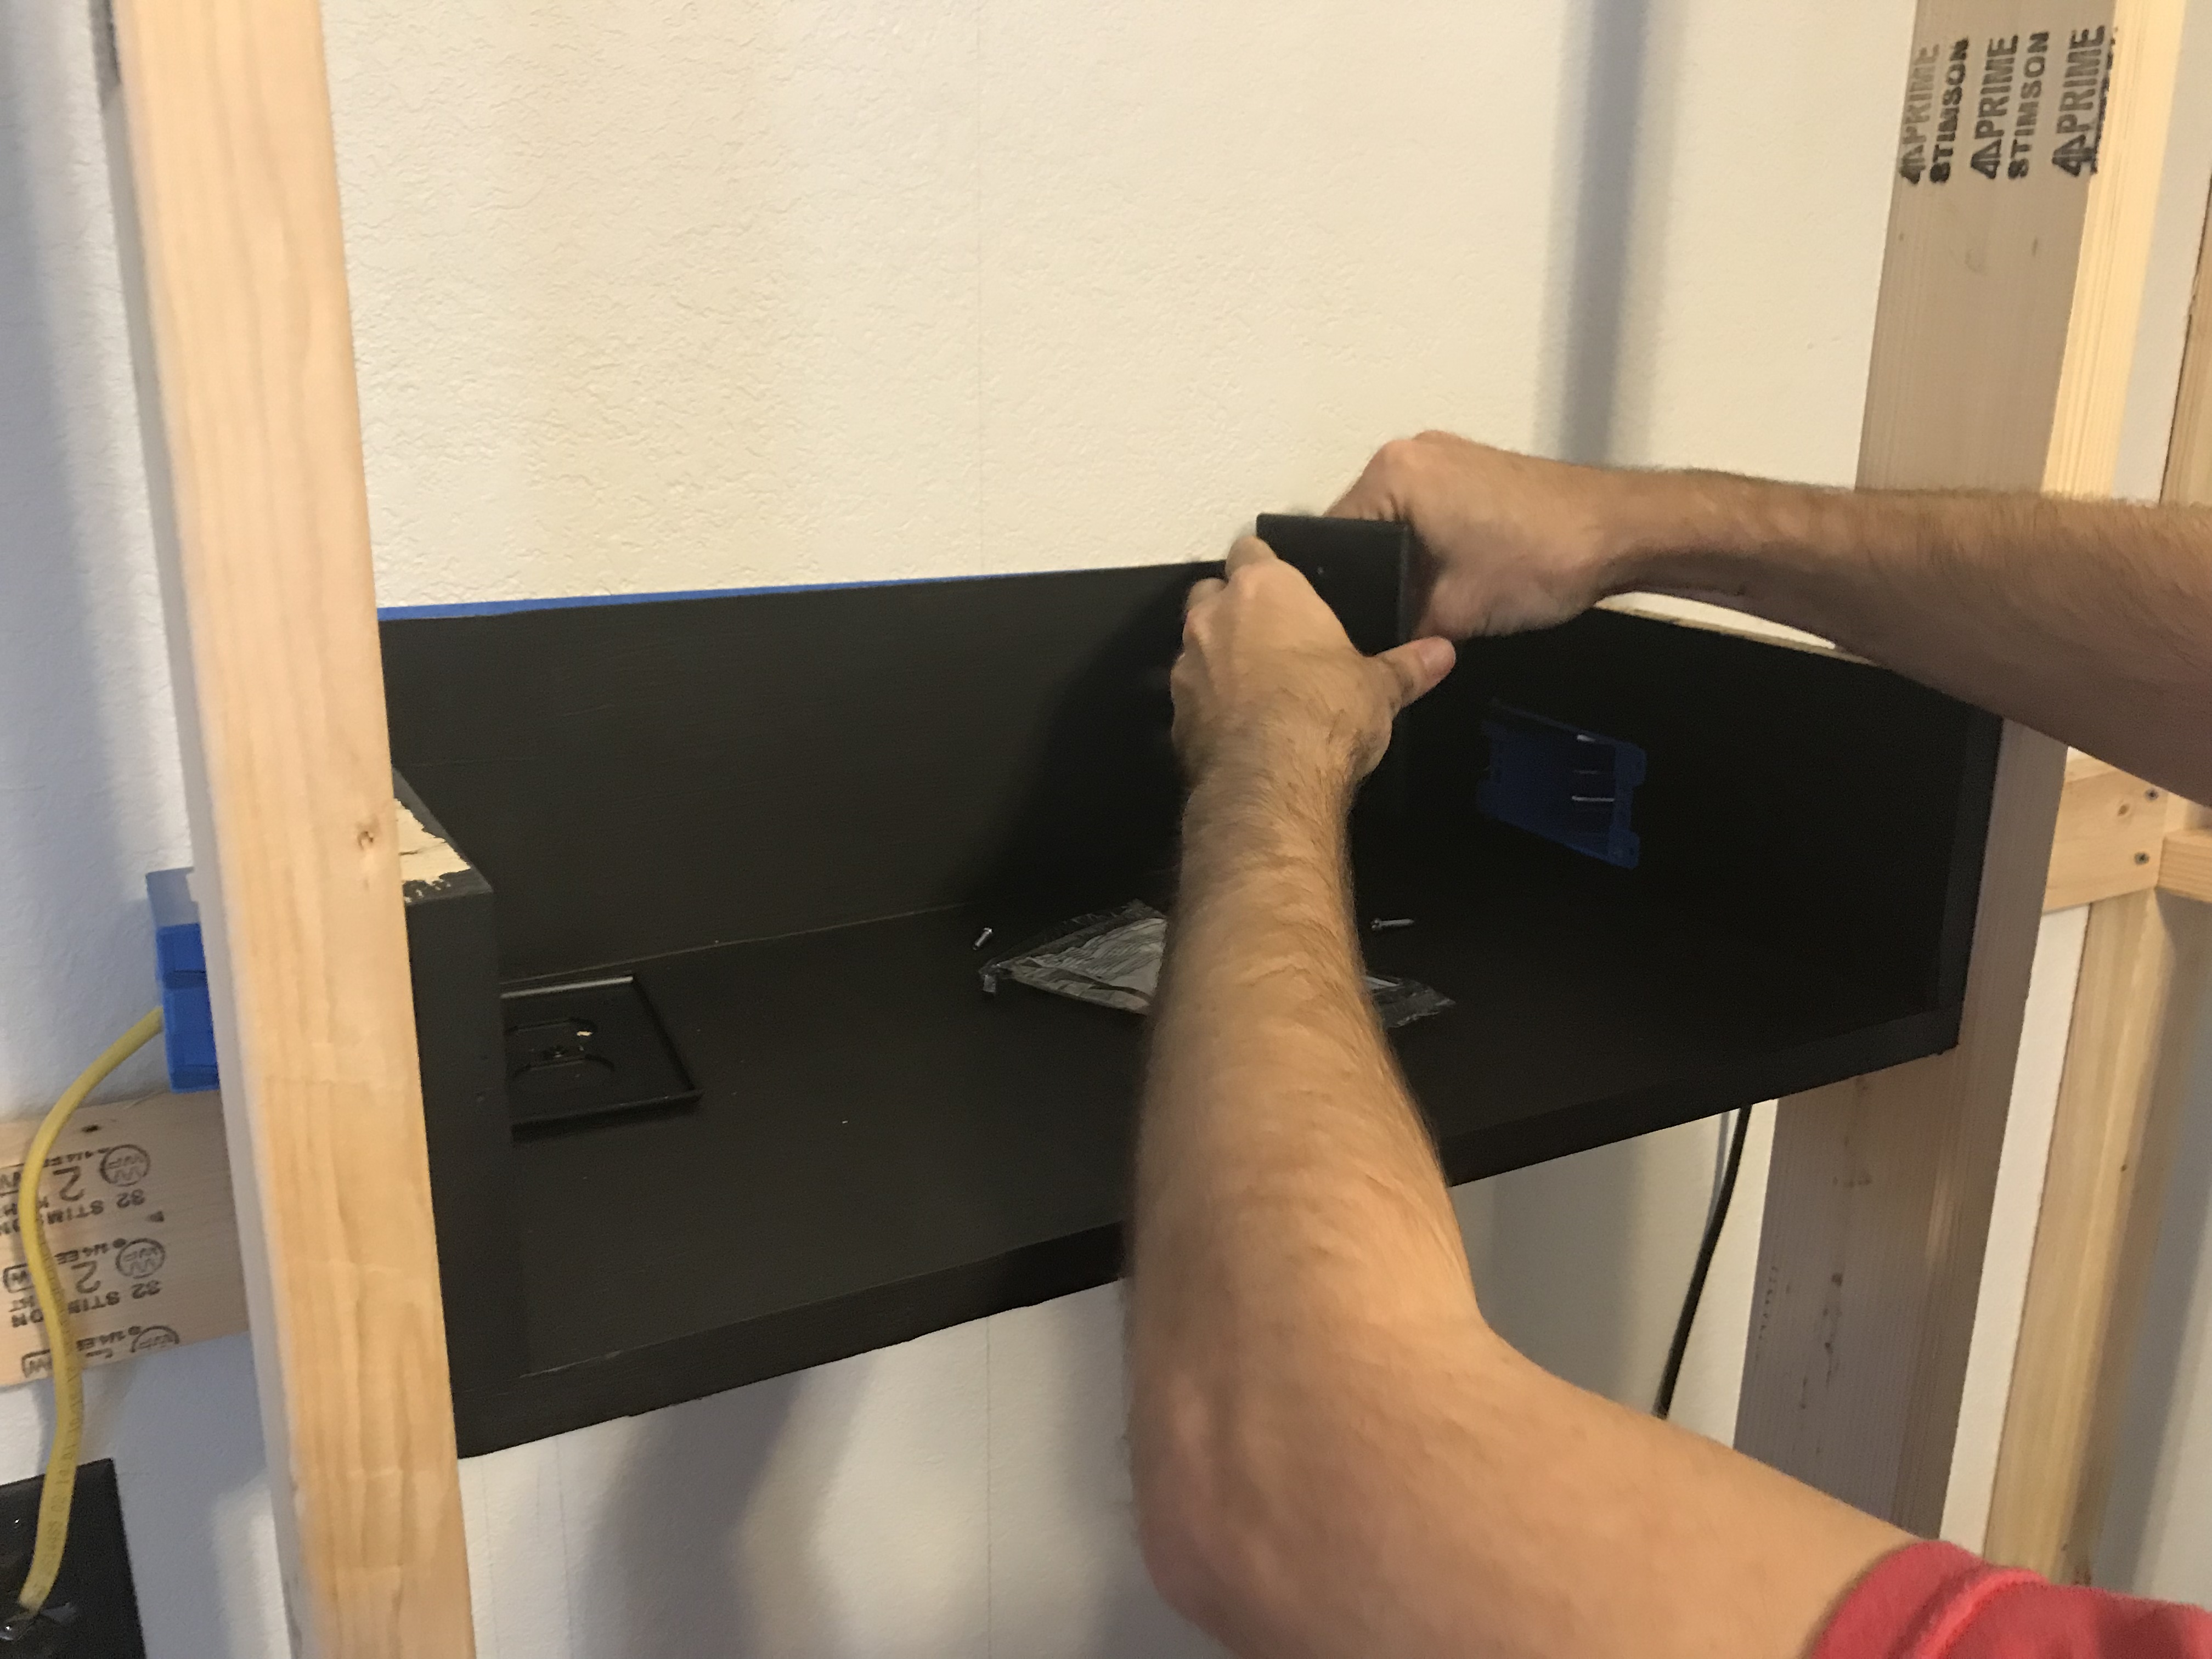
In order to allow for a cable box (something we don’t plan on having, but doesn’t hurt to prepare for) or an XBOX1X (which the handy builder is getting for Christmas) we added an open box behind the tv that has power and cable run to it. It wouldn’t work well for something that you need access to frequently like a dvd player, but works great for what we have planned. Also, the baseboards were put back, I’m just impatient when it comes to taking pictures.
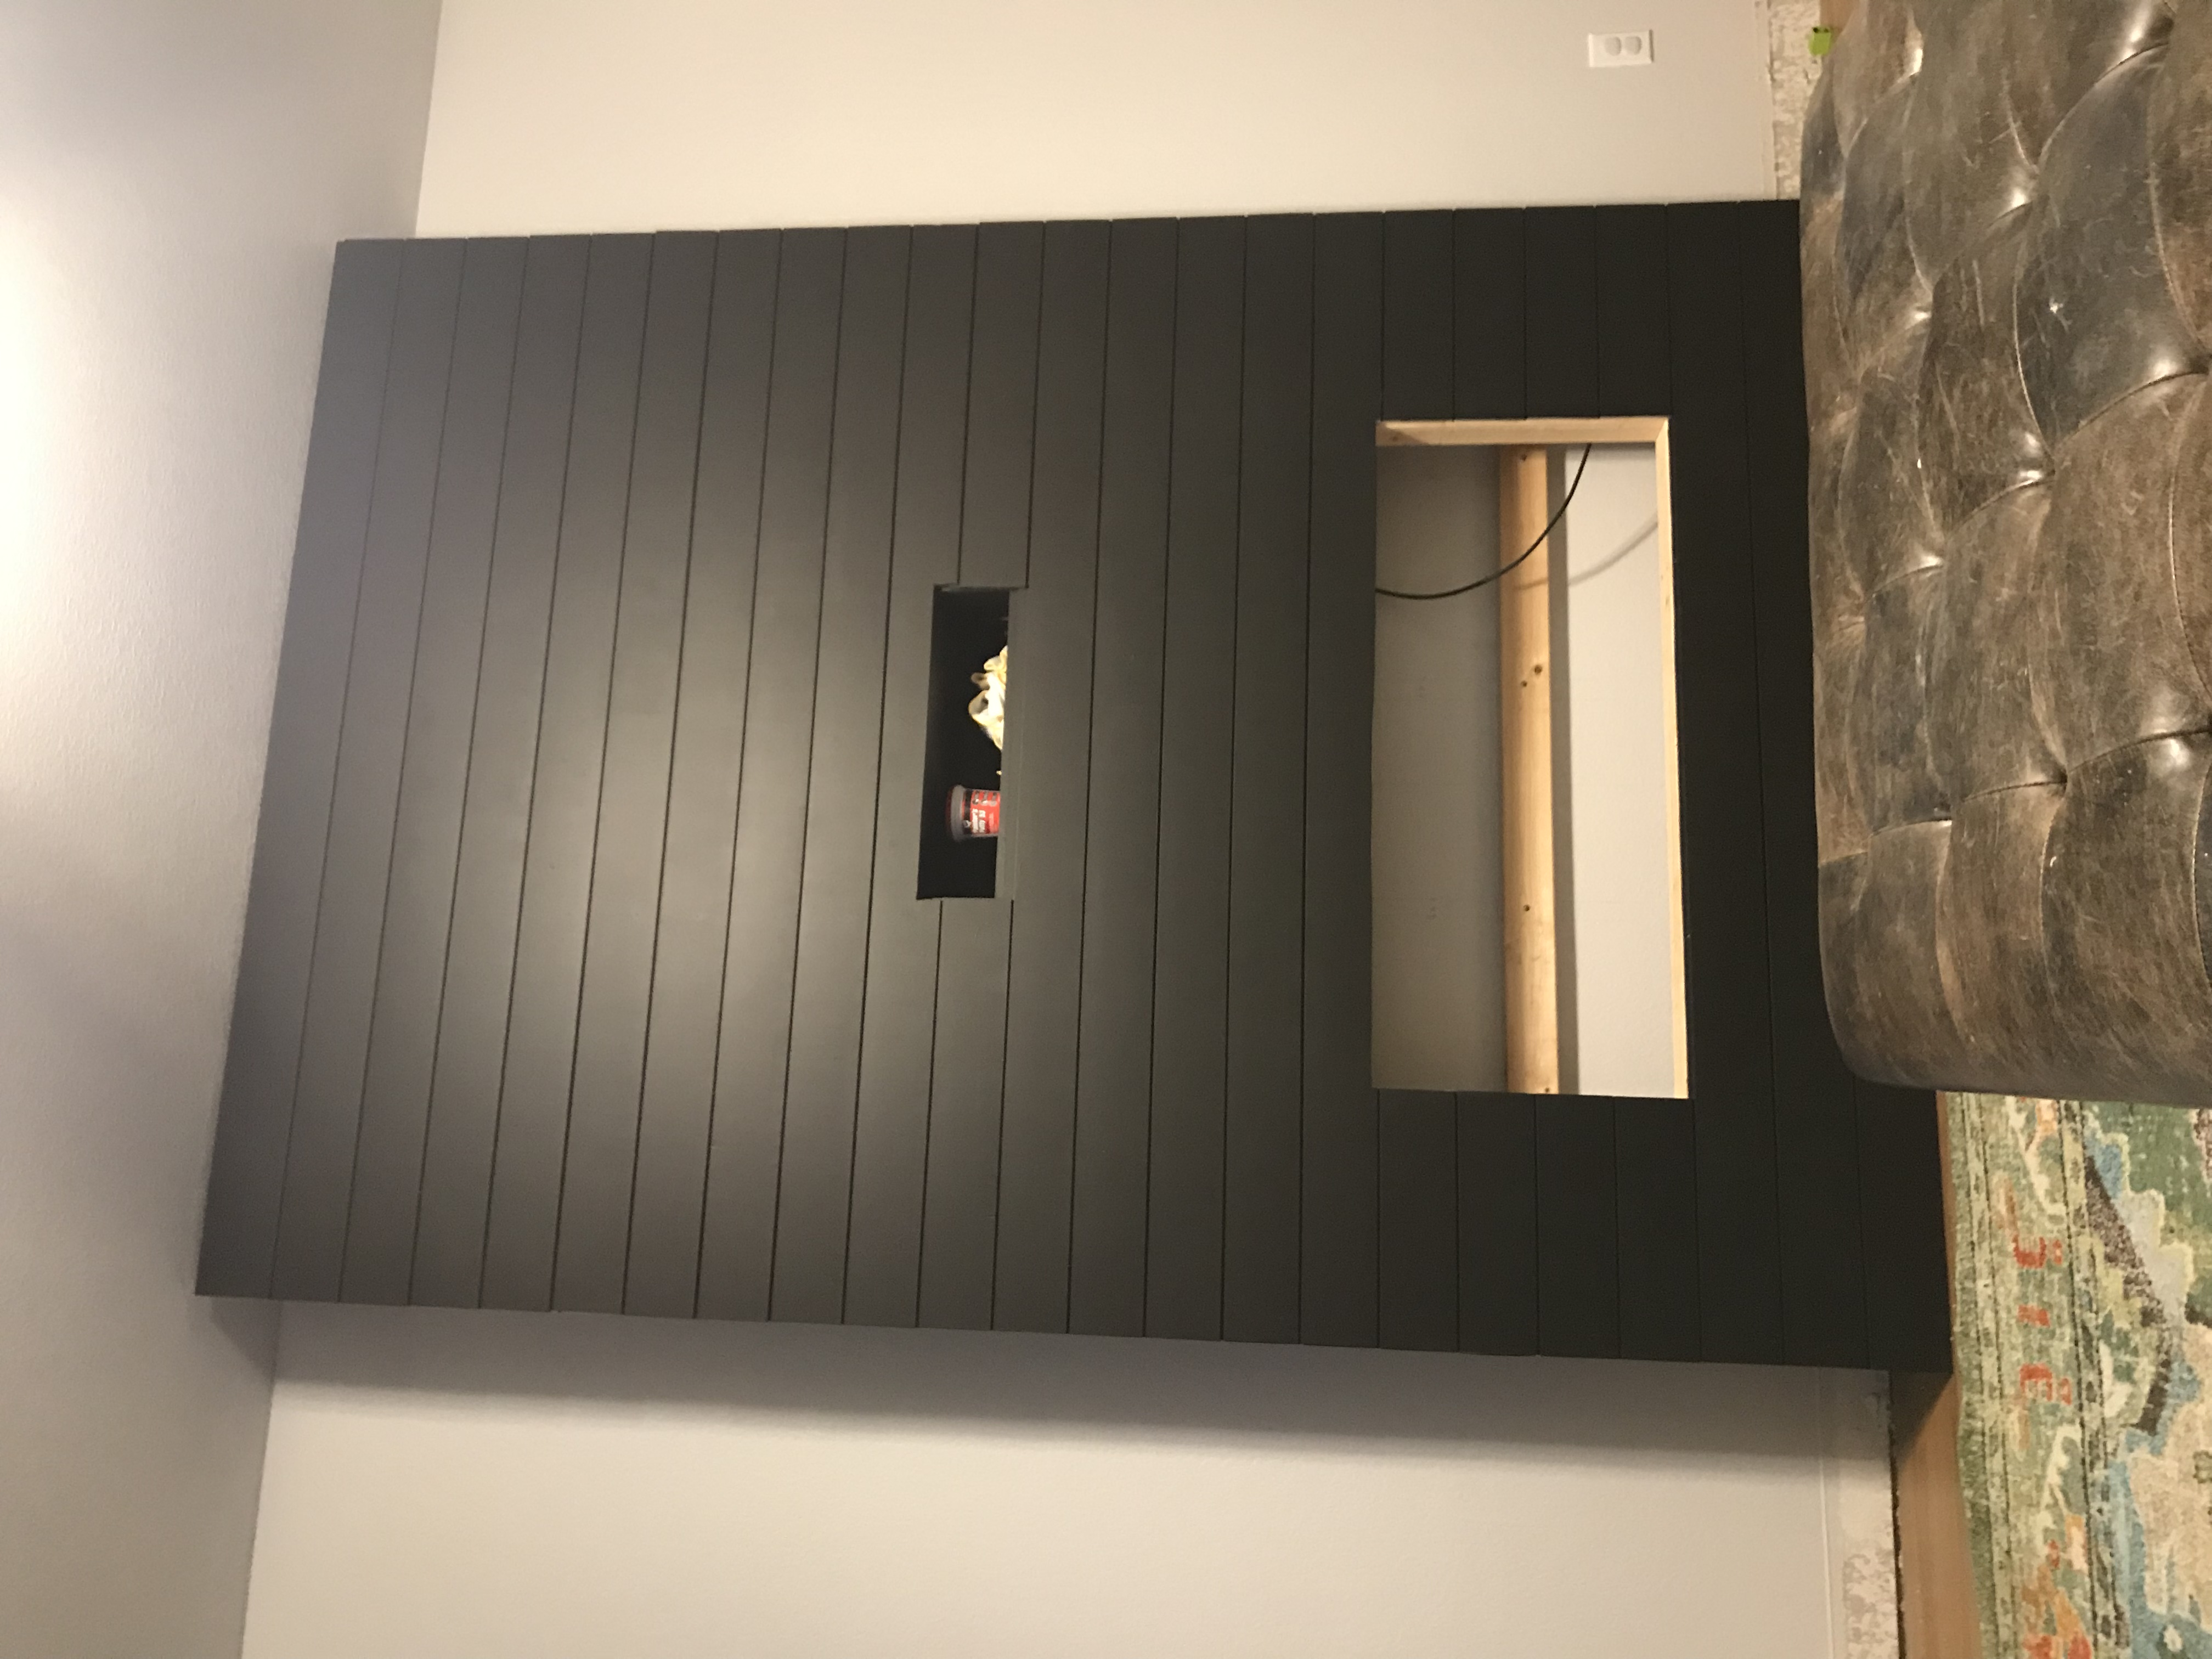
This is the fireplace that we ordered on Amazon, it’s really the expensive part of the whole project. The lumber, shiplap, lattice trim, and wood for the mantle is all from home depot. The whole project including the $600 fireplace came out to just around $1,000. It helped that we had all the tools we needed: Finish nail gun and air compressor, miter saw, table saw, etc.
xoxo,
Adora
Edit: Added pictures of the inset Box for commenter, Michael. Electrical is pigtailed off of an outlet below, hidden behind the fireplace structure the cable line is continued from below as well.
P.S. If you do end up building something like this, I would love to see it! Please tag me on Instagram: @adoramae
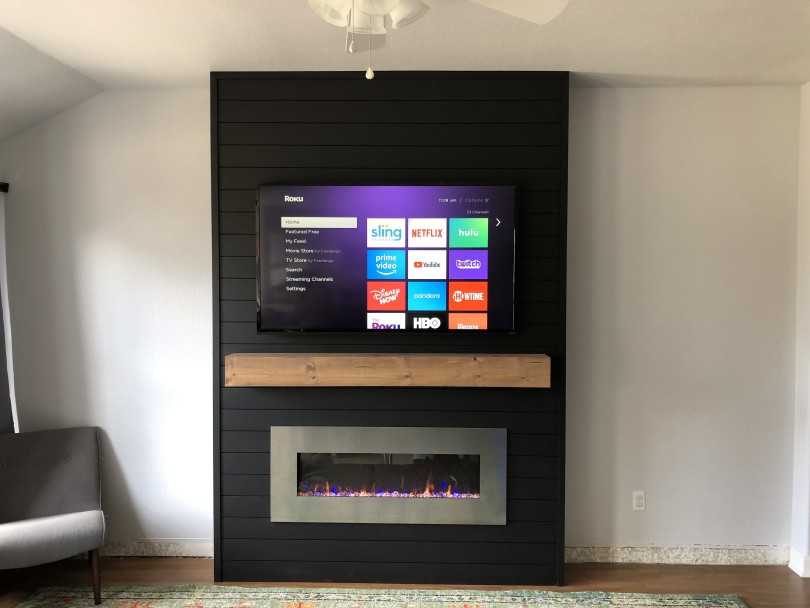
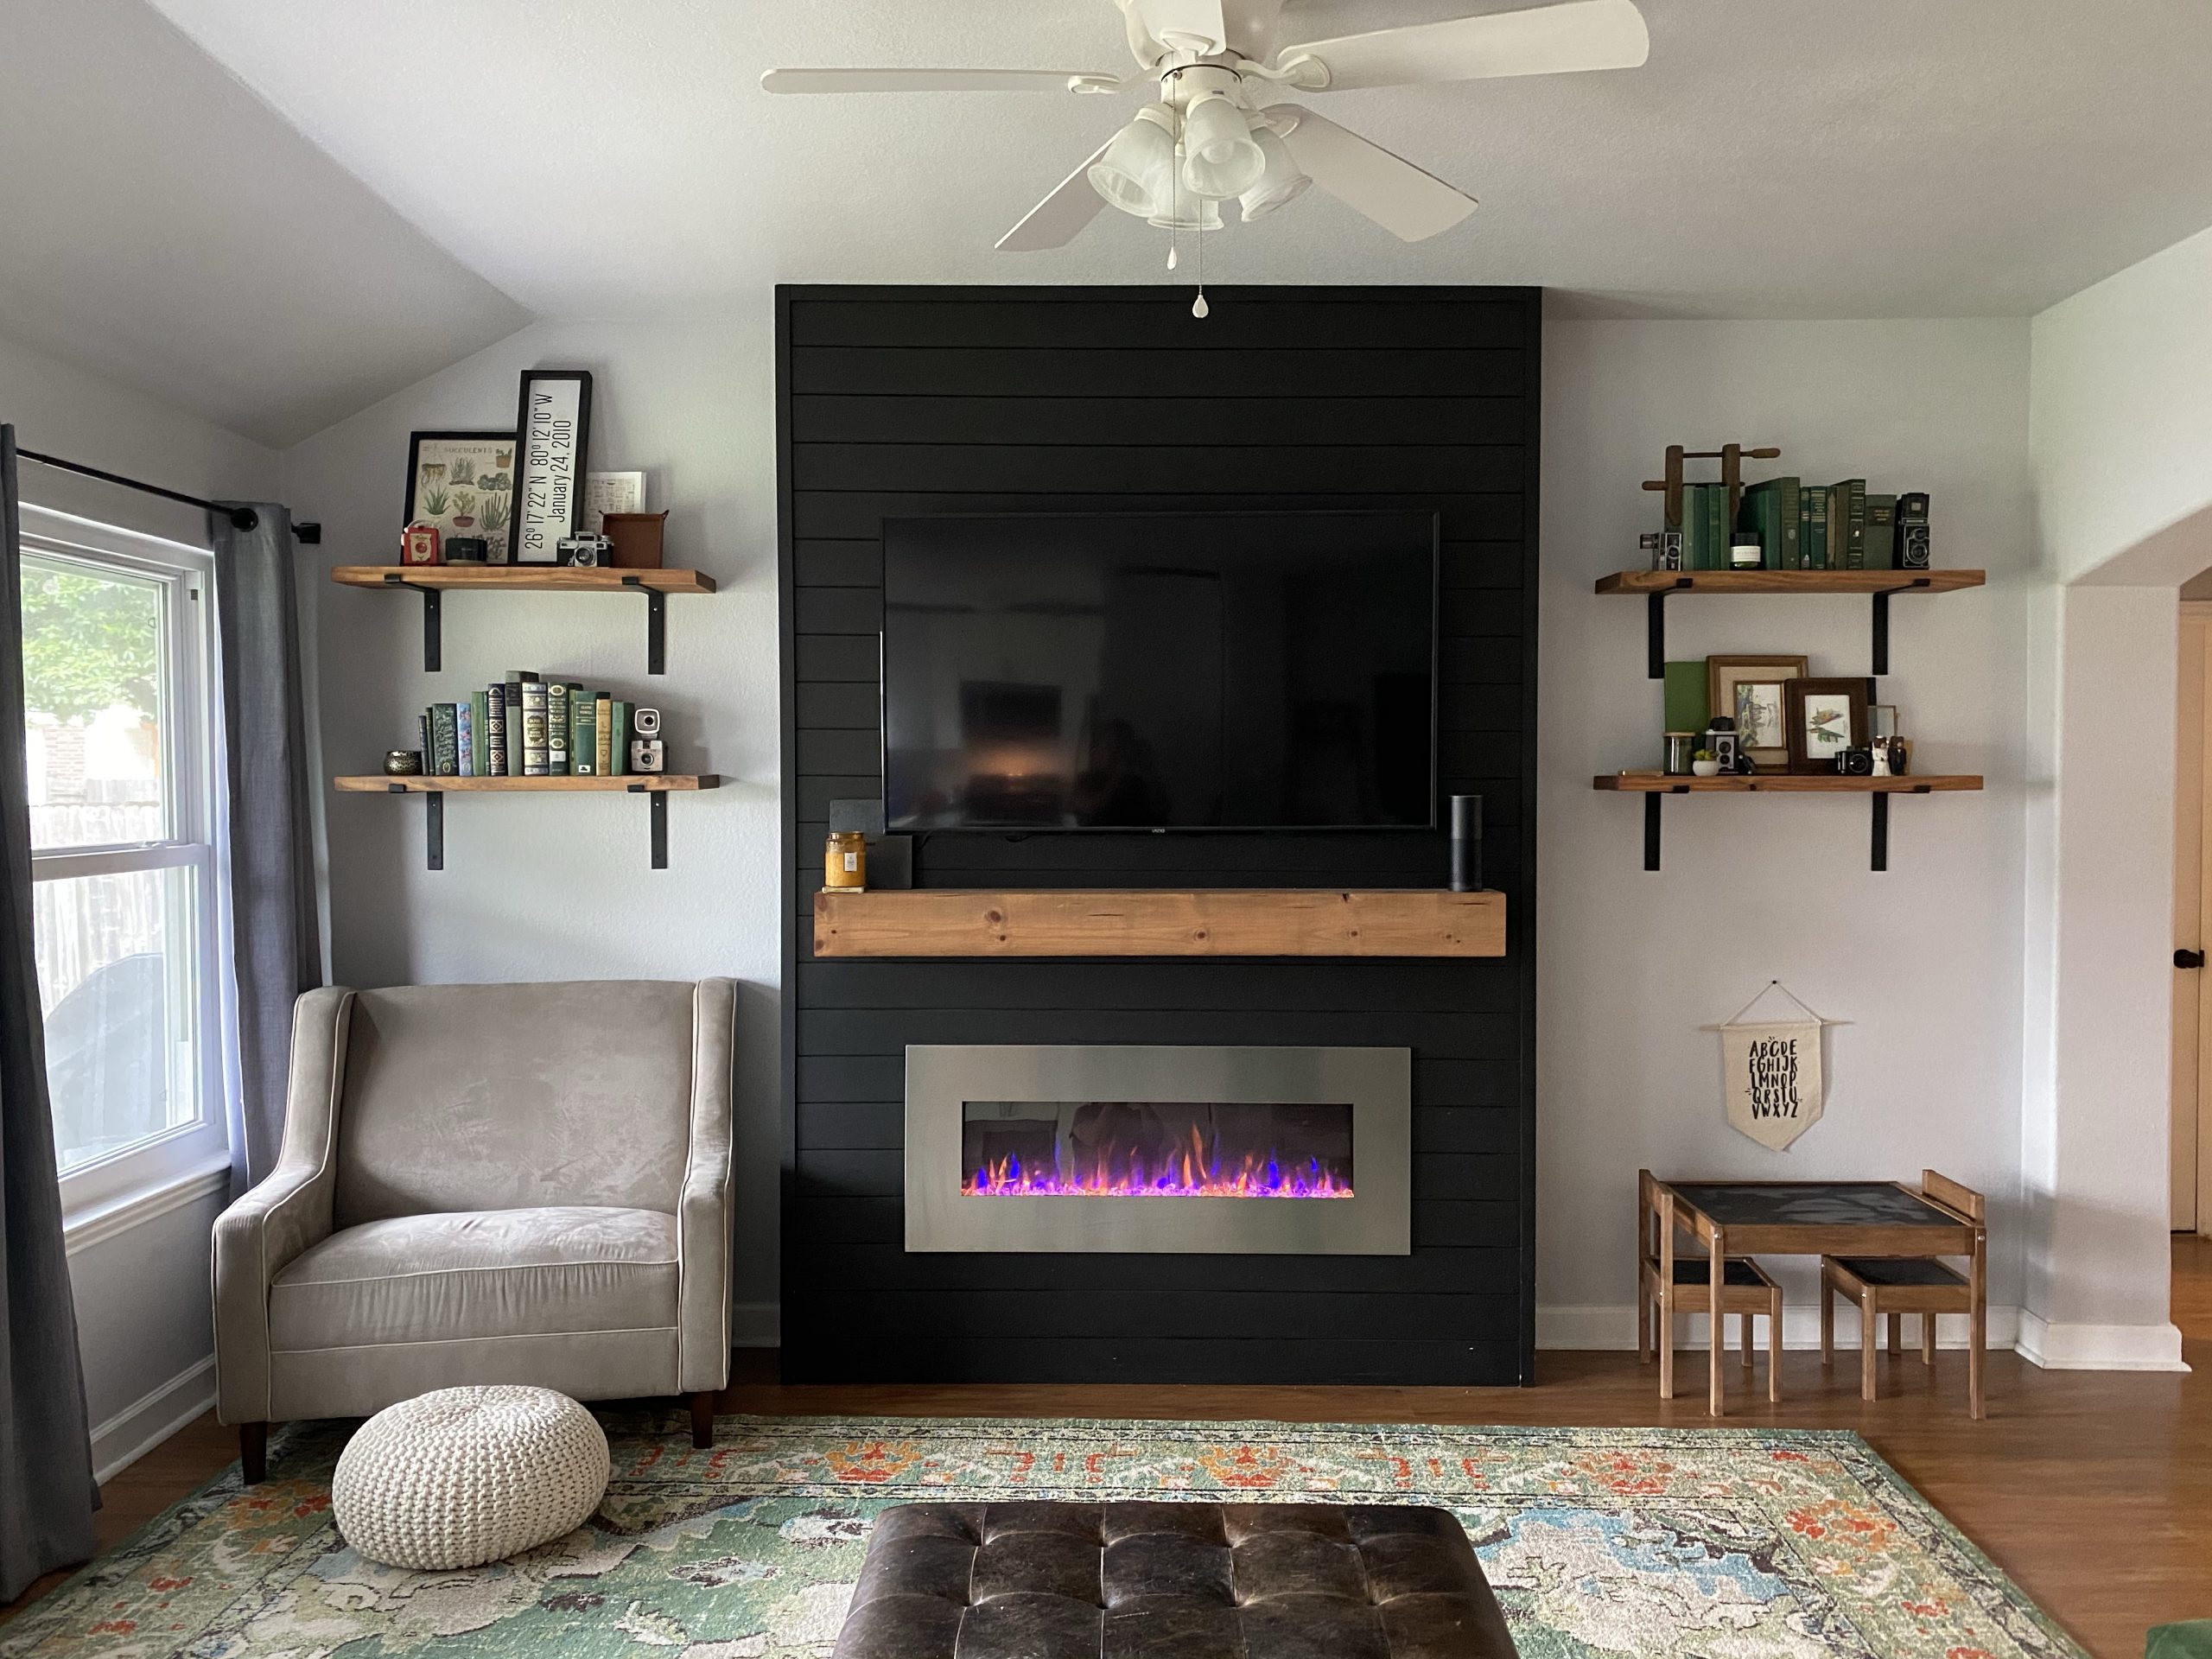
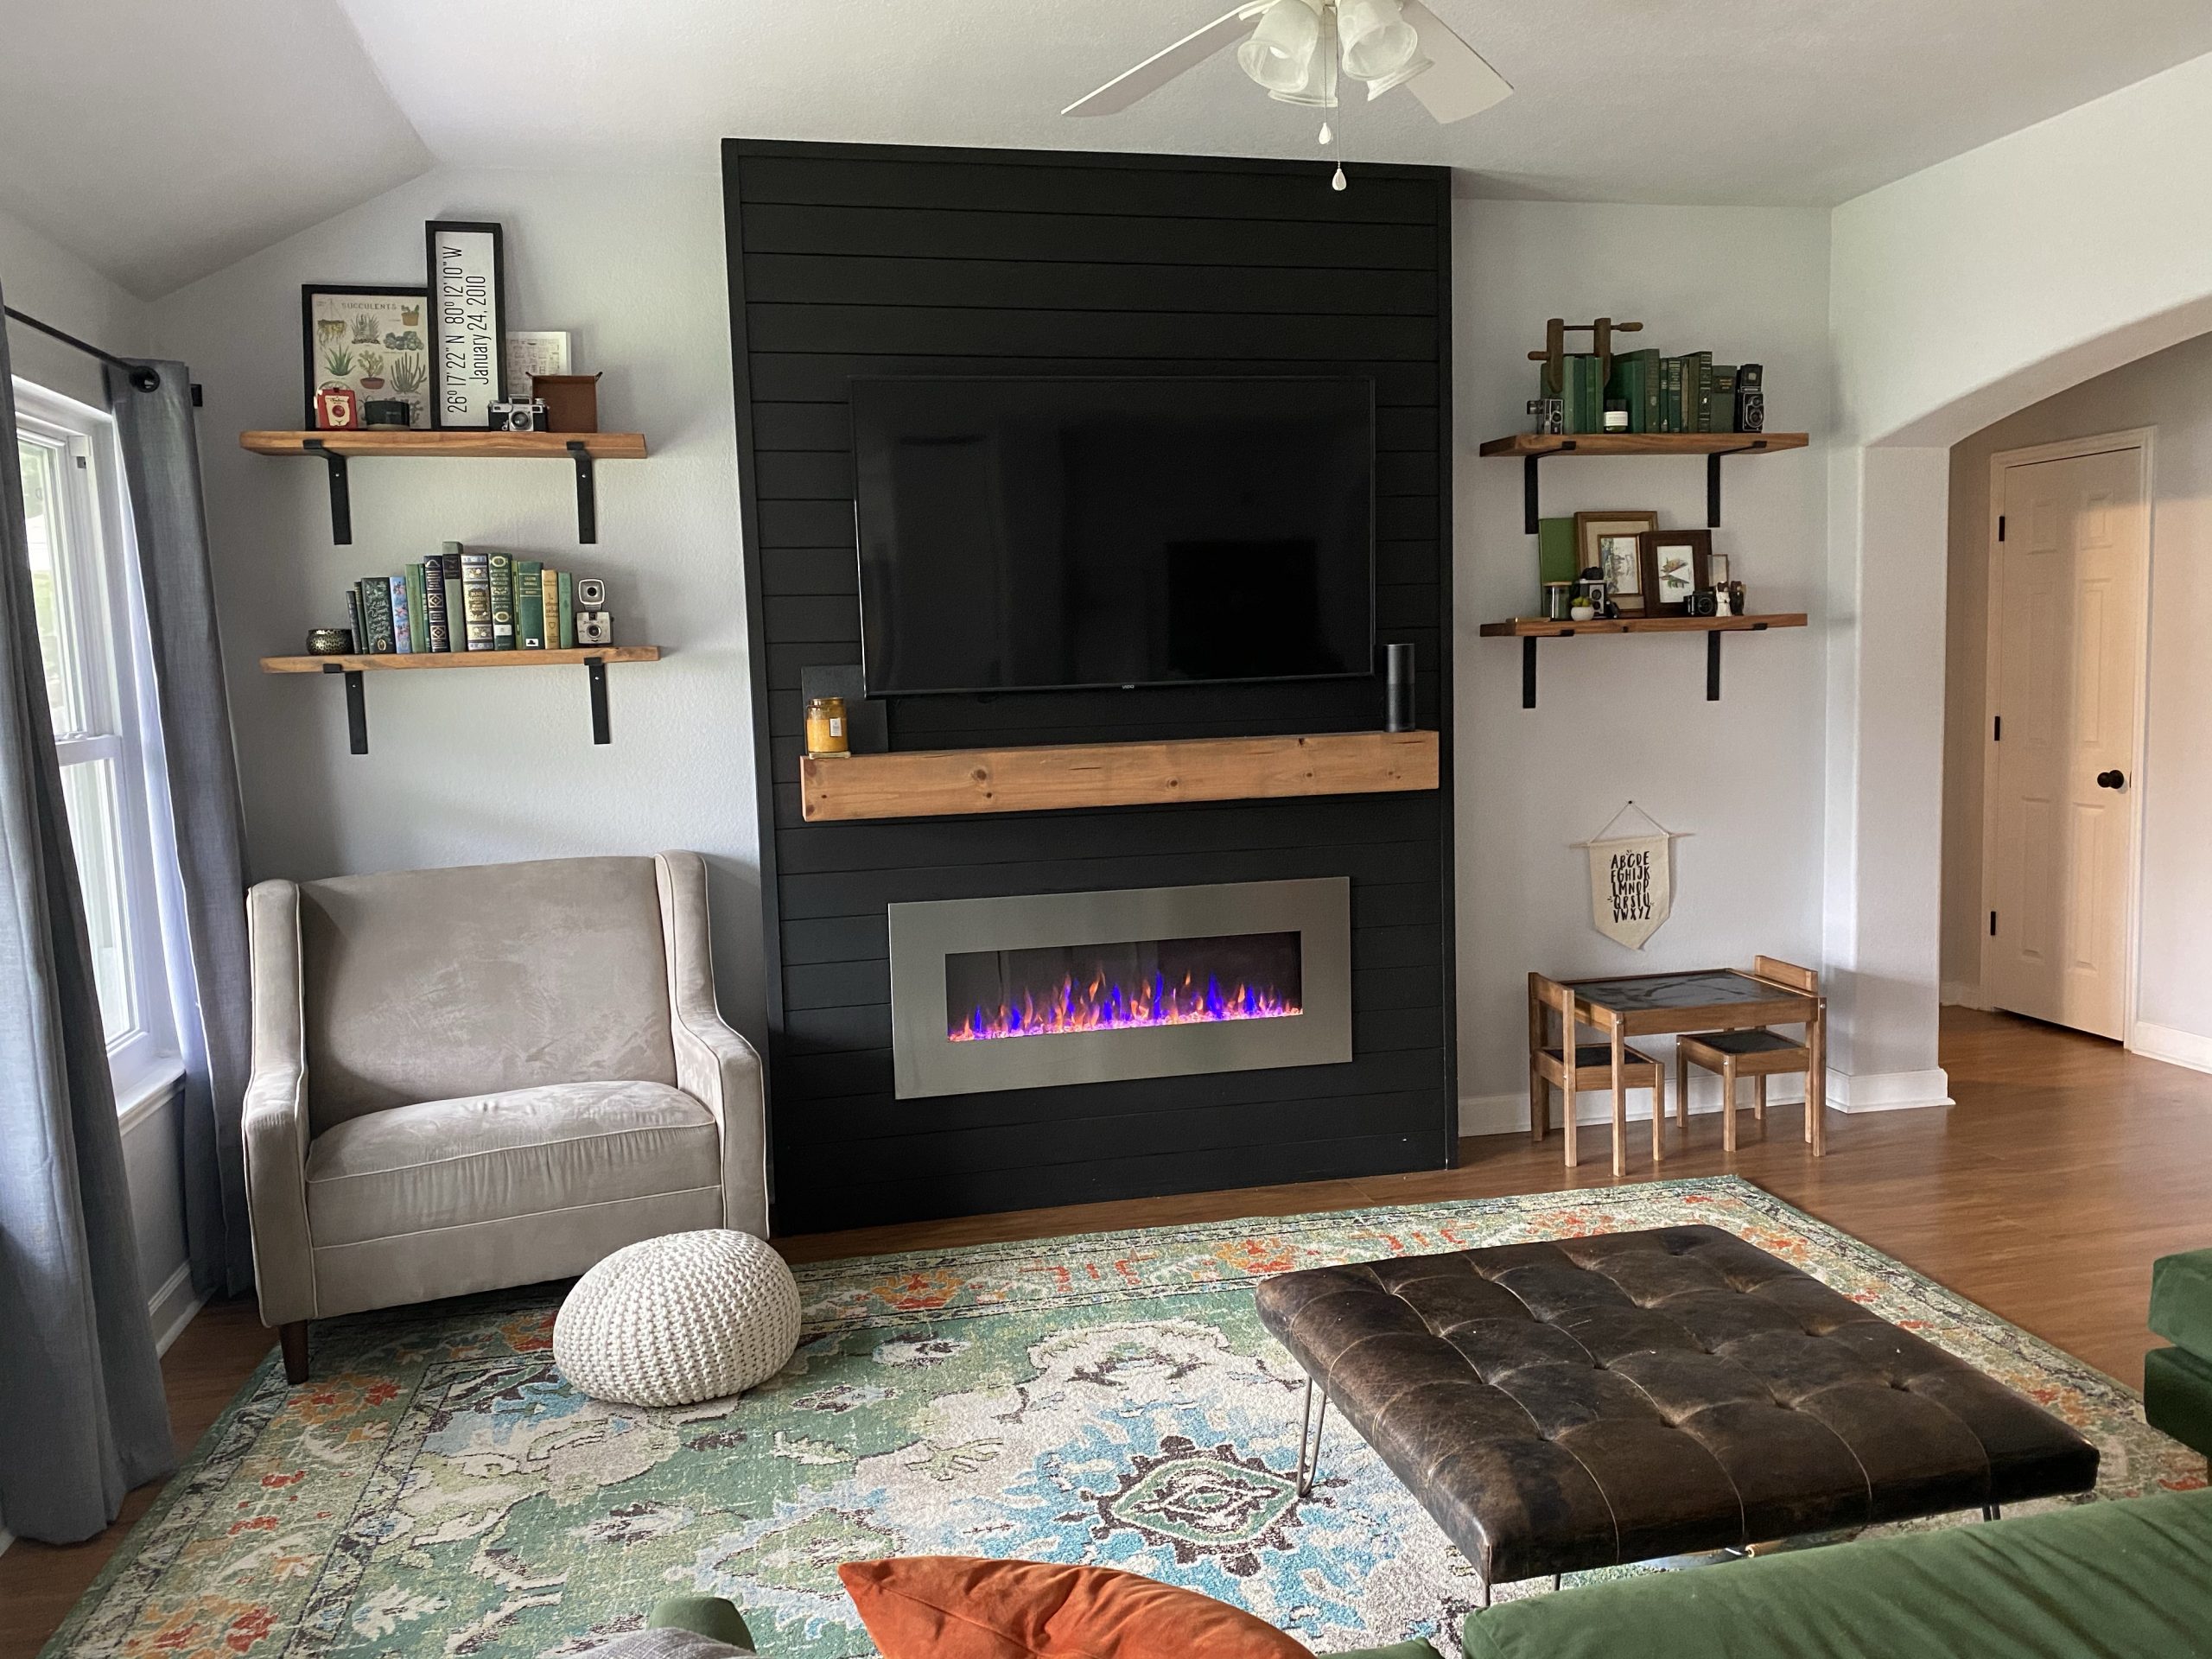
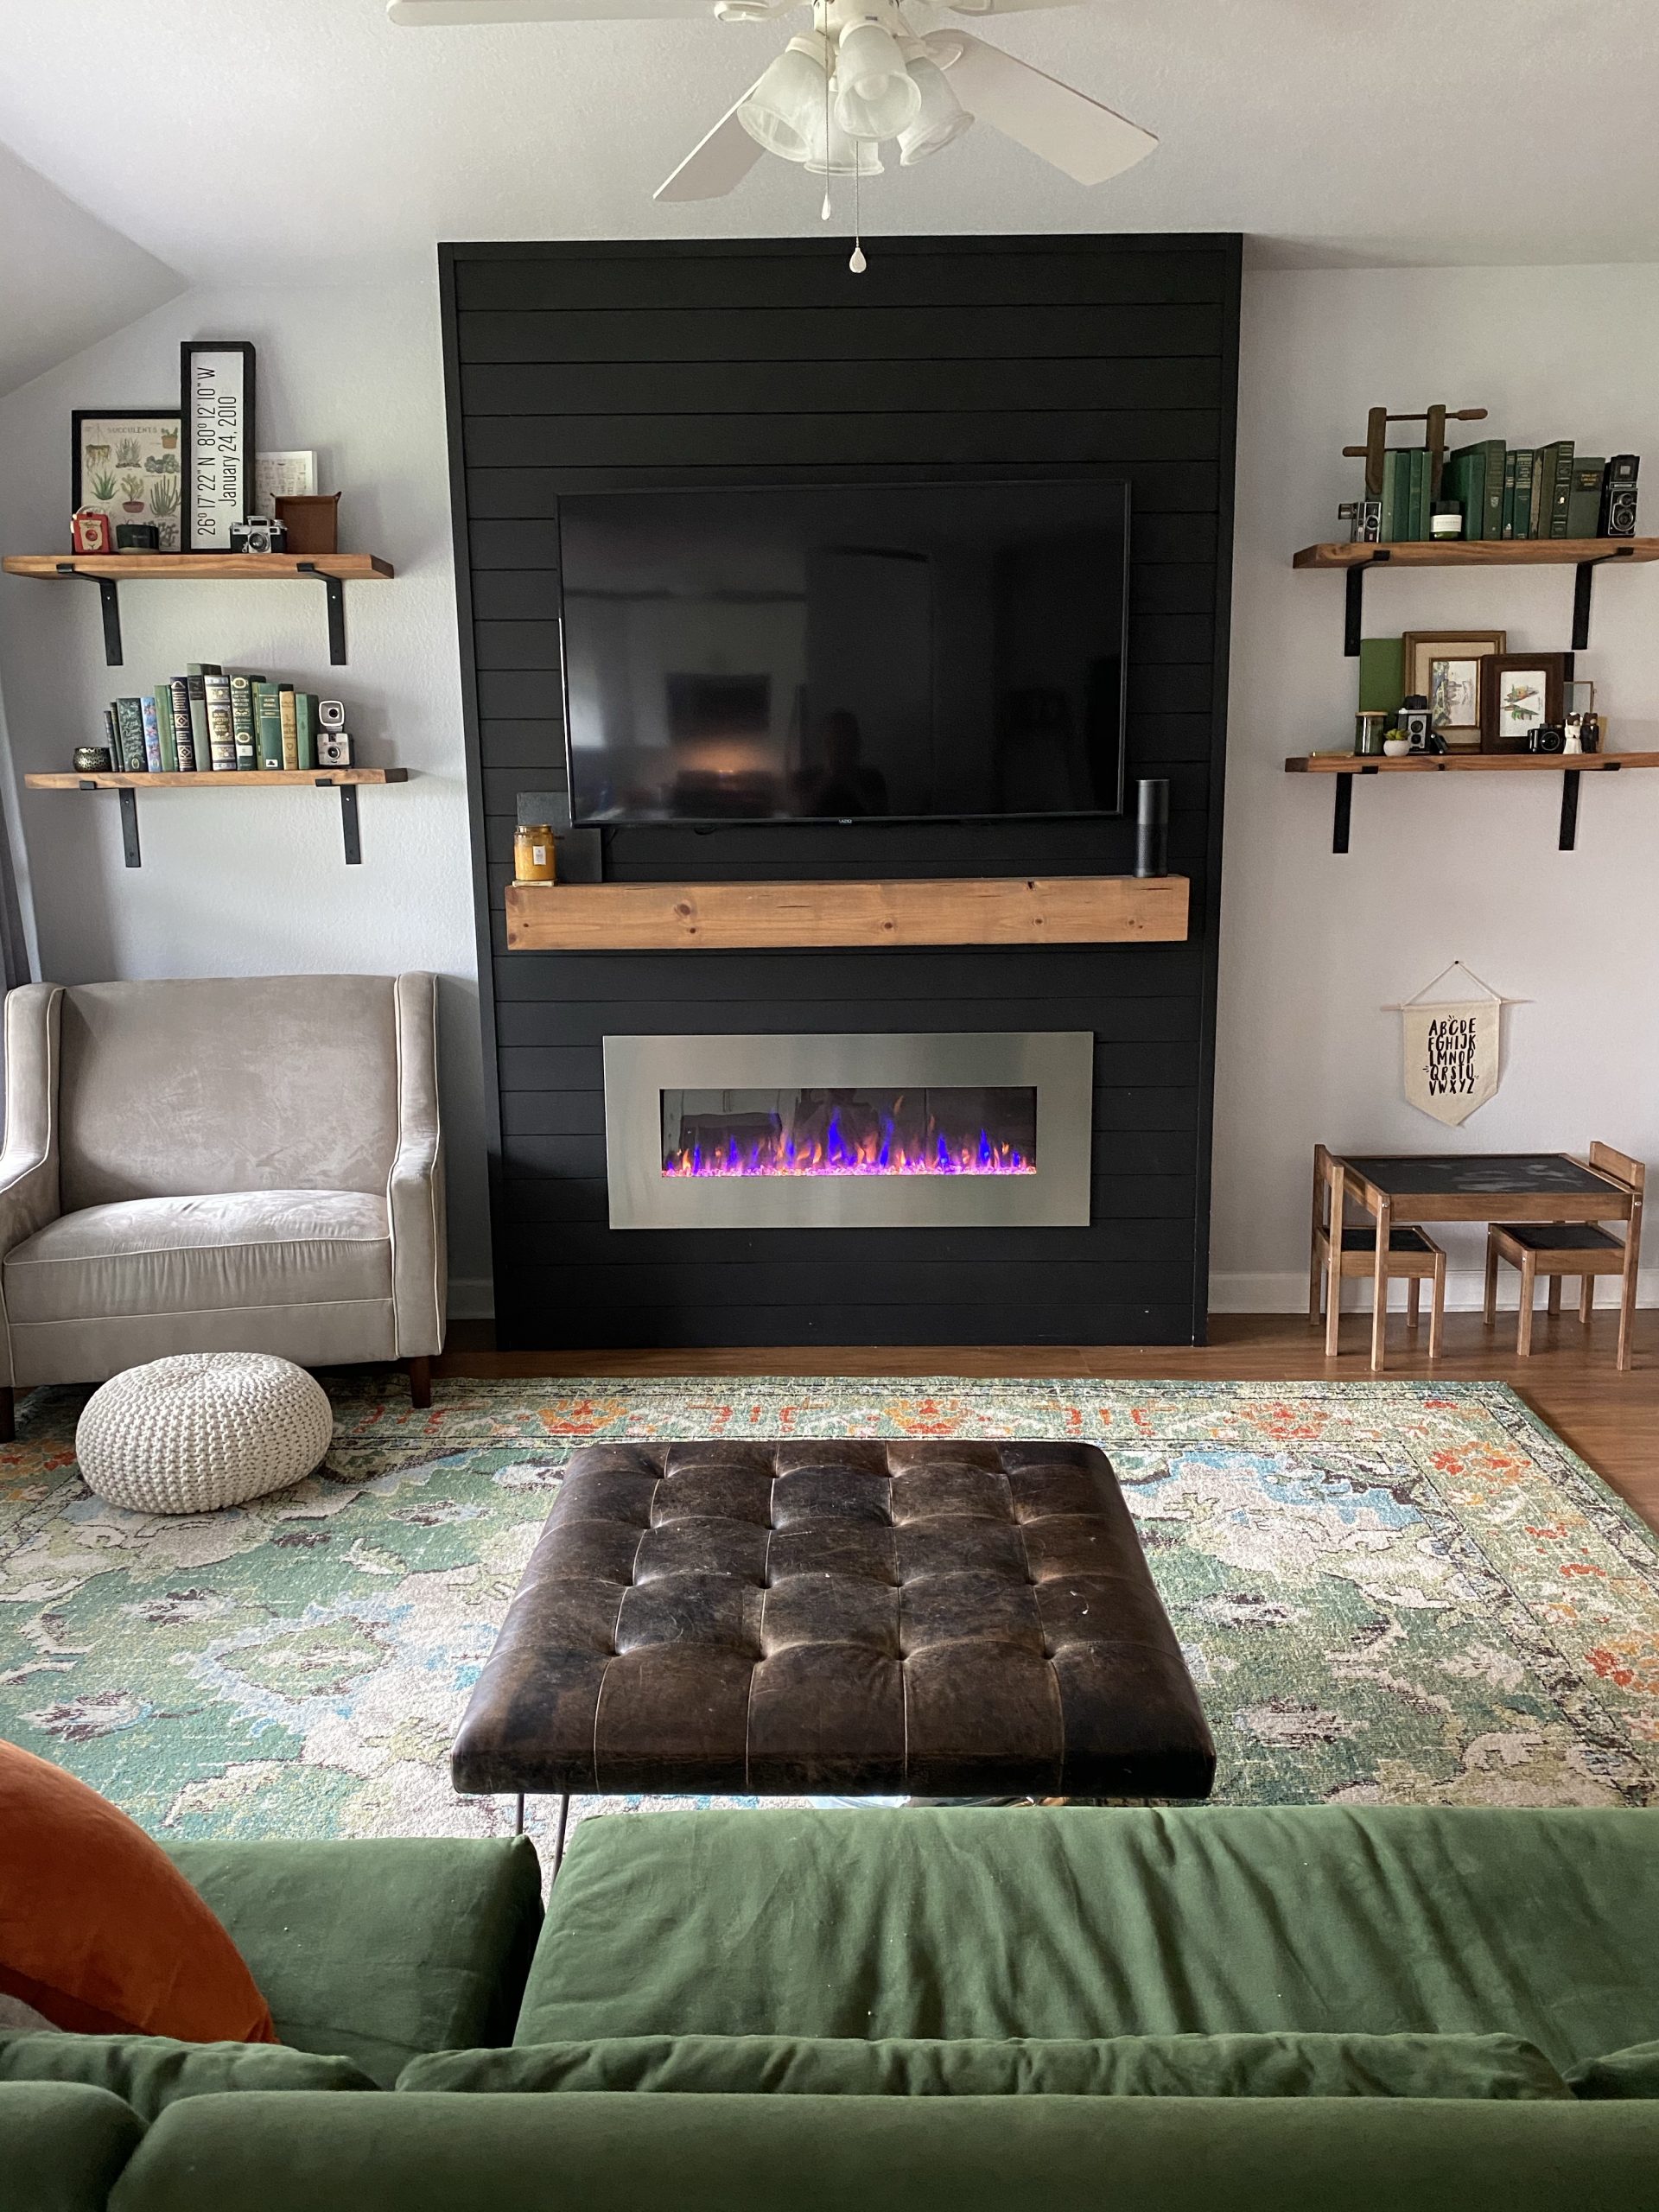
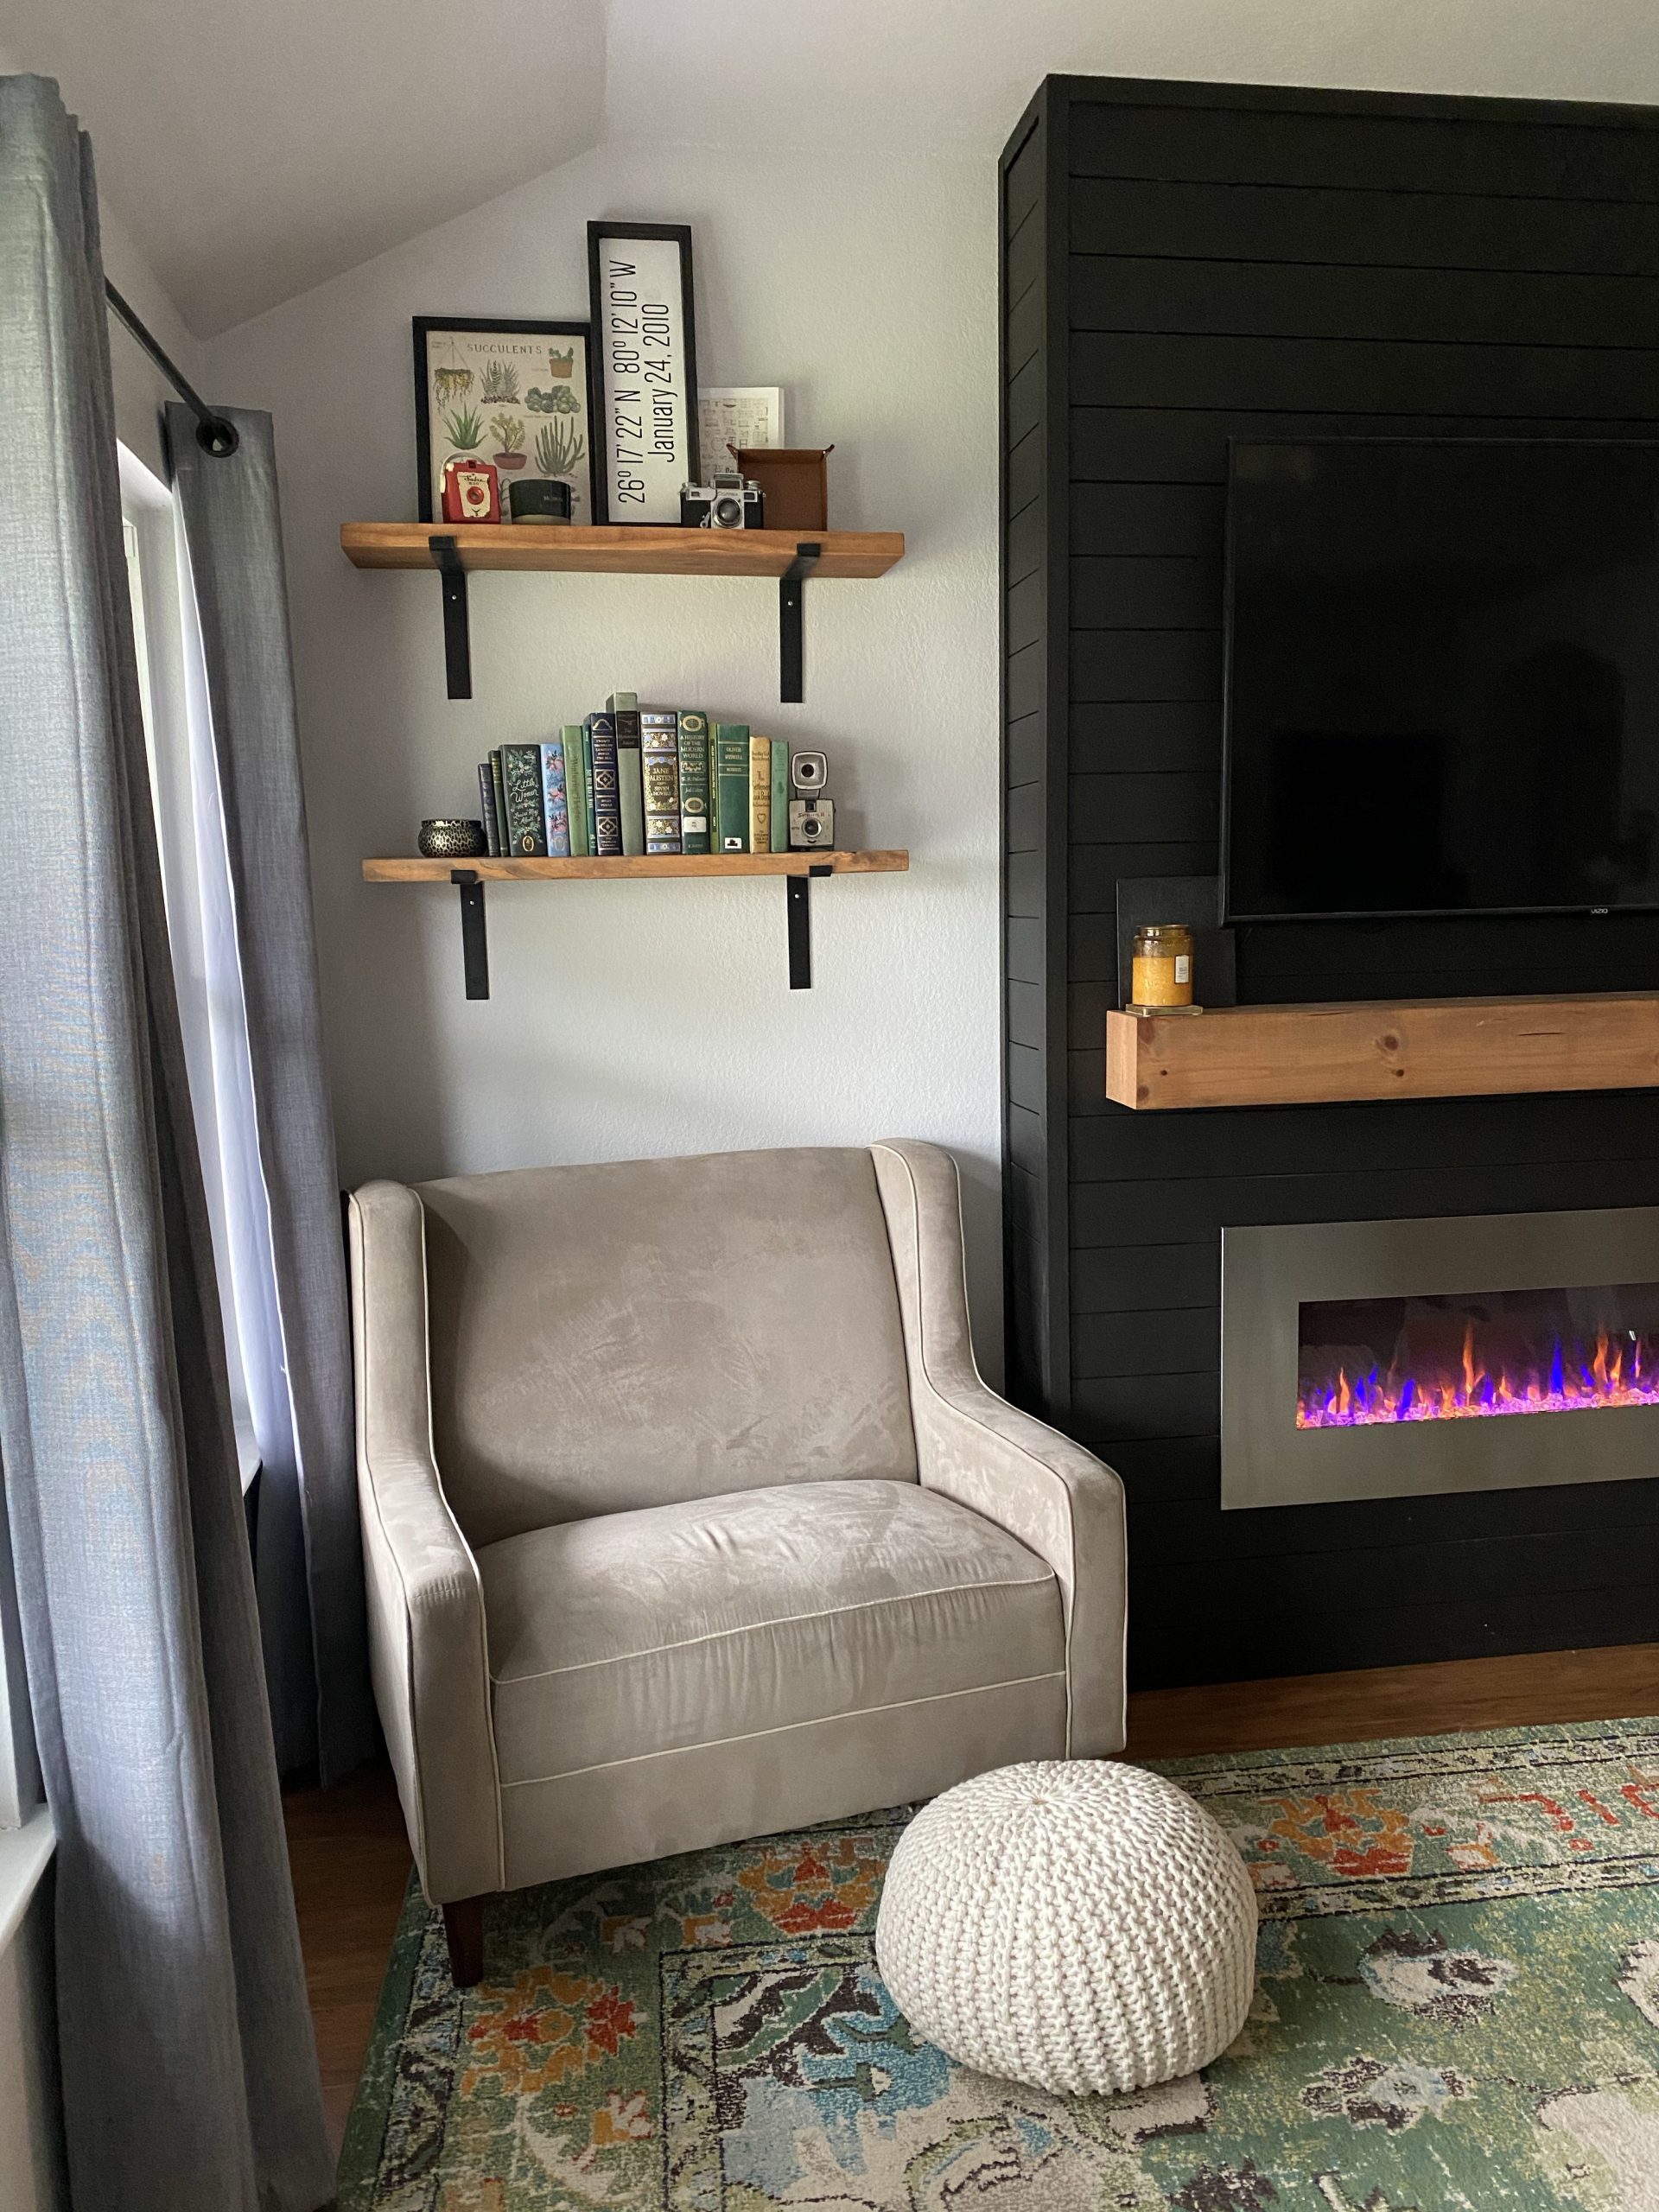
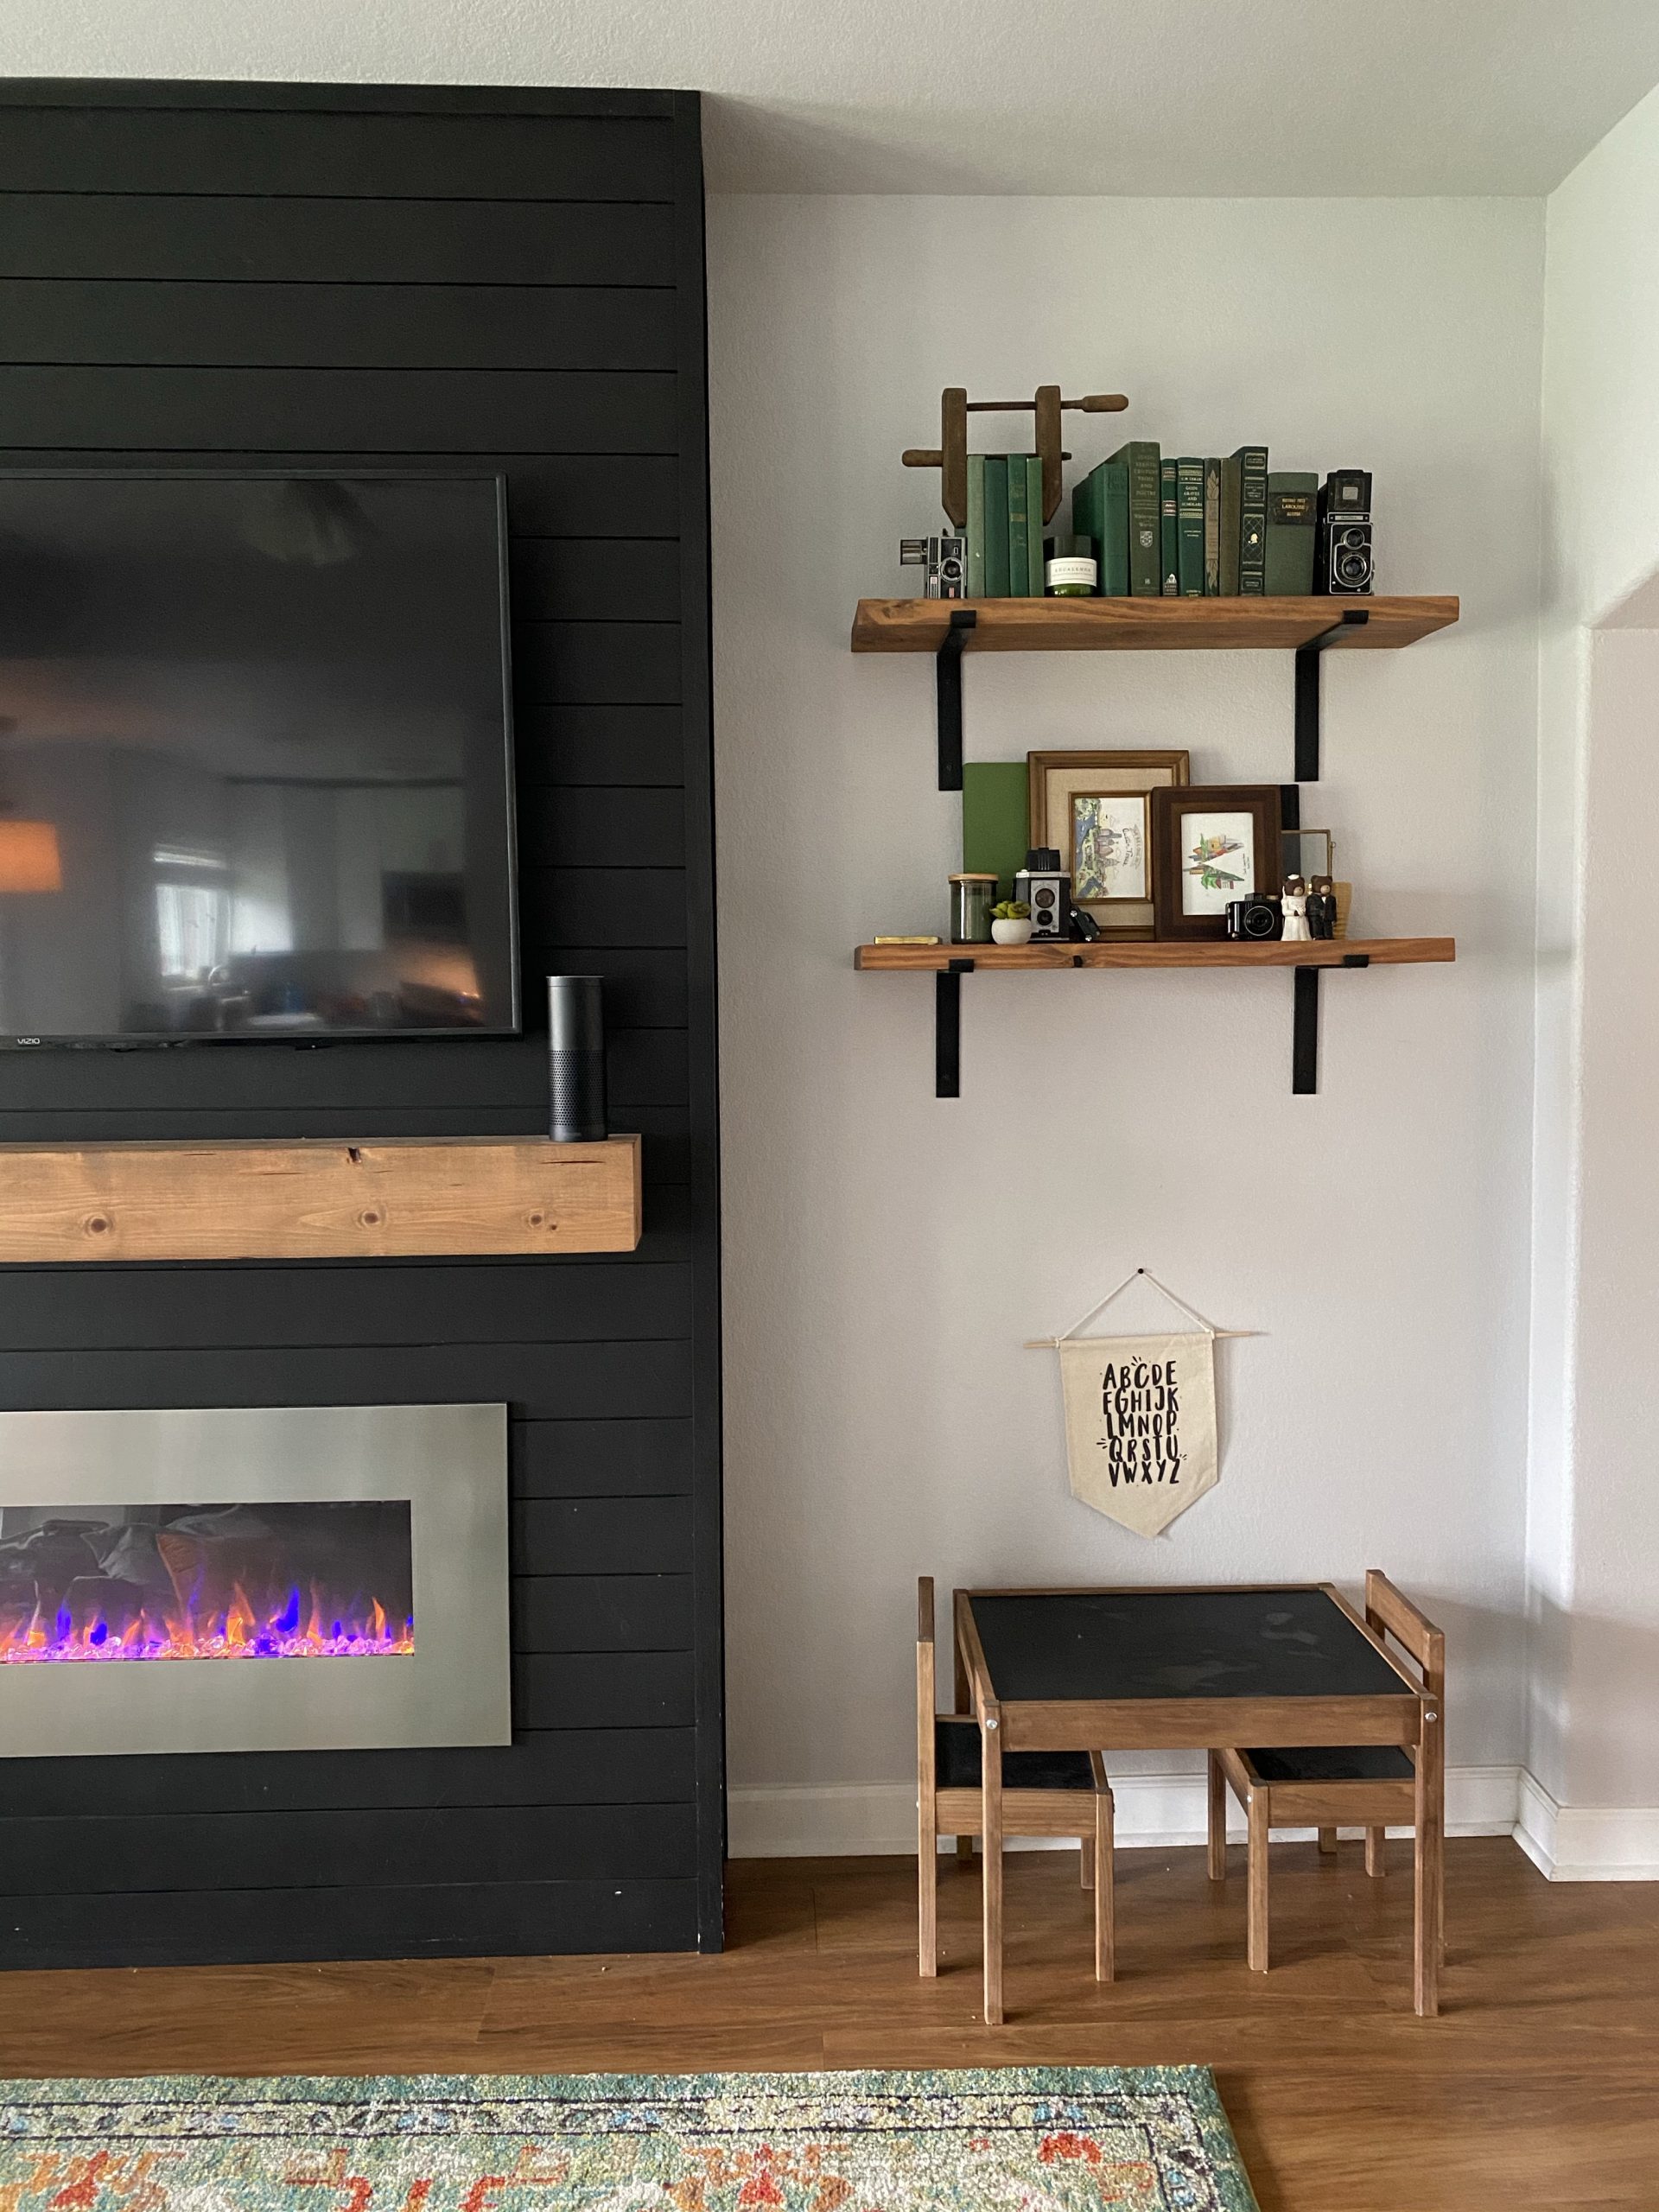
P.P.S. About 18 months later and this post is the most popular one on my blog by far and since we’re about to move out of this house, I wanted to post some updated photos. (Below) You can see it’s held up beautifully except for some paint touch up needed at the bottom where my kids are constantly scratching at and “vrooming” hot wheels cars across it. We added floating shelves on either side that are just 2×10 pine boards stained to match the mantel and farmhouse style brackets from Home Depot. A big comfortable chair on one side and ever affordable IKEA LÄTT kids table that we also stained and chalkboard painted to match. I’ve loved having this fireplace on everyday and I’ve LOVED seeing so many of the fireplaces y’all have built inspired by this one. Thank you for stopping by!
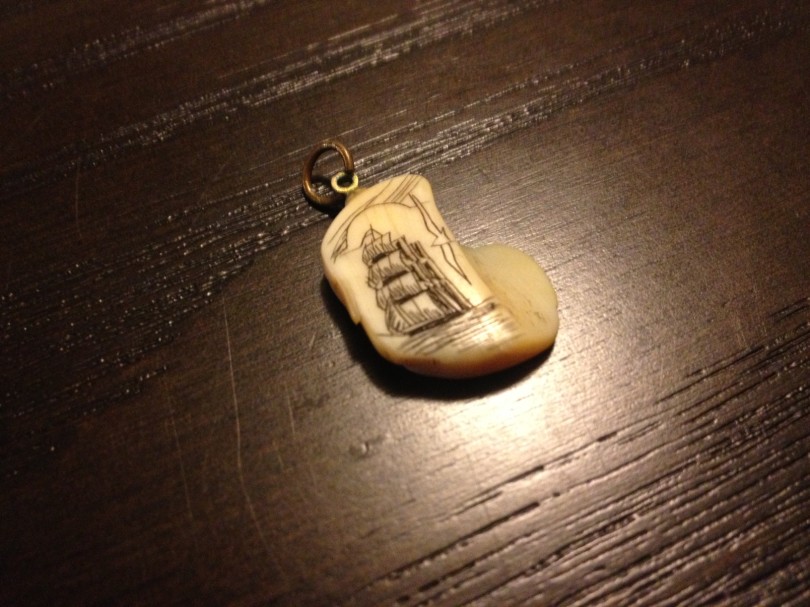 I’m fairly certain this is made out of whale bone, very sure that it was my Grandmothers, and 100% positive it has been in my jewelry box for a decade and I’ve never worn it. It’s never even been on a chain. But, I’m trying to really use what I have since we’re down to one income these days.
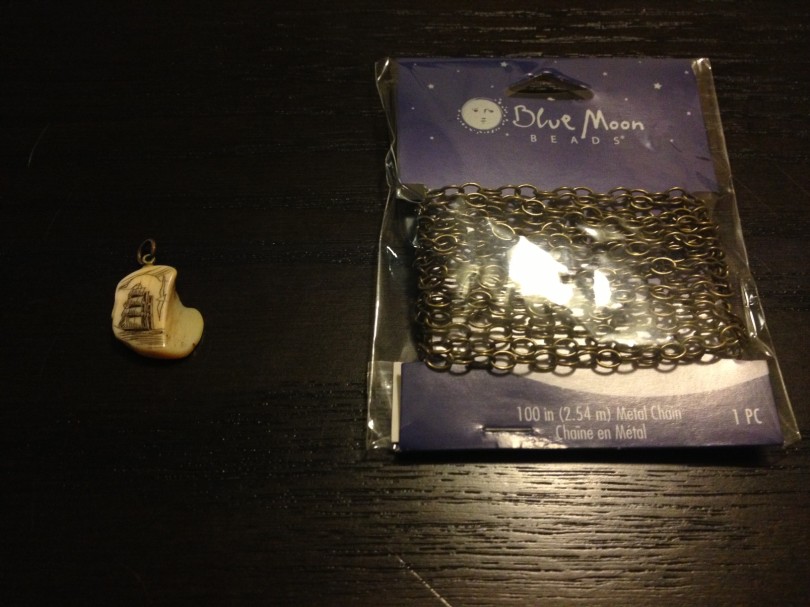 So, I used a 40% off coupon for Joannes, and got 100 inches of beautiful brassy colored necklace chain. I really only wear long necklaces with pendants these days, and 100″ will enable me to make 3 to 4 long necklaces for the $2 this set me back.
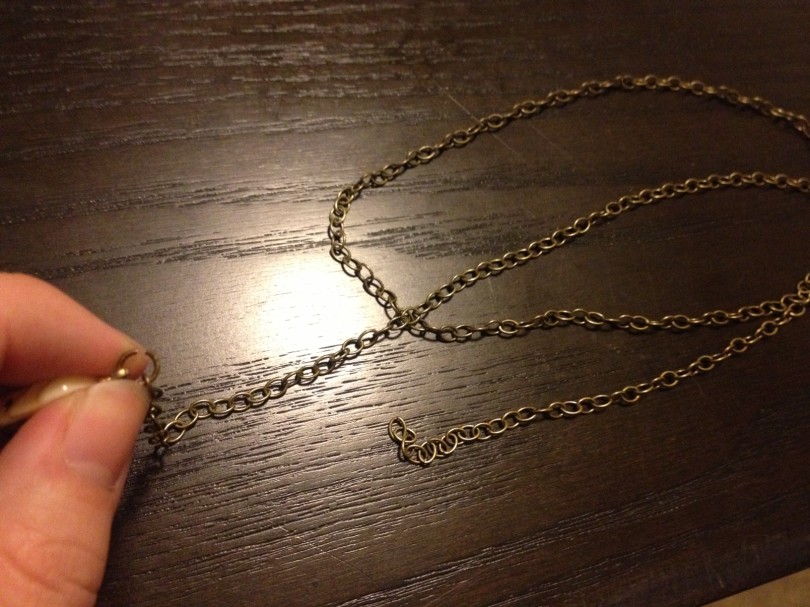 So grab your needle nose pliers and get to work, open up the little ring at the top and slip on the two ends of the chain. I just wrapped it around me, found a length I liked, and cut it with the pliers.
 Then use the needle nose to gently close it back up.
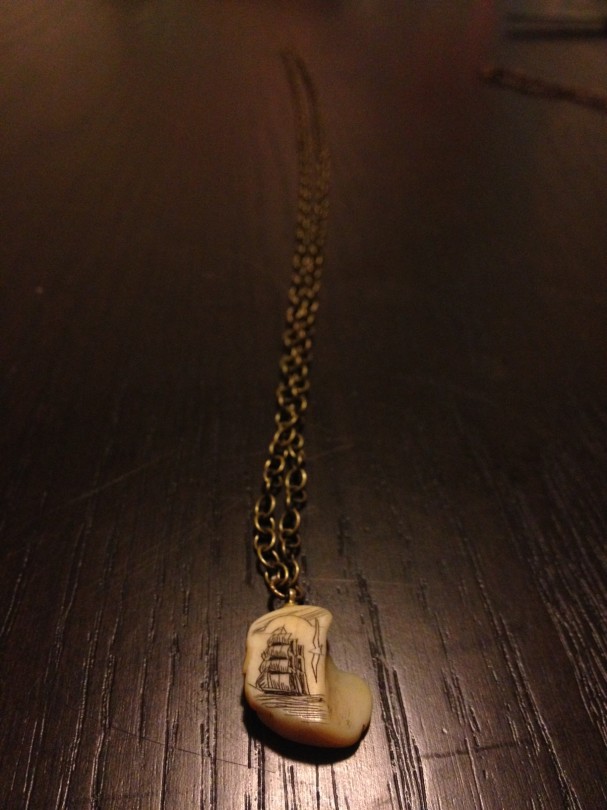 It’s a little small to be a single long pendant, but I don’t mind. It’s cool to be wearing something of my Grandmas because word on the street is, that lady had a style like no other.
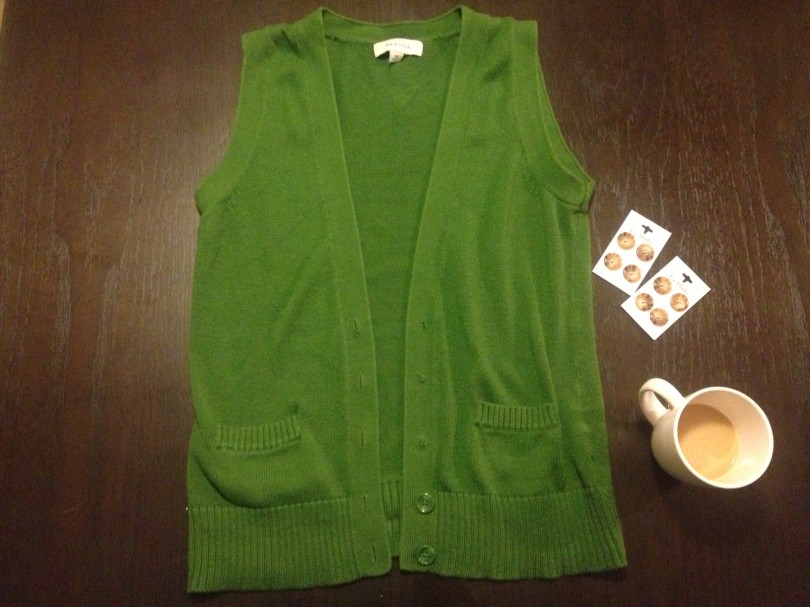 Why hello, green sweater vest. I took this gem home with me from Goodwill for around $1. At the time, all the buttons were attached, but that quickly changed. So, now it’s time to spruce it up… I never liked the green buttons on the green sweater anyway. Now to give it a new look, in the time it takes to drink a cup of coffee.
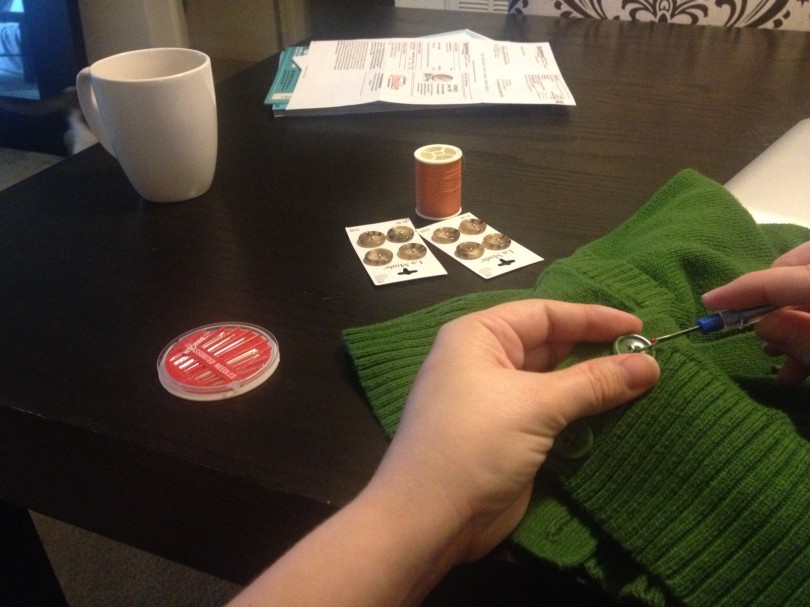 Stitch rip the rest of the buttons out… if this left holes too big, then sew those closed.
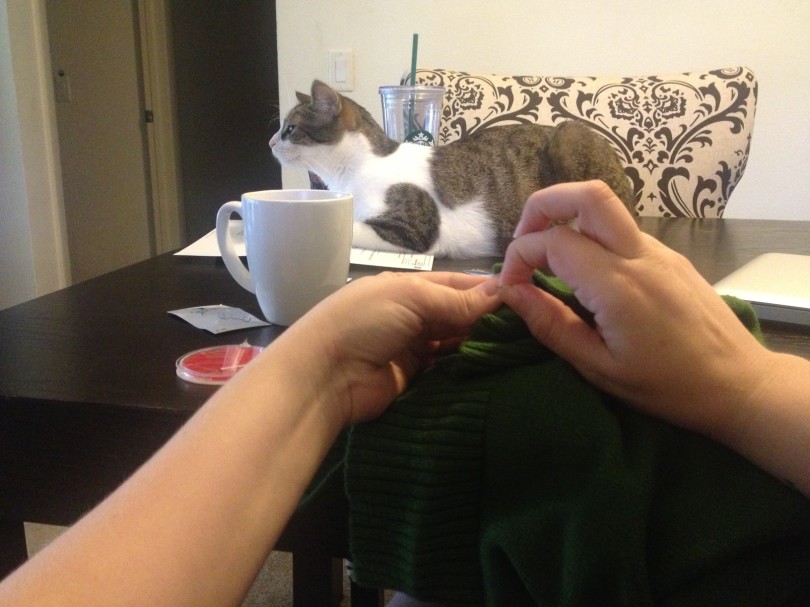 Sew on fabulous tortoise shell buttons with a contrasting thread color like orange. Also, try only doing straight horizontal stitches instead of an X pattern into all four holes for a little more interesting look.
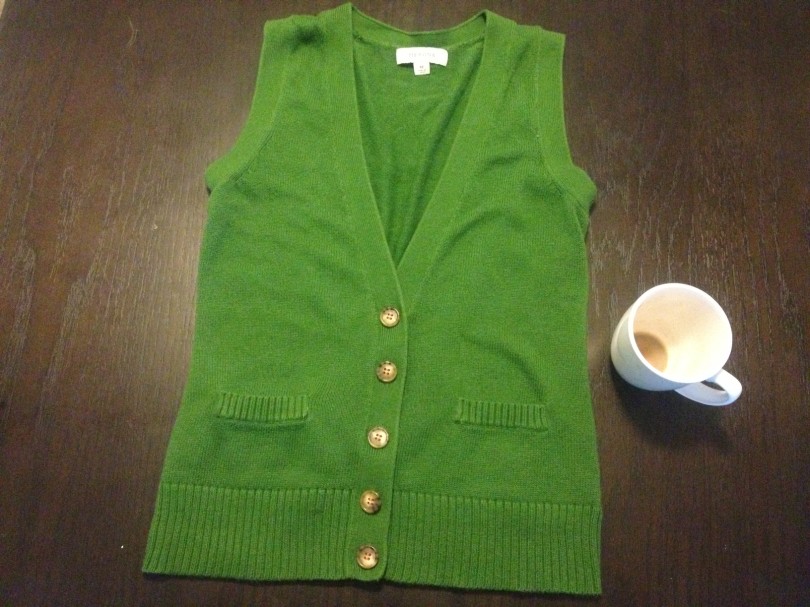 You’re done and it looks fabulous…reward yourself with another cup of coffee.


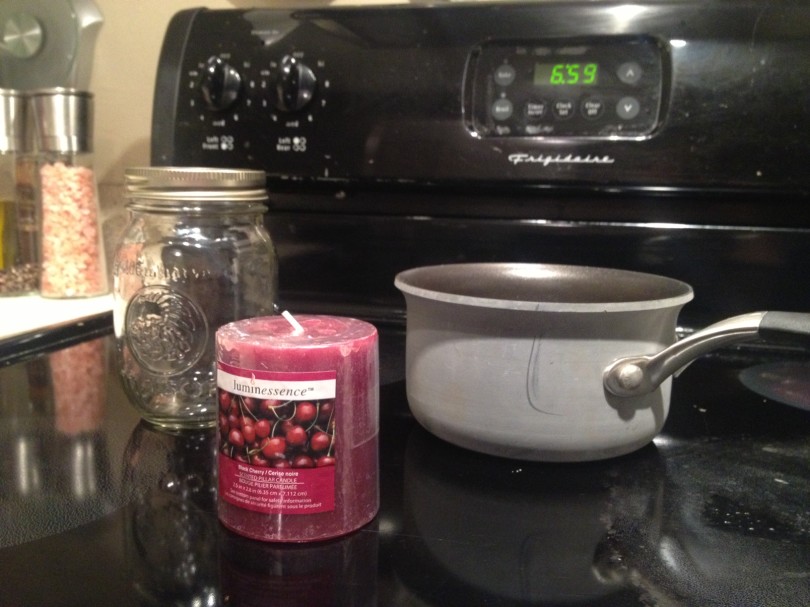 Go to dollar tree and get yourself a candle and a mason jar. Come back home and set a small pot of water to boil.
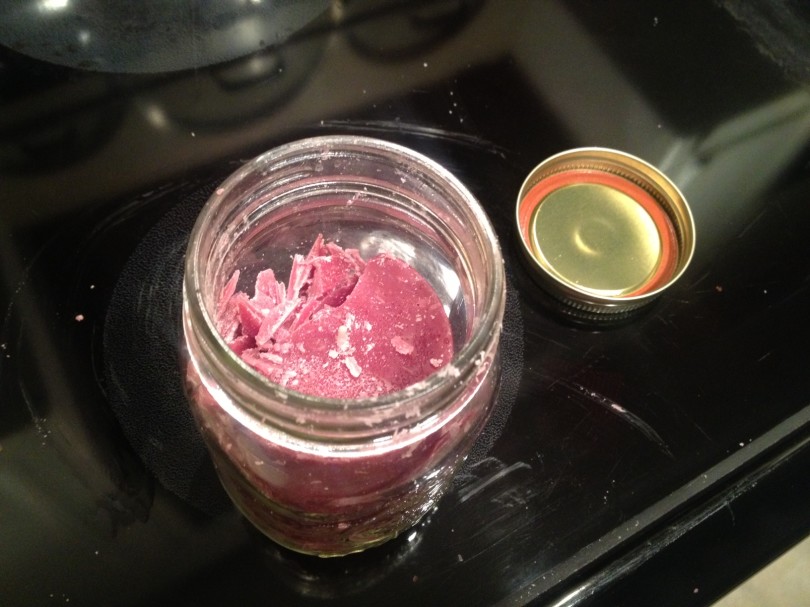 Get that candle in there. Mine wouldn’t fit in one piece, because I was trying to get a large candle in the jar…so I chopped off the sides and kept hacking until I could fit the center of the candle in the jar. Then, I added back the pieces on all the sides inside the jar to try and recreate an even candle.
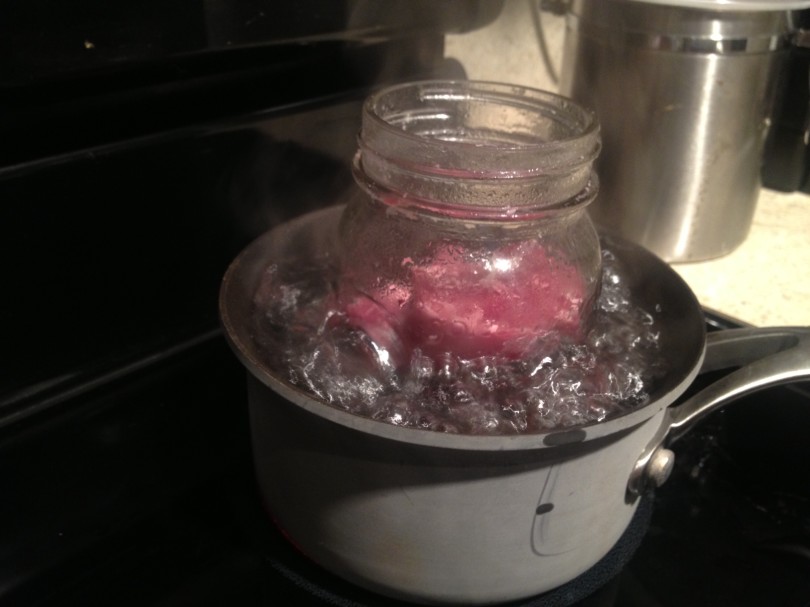 Sit the jar inside the boiling pot of water
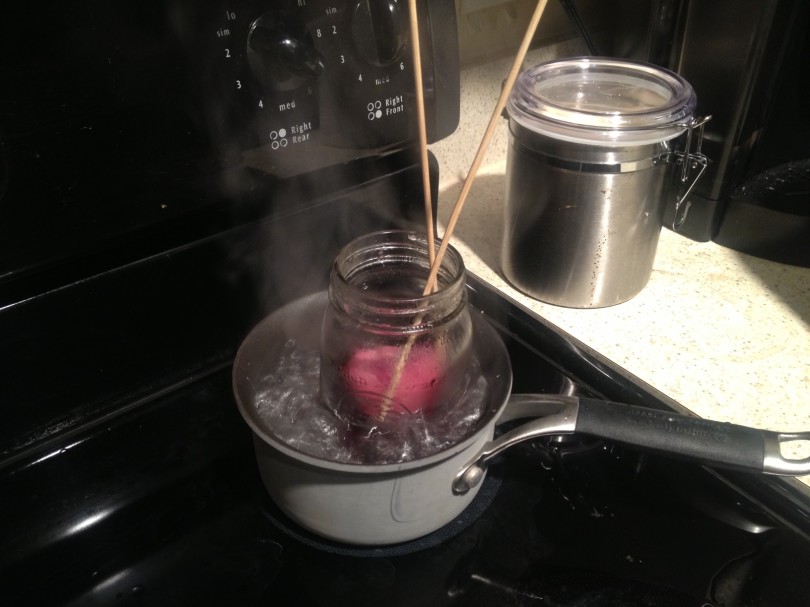 If the center part of the candle with the wick starts to pull to one side, use wooden skewers to keep it centered
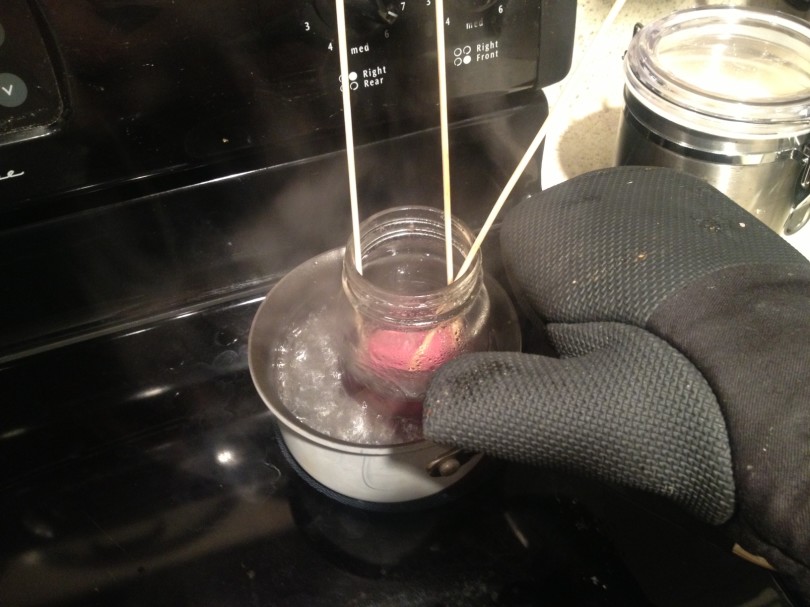 When it’s mostly melted (mine was 15 minutes) take it out CAREFULLY with oven mitts.
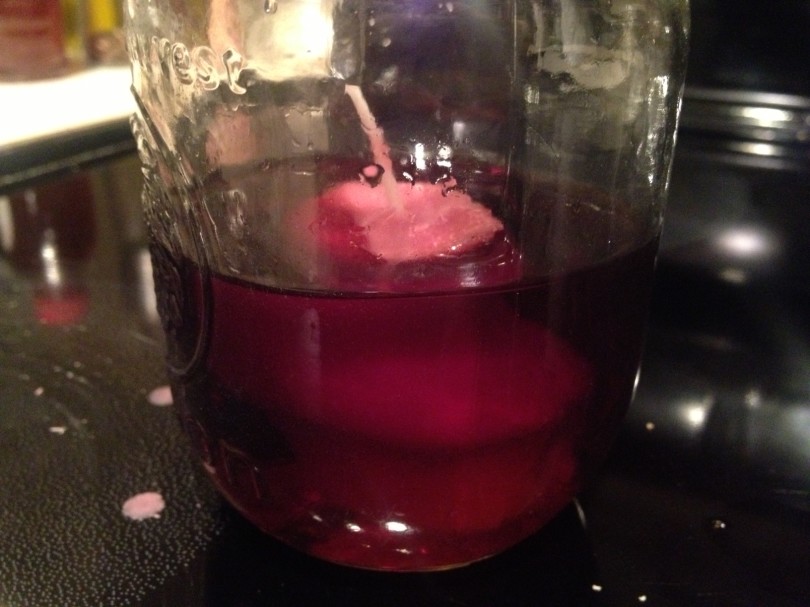 Try and get the wick mostly centered using the handy dandy skewers and let it harden back up.
 Mine kind of came out with layers of colors, I don’t mind.
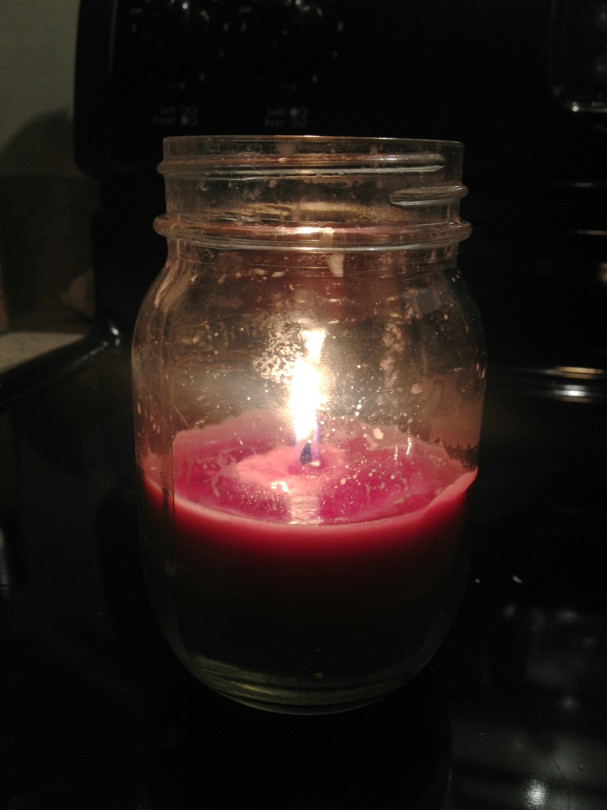 Let it burn.
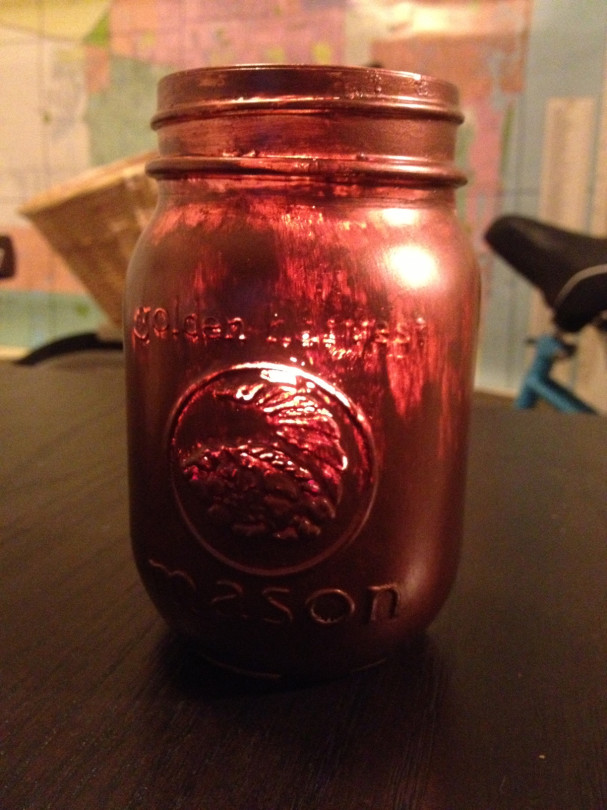 Extra credit for painting the jar, especially if you do a better paint job than I did here.