Category: DIY

fixing up a thrift store find


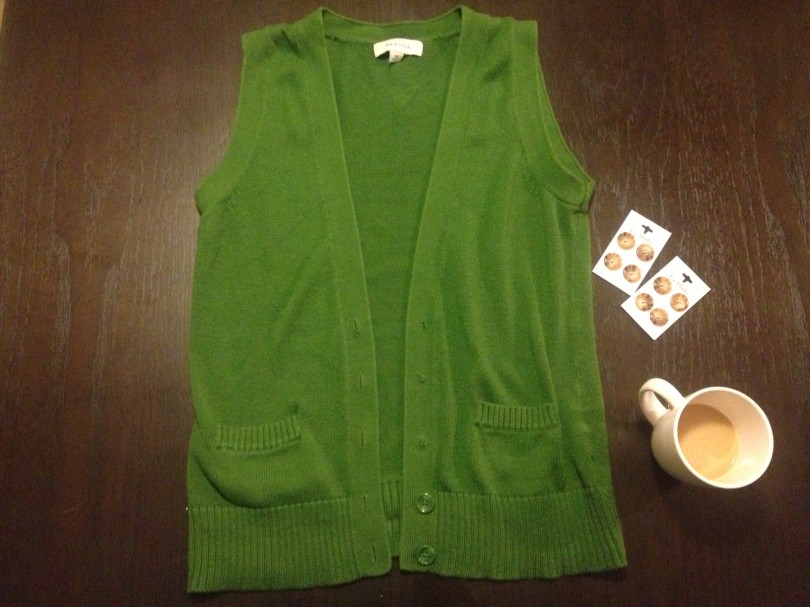
Why hello, green sweater vest. I took this gem home with me from Goodwill for around $1. At the time, all the buttons were attached, but that quickly changed. So, now it’s time to spruce it up… I never liked the green buttons on the green sweater anyway. Now to give it a new look, in the time it takes to drink a cup of coffee.
photo 2 
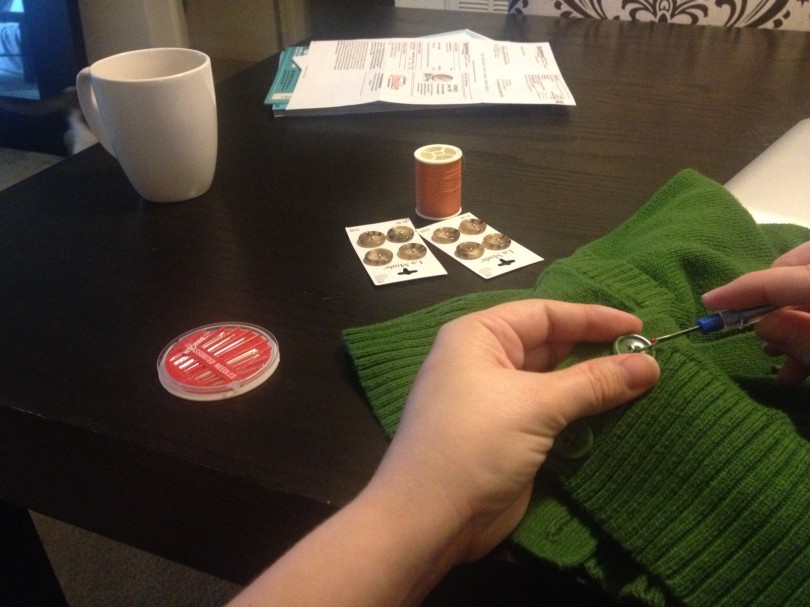
Stitch rip the rest of the buttons out… if this left holes too big, then sew those closed.
photo 3
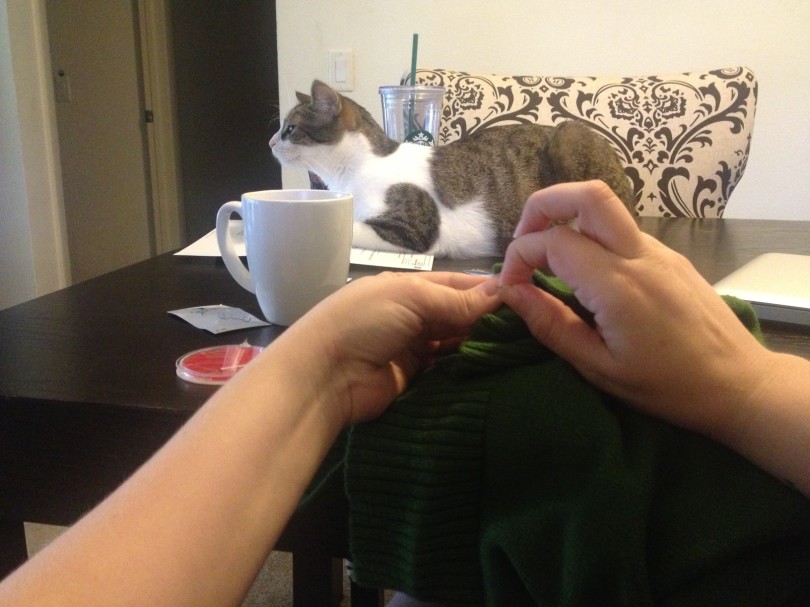
Sew on fabulous tortoise shell buttons with a contrasting thread color like orange. Also, try only doing straight horizontal stitches instead of an X pattern into all four holes for a little more interesting look.
photo 4
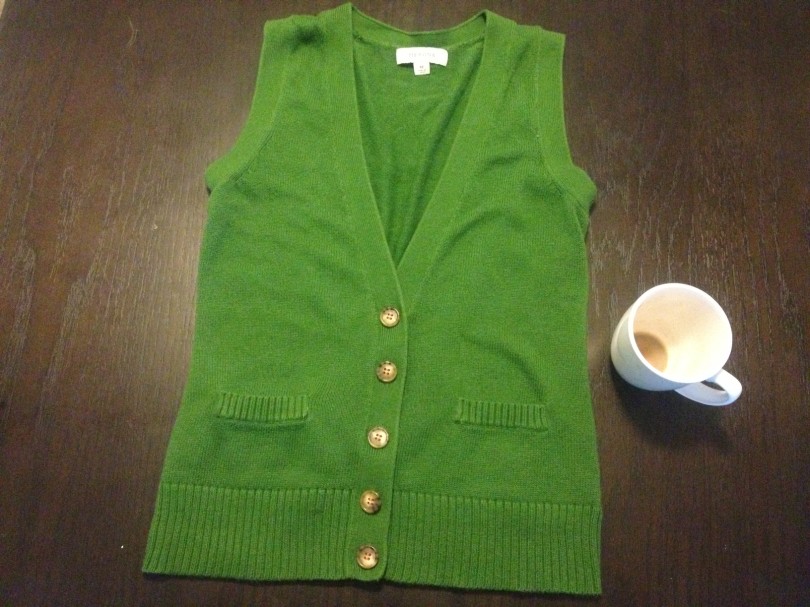
You’re done and it looks fabulous…reward yourself with another cup of coffee.

I hope this opens your eyes a little bit so next time you’re thrifting, you can see that just because things aren’t perfect on the hanger, doesn’t mean they shouldn’t come home with you. Let me know what you find, and how you fix it up.
xoxo,
Adora

Spotlight on a champion


In my sisters house they have a big loft area that has become the kids play area. It’s perfect for them…except for the fact that that it’s…a loft. It has a half wall that drops straight down to the tile floor below. This wasn’t a big deal until my sister and her husband had a boy. My nephew Weston is as boy as they come and climbing things is just one of his ways. So, like the awesome Dad he is, my bother in law decided to finish that wall up to the ceiling. I just want to show you all his efforts and what a good dad he is.

gathering supplies

he had to spend a few hours in the attic on a hot summer (in florida) day

in the home stretch

now on to the door

door frame ready to have a door put in (already safe for the kid-o’s)


Oh, also, they’re on a budget that makes Josh and Me look like we’re rolling in it, so he’s doing this all himself. Like I said, Champion. Way to go, Chris!
xoxo,
Adora

Apartment Patio Improvements


I’ve decided it’s time to paint the patio furniture! Now, by “furniture” I mean the two black metal folding chairs that have always been around this apartment, I think they came from Target for $10 and the black metal folding table that my husband and I took off my in-laws front porch one day. [Sorry John & Patricia! It was Josh’s idea!] They weren’t using it, it’s all okay.
photo 2 
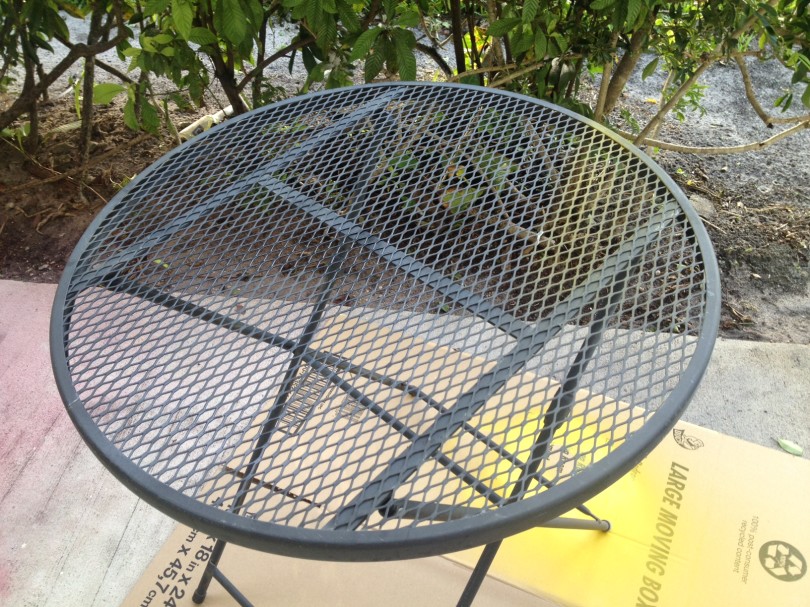
before the table was painted

photo 1 
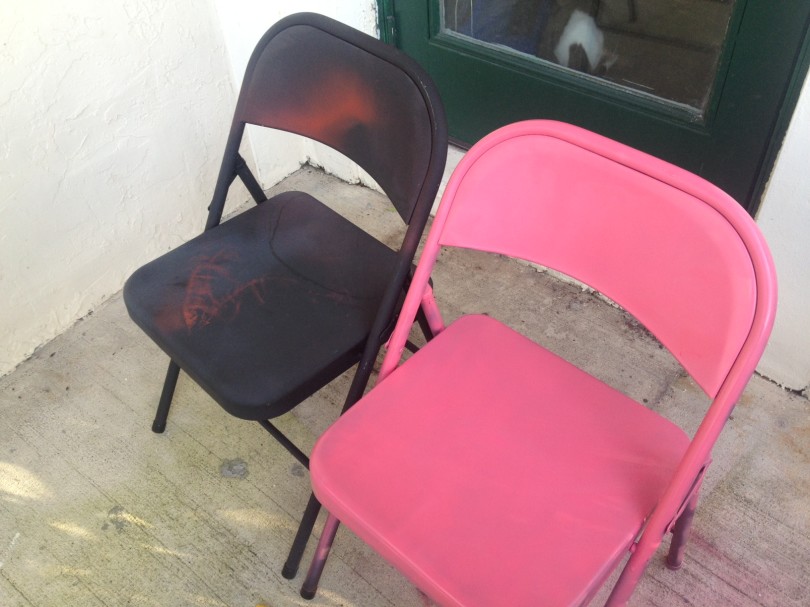
while i was painting the chairs
all
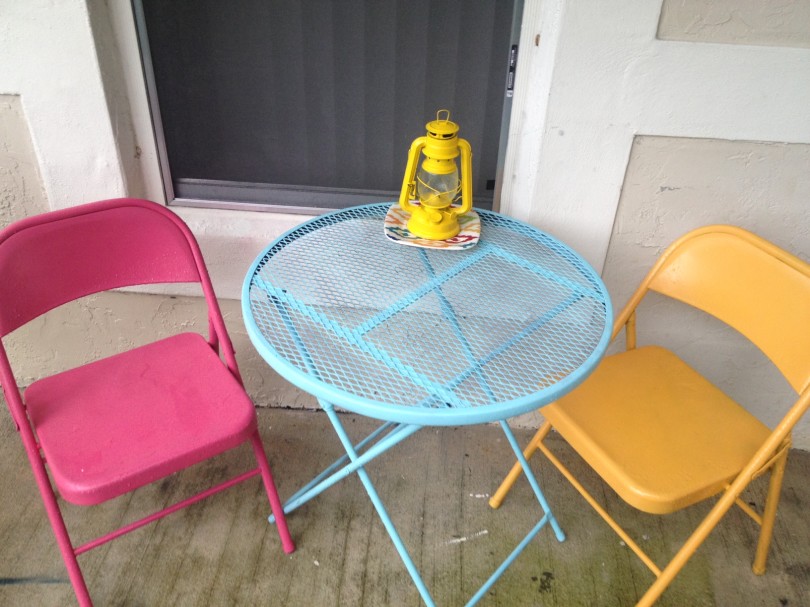
now everything is painted and getting rained on daily (welcome to hurricane season in south Florida).

Not a flawless paint job, but I LOVE the colors, and I have new place for my lantern! [Thank God for spray paint] What do you think?

xoxo,
Adora

DIY Mason Jar Candle


I know some people prefer candles set in glass jars, but not melted into them. I am not that person. I love when the glass jar and the candle it contains are one. If you’re like me, then this project is for you. If not…I don’t know, check out this video of a cat standing up I guess.
1
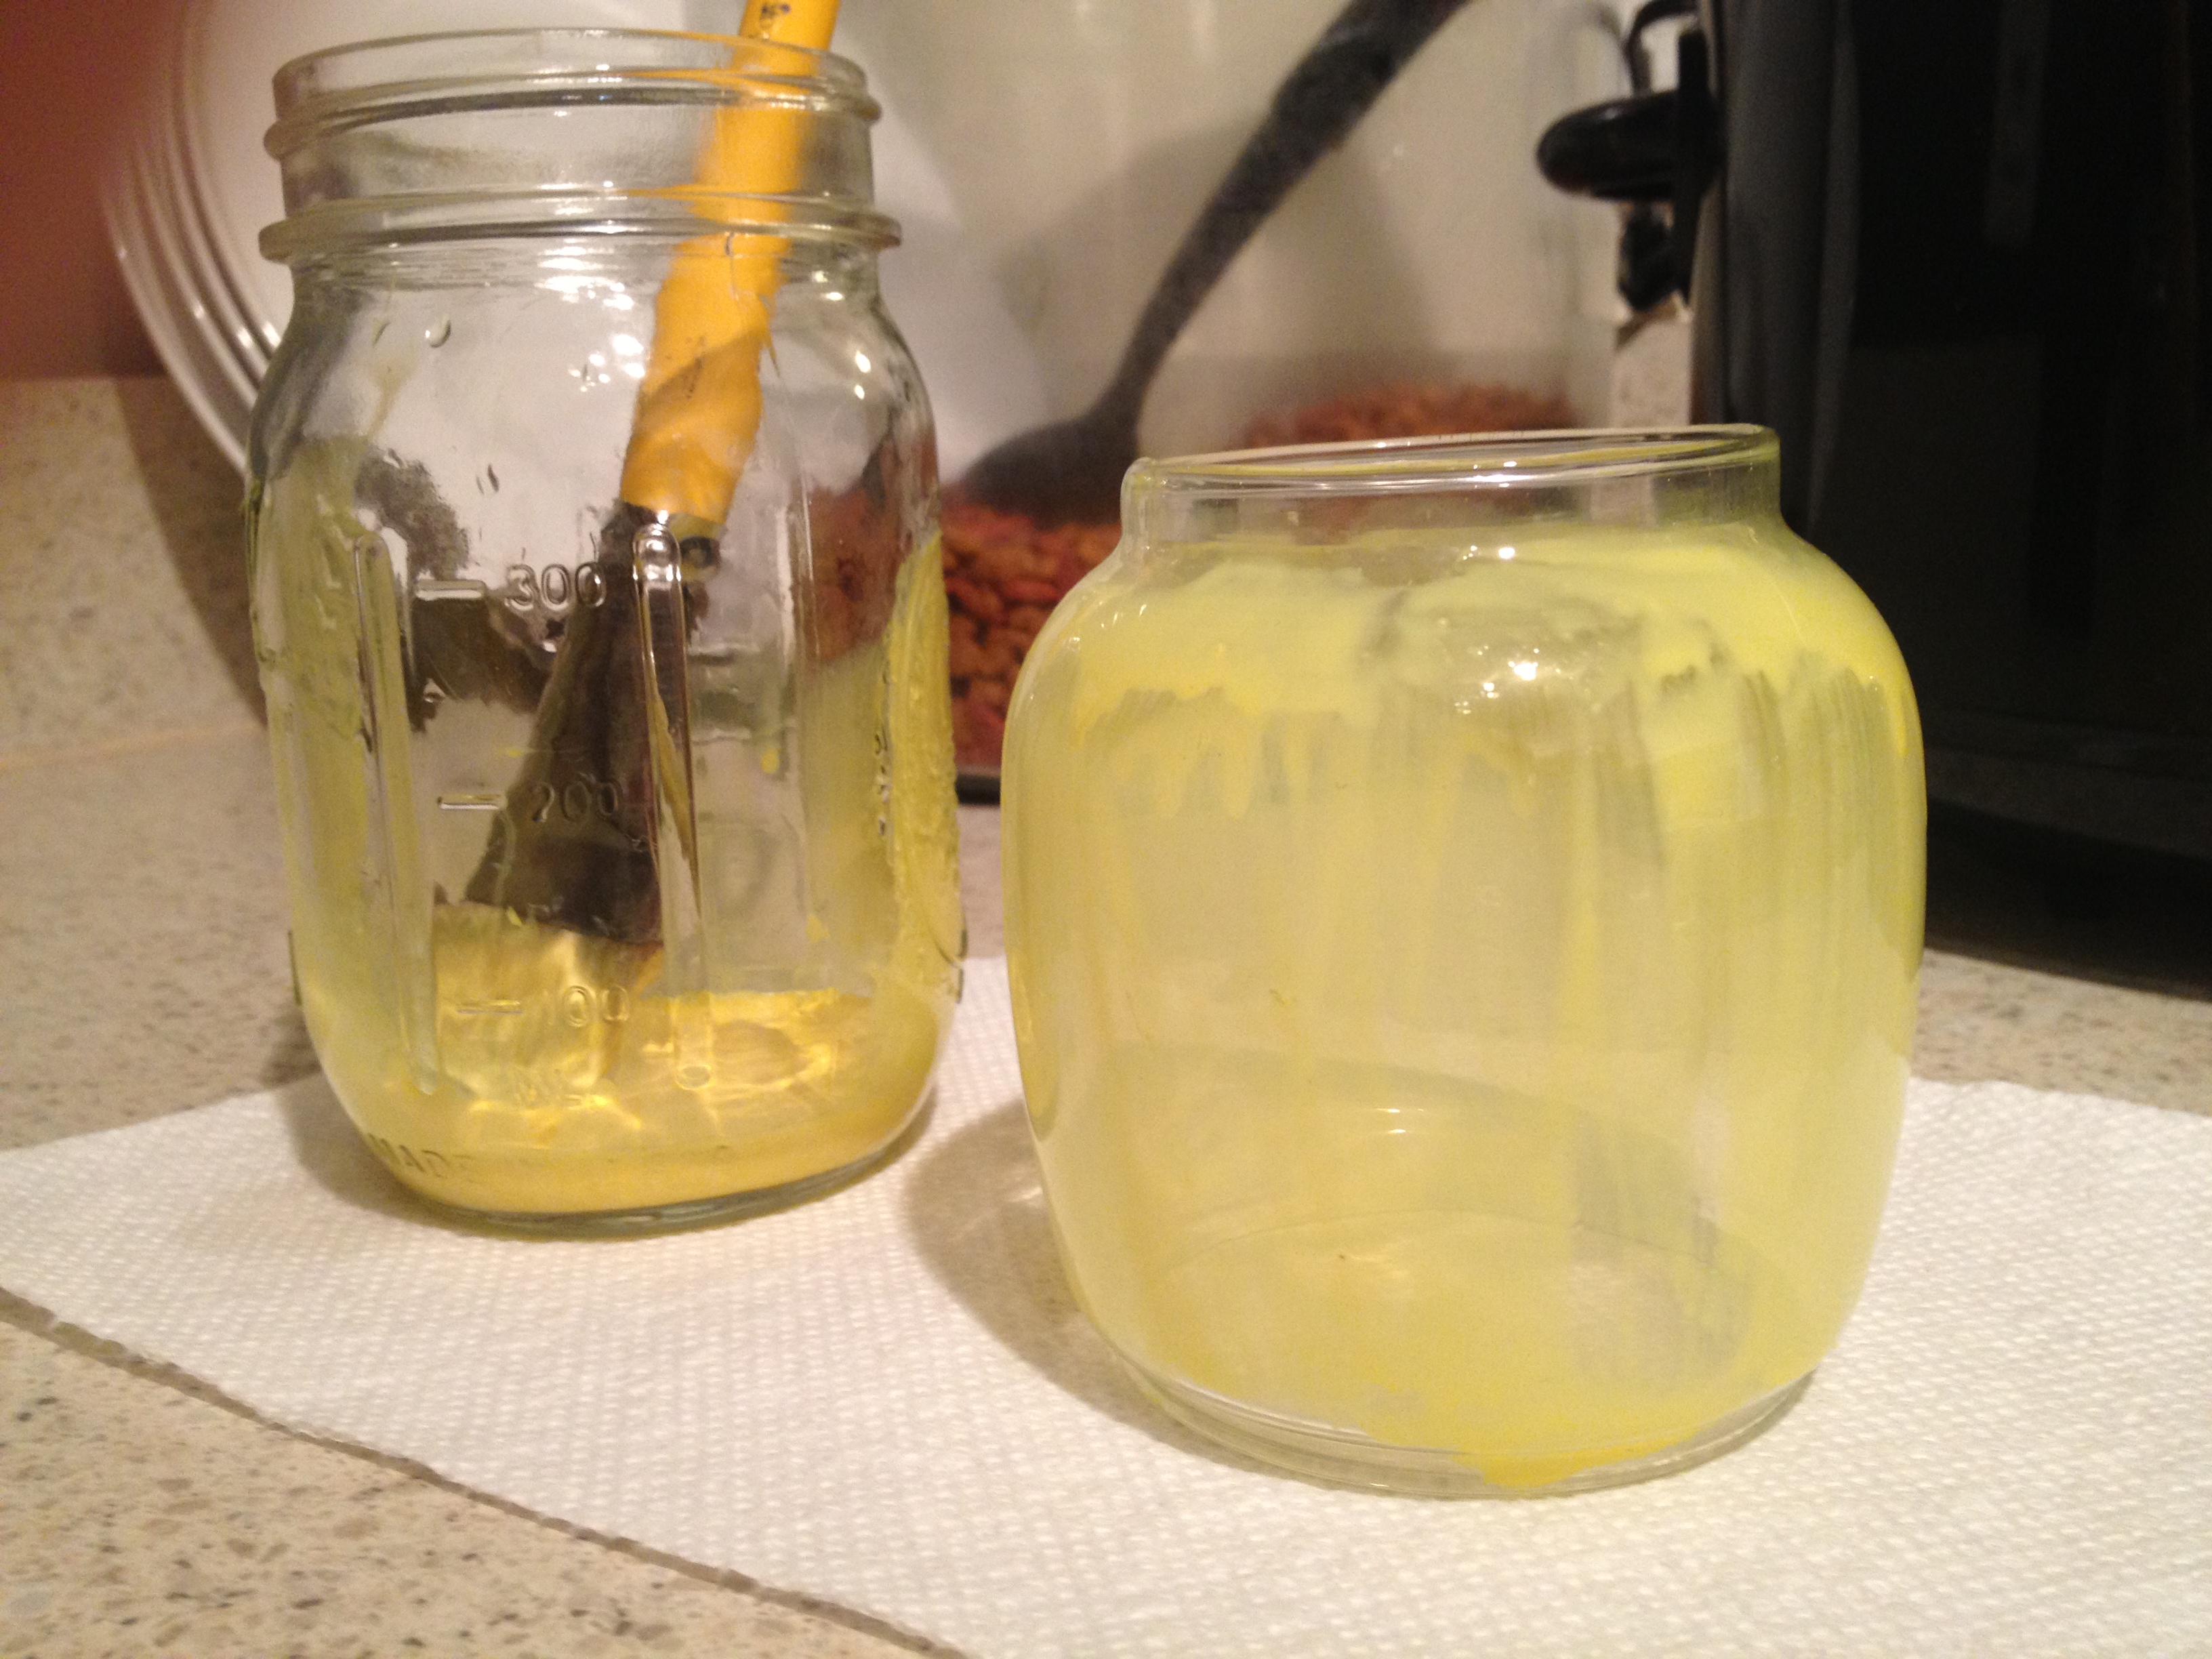
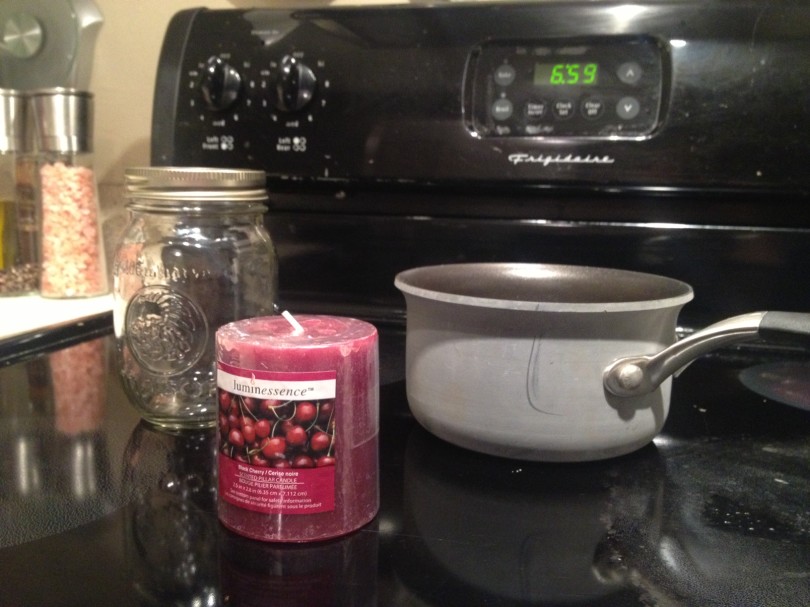
Go to dollar tree and get yourself a candle and a mason jar. Come back home and set a small pot of water to boil.
2
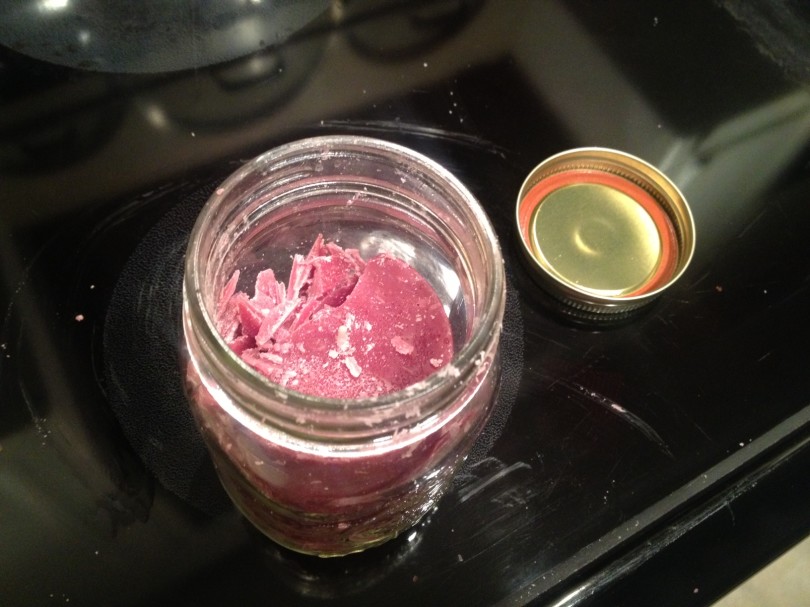
Get that candle in there. Mine wouldn’t fit in one piece, because I was trying to get a large candle in the jar…so I chopped off the sides and kept hacking until I could fit the center of the candle in the jar. Then, I added back the pieces on all the sides inside the jar to try and recreate an even candle.
3
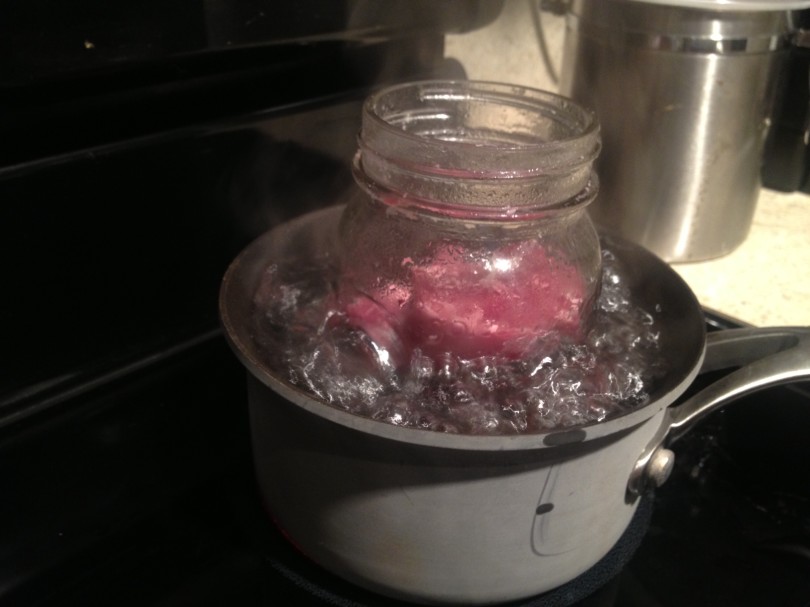
Sit the jar inside the boiling pot of water
4
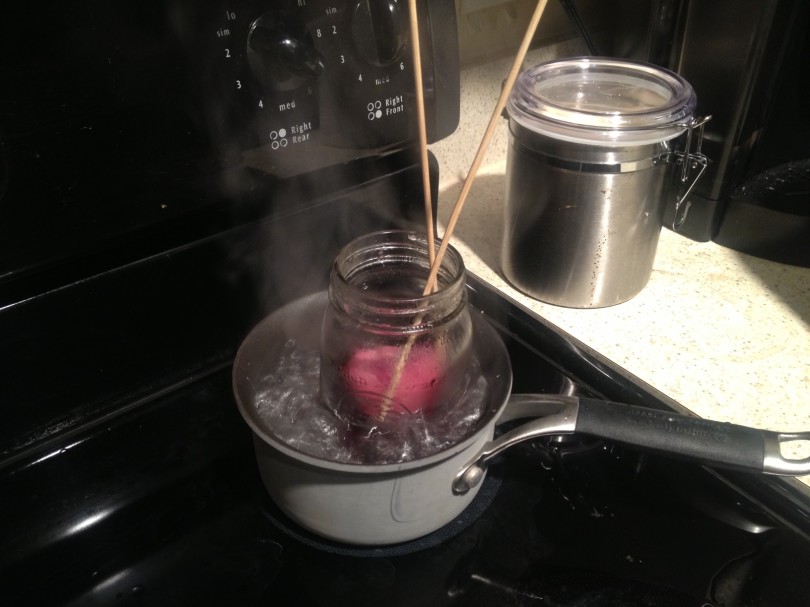
If the center part of the candle with the wick starts to pull to one side, use wooden skewers to keep it centered
5
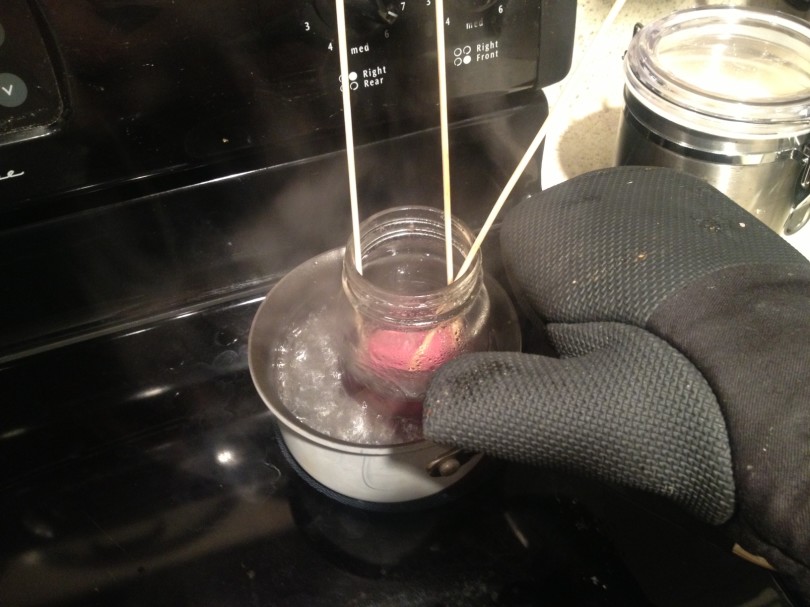
When it’s mostly melted (mine was 15 minutes) take it out CAREFULLY with oven mitts.
6
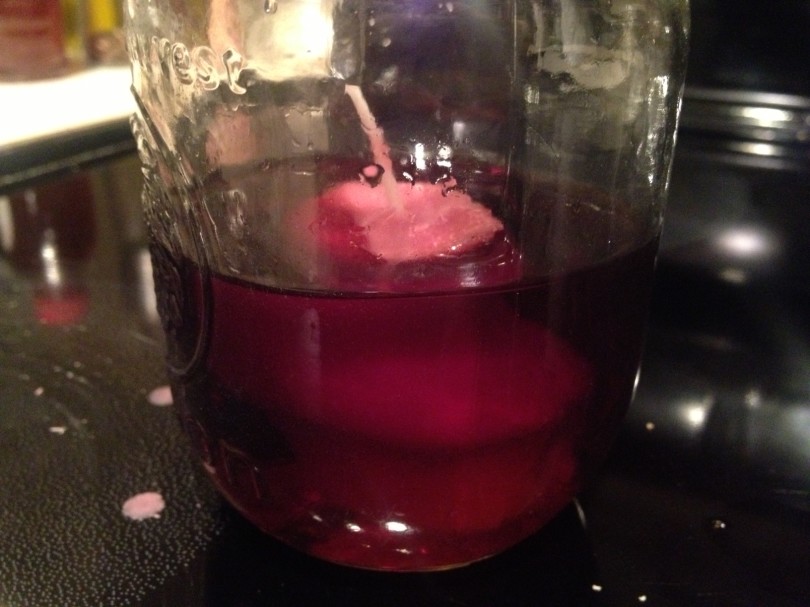
Try and get the wick mostly centered using the handy dandy skewers and let it harden back up.
7Mine kind of came out with layers of colors, I don’t mind.
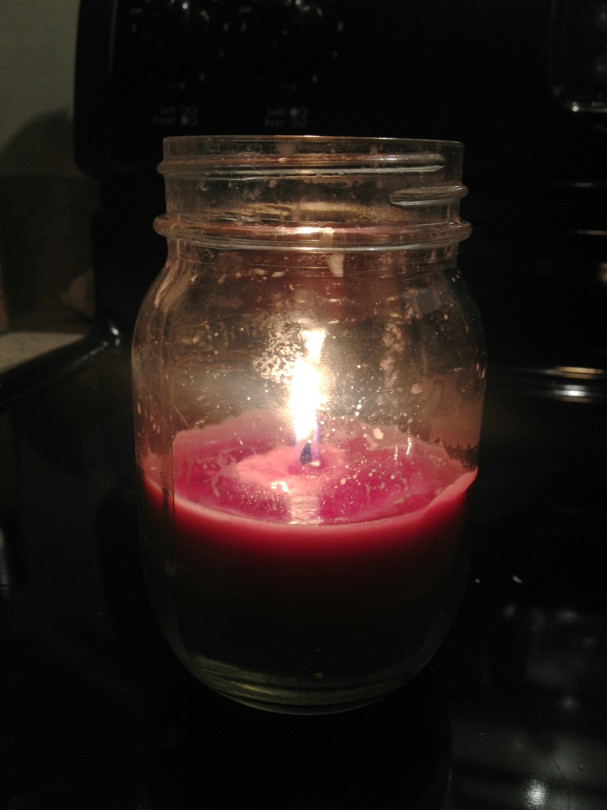
8Let it burn.
9
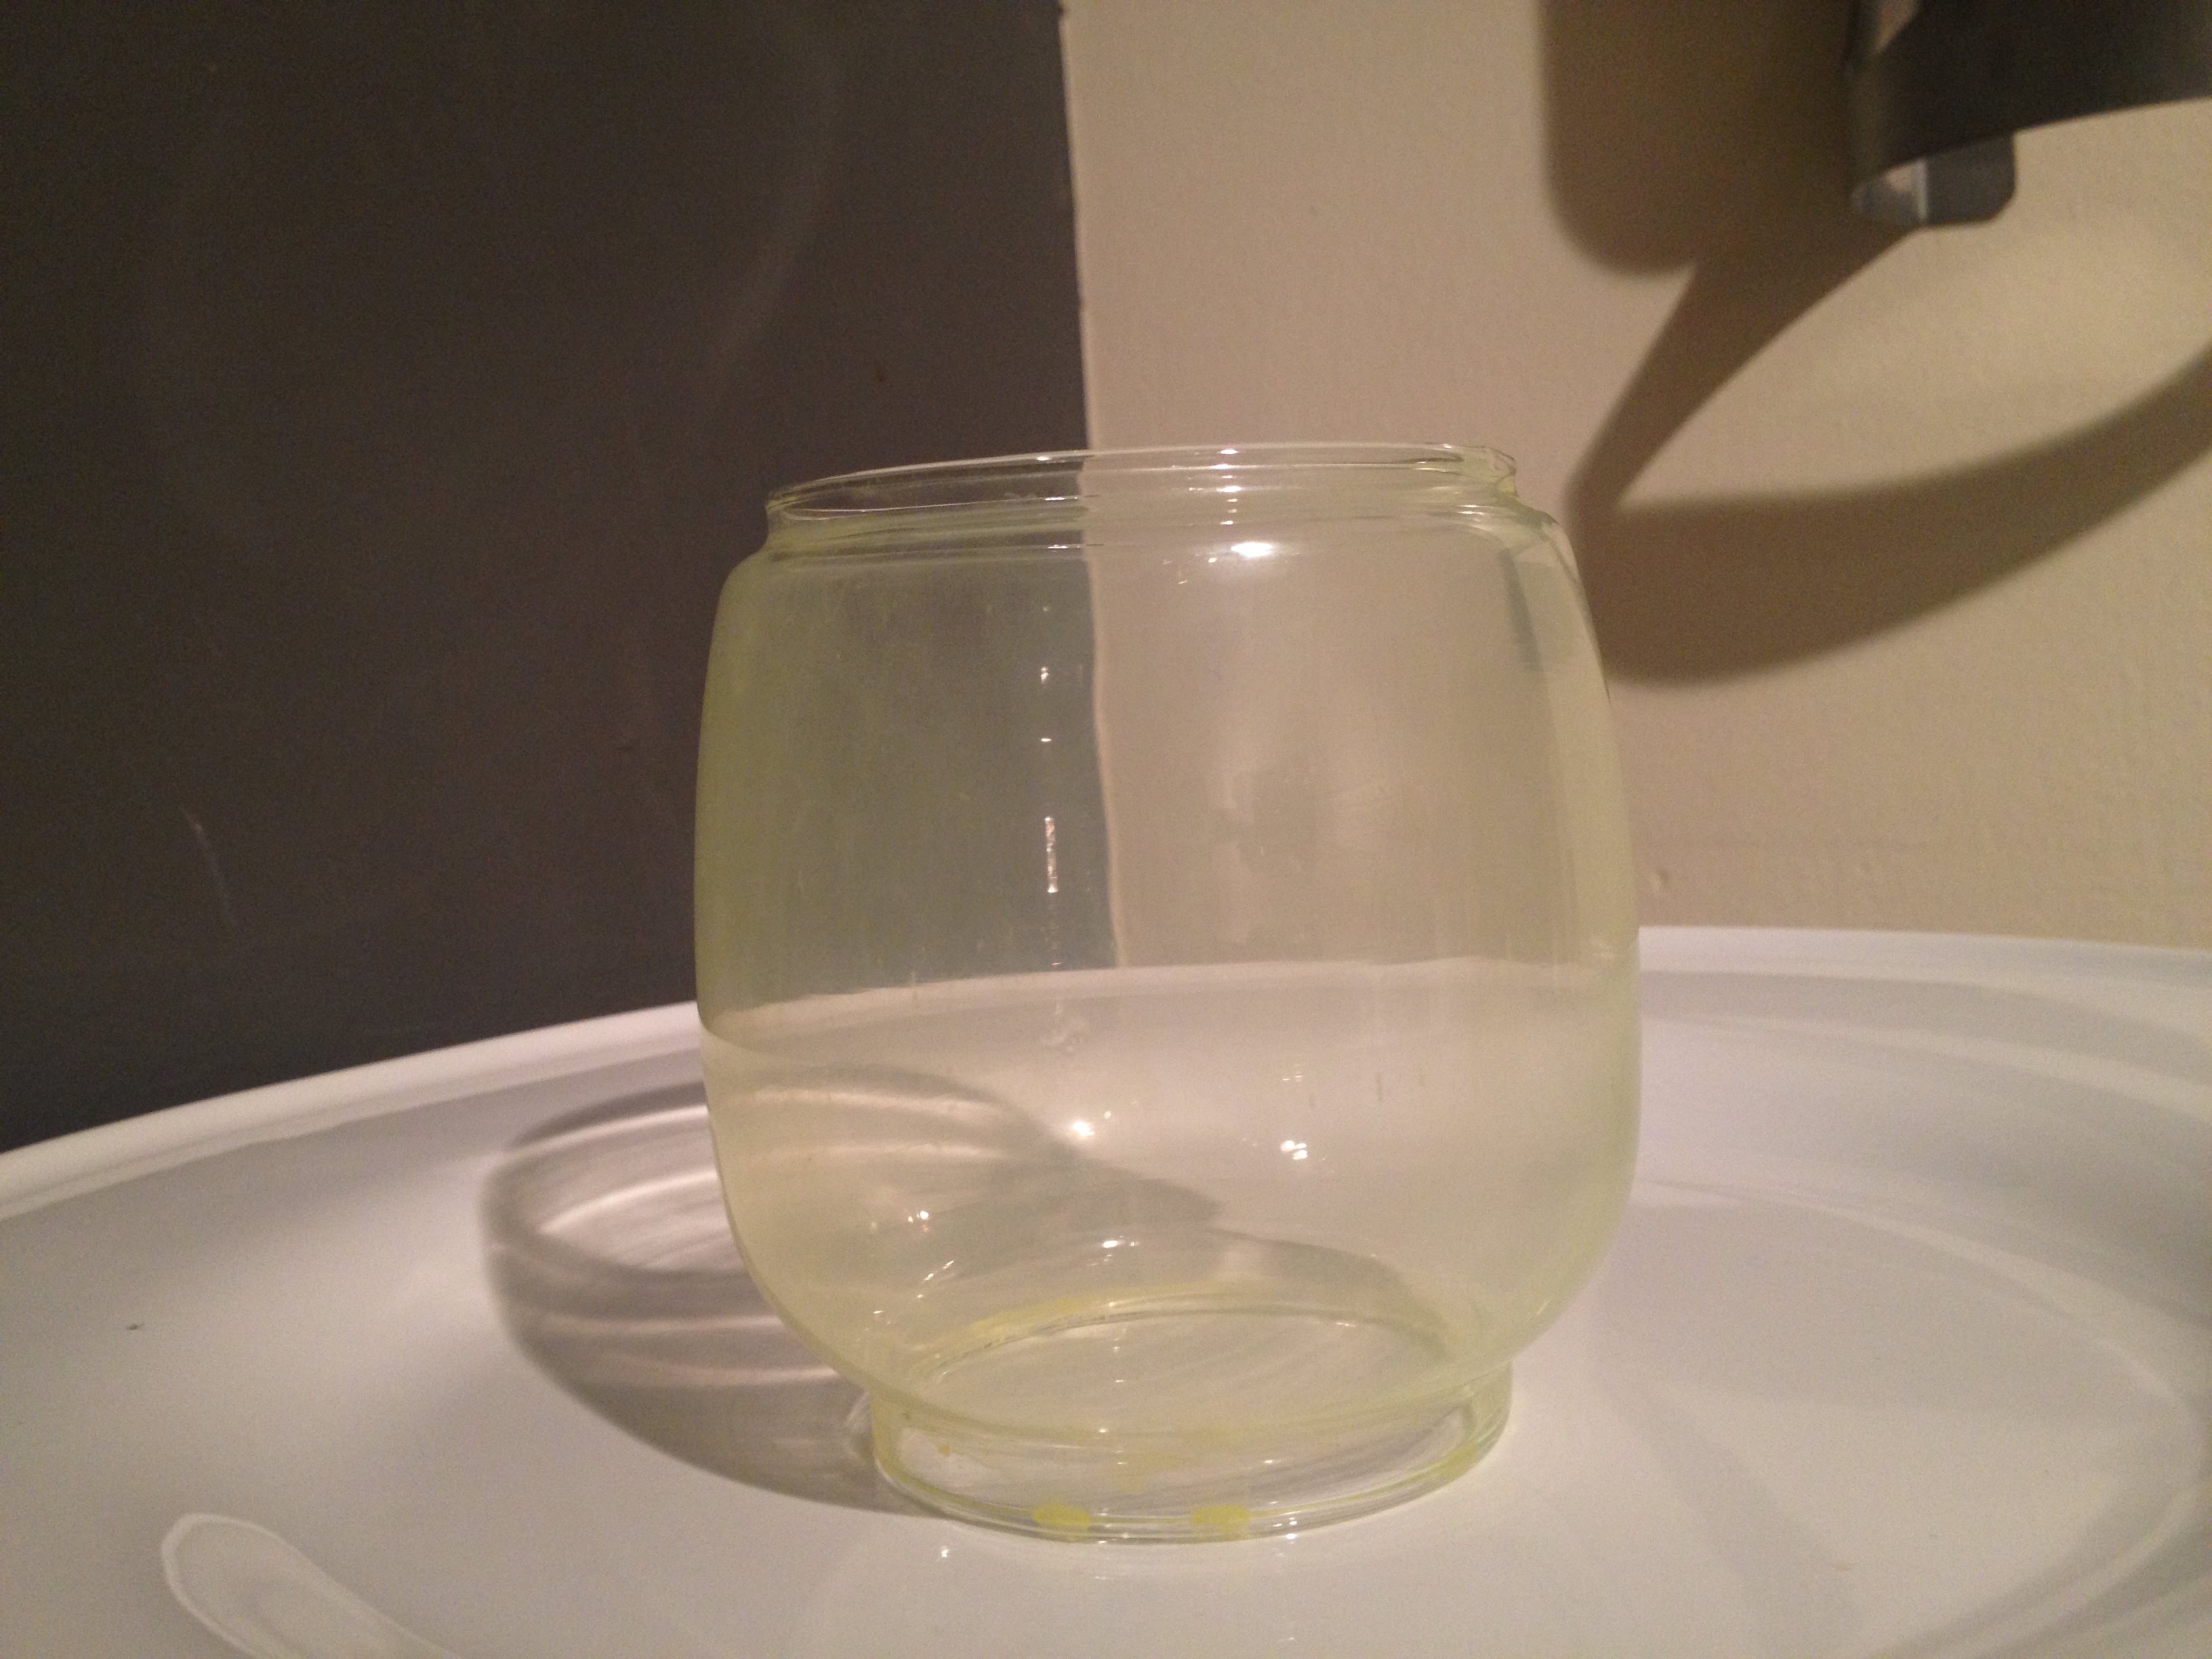
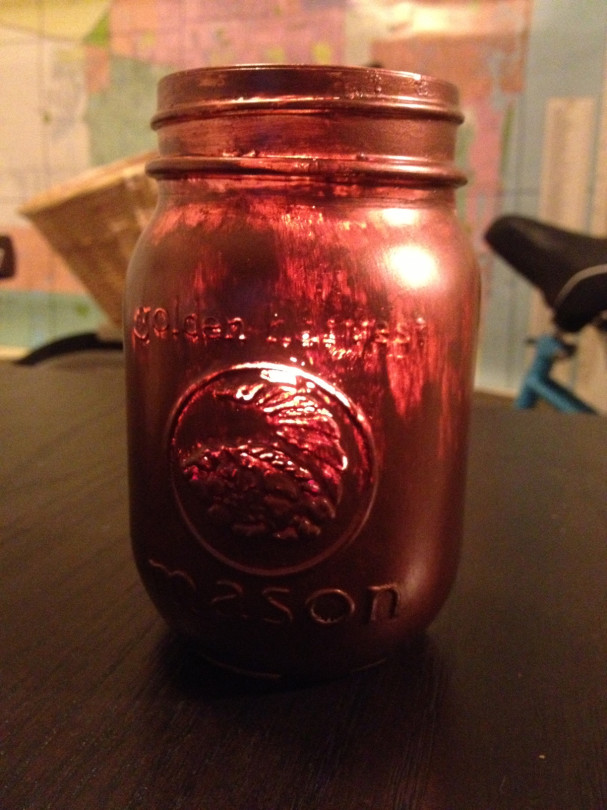
Extra credit for painting the jar, especially if you do a better paint job than I did here.
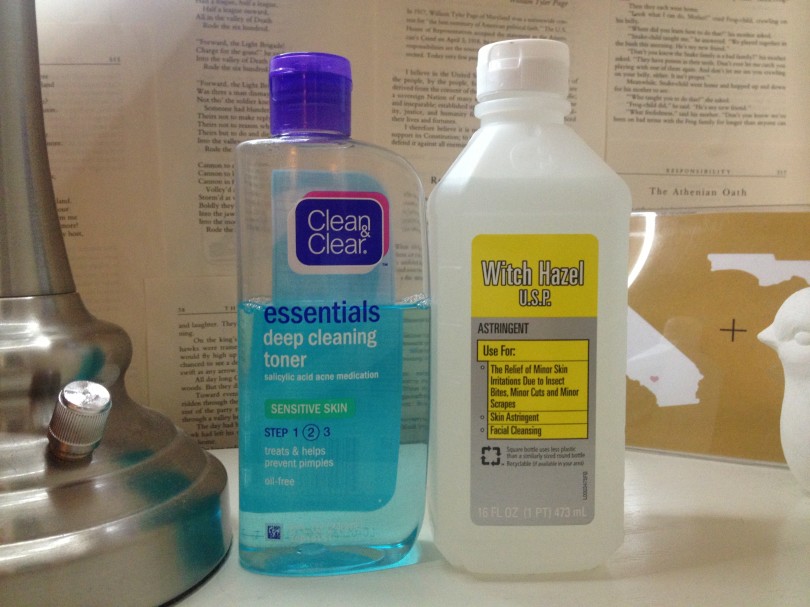
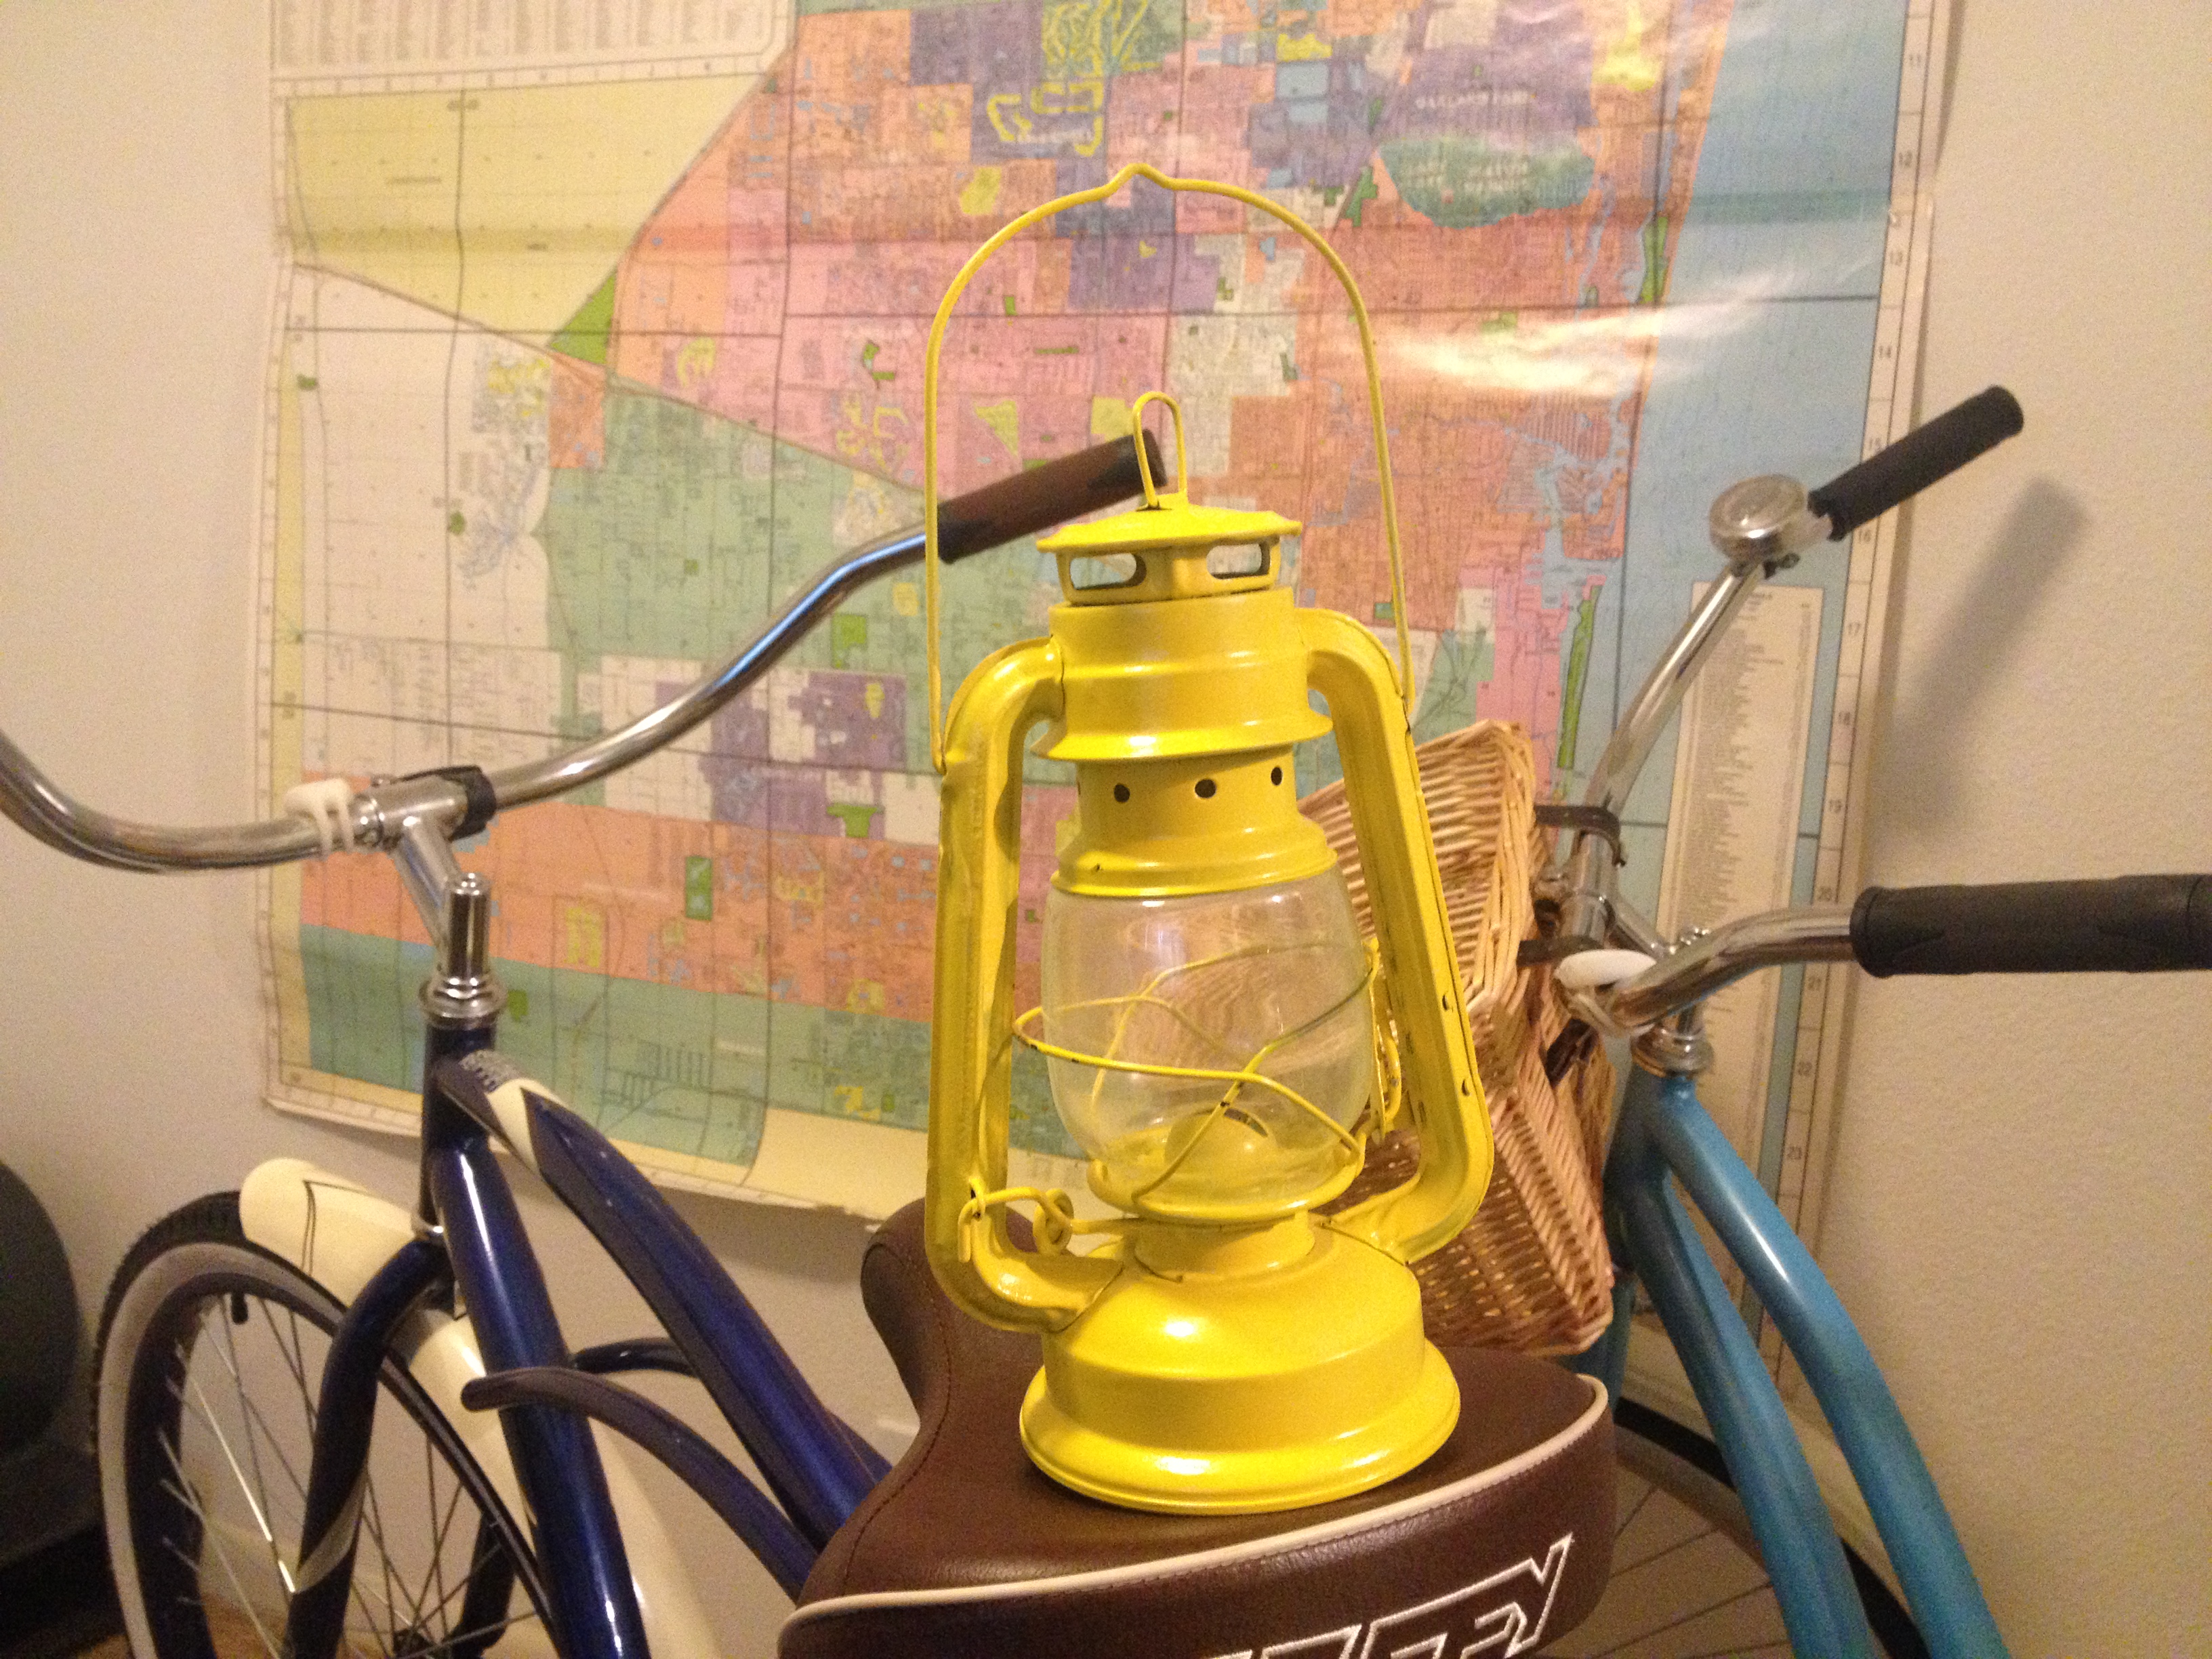
Side note: if you have wick on hand, this is also a good way to add all your extra bits of almost finished candles together, to make a whole brand new candle.

xoxo,
Adora

Make your own Astringent


the secret is, you're already done

the secret is, you’re already done

This is a pretty complicated process so try and keep up.
Step 1: Get a bottle of witch hazel
Step 2: Open it
Step 3: Use it as astringent

photo 2

compare the ingredients

You’re done. Witch hazel is all natural, it’s a plant! Every part of the witch hazel plant is high in tannins from the leaves, to the bark. They take those pieces of the plant and through a steam distillation process you get what you can buy at the store. It’s $1 or $2 and it’s so much better. I think it works as well as name brand astringents, but you can rest assured you’re not rubbing chemicals and dyes all over your face.

xoxo,
Adora

the worlds dumbest craft


old stickers and ugly box

old stickers and ugly box

I have no idea why, but I hate the look of match boxes. But I only use matches, I never use lighters. So near every candle in my house is an ugly matchbox. I think they probably sell pretty ones now-a-days, but those don’t come in a 10 pack at publix, so they’re not on my radar. Anyway, I was glaring at the match box the other day, and had stumbled across some J and A stickers I bought from the Target dollar spot years ago.

careful!

careful!

So I put the stickers on the matchbox.

ahhh

ahhh

There you have it, worlds dumbest and easiest and quickest craft. Say what you will, but I don’t mind this guy sitting on my coffee table.

You may now mock me.
xoxo,
Adora

Fun with Self Portraits


I have a slight obsession with art that combines hand drawn and digital formats. Pretty much anything by Nan Lawson makes me sigh and stare longingly. Artists impress me more than anyone, but sad to say, a true artist I am not. I’ve been meaning to save up for a portrait in this style, maybe a picture of Josh and I on our wedding day. Anyway, I was bored the other day and decided to try and draw a [very interpretive] self portrait. Here is what that turned out to look like:

doodle doodle doodley

doodle doodle doodley

So anyway, I realized that I could technically take that into photoshop and mess around with it, because we have a scanner and photoshop on Josh’s computer. So, I scanned in the photo.

scanned

scanned

Next  and deleted out all the white space with the magic wand tool. (make sure contiguous is not selected). Now I was down to just the pen marks. I selected all, and added a stoke to thicken the lines. Then it was time to color! Now, you do not need to have Photoshop to do this. I think it may have been more fun to use colored pencils, but I couldn’t find any at the time.

layers

layers

I added a layer for each aspect of the picture, keeping the pen marks as the top layer so I could technically just color right over them.

colored in

colored in

This was such a fun and easy craft, I think it would be perfect for a date night; draw each other.

it's me...sort of

it’s me…sort of

photo 4

the note

Anyway, it printed rather small, because it scanned in at 72 dpi, but I don’t mind. I printed it out, added a note and left it for Josh on his computer in the office.

What’s your favorite style of art? Have you tried a DIY?
xoxo,
Adora

Makin’ a Roast


You pick the proportions you want: onions, carrots, worcestershire, pepper, and big ole’ slab of beef. Crock pot it up on low for at least 8 hours, maybe 10. Serve over potatoes if you know what’s good!

bada boom

bada boom

bada bing

bada bing

If I could do this all again [and I will] I would put the meat on the bottom and cook it for a few hours before I added the onions and carrots, they were a little over cooked and soft for my preference.

xoxo,
Adora

Free Download: Antique Map


In my old apartment I had an antique map of Auckland hanging in four 8×10 frames. I found the large image on the inter-nets, grabbed it, cut it into four 8×10 pieces and printed it on regular computer paper. It was a low cost art option, but oddly enough became my favorite piece in the room. So anyway, I want to share this with all of you, in case you’ve got a blank wall that you’re looking to fill. Just grab four 8×10 frames and slap these bad boys in there.

This is what it will basically look like when it's hung, making your wall look all snazzy!

This is what it will basically look like when it’s hung, making your wall look all snazzy. See below for the downloads.

Here are the four downloadable pictures, click on each of the four sections listed for each 8×10 image, then just right click and save the pictures. Then frame or pin up on the wall: Top Left, Top Right, Bottom Left, Bottom Right.

Hope you like it!
xoxo,
Adora

the DIY that turned in an Anthro hack


I wanted some candles out on the patio, but I had gotten some earlier and forgot that I lived in south Florida so they spent the entirety of the time they were out there in a liquid state. It wasn’t pretty. So when I spotted this oil lantern at Walmart for about $5 I went for it. But…I wanted it to be prettier. So this is how you go about making it that way:

Start with that sweet looking lantern right there

Start with that sweet looking lantern right there

Get bored the night before you were going to do this project and spray paint the whole thing at 10pm. [after you remove the glass]

Get bored the night before you were going to do this project and spray paint the whole thing at 10pm. [after you remove the glass]

While the body of the lantern is drying take some acrylic craft paint in the same color of your lantern and water it down a ton. Then paint the outside of the glass piece. I ended up washing off this coat here, watering it down more and repainting.

While the body of the lantern is drying take some acrylic craft paint in the same color of your lantern and water it down a ton. Then paint the outside of the glass piece. I ended up washing off this coat here, watering it down more and repainting.

Slightly yellow color. Why? I don't know, but every vintage lantern I've seen has a coloring to the glass similar to the coloring of the lantern body. So might as well.

Slightly yellow color. Why? I don’t know, but every vintage lantern I’ve seen has a coloring to the glass similar to the coloring of the lantern body. So might as well.

Pop that glass back in and make sure all the moving parts can still move. You're done.

Pop that glass back in and make sure all the moving parts can still move. You’re done.

I can say with certainty that this is not a good project for someone who is a perfectionist. There are parts of my lantern that aren’t painted perfectly but I don’t mind, I actually prefer it that way. So, know that it won’t look flawless, but it will look amazing.

other option

Anyway, a few days after I finished the lantern I got an email from Briana who was hanging out with me while I painted this lantern. She found this at Anthropolgie for $40. So, if you like the look but would prefer to spend 8 times as much, you can!

What are you painting?
xoxo,
Adora